


Manual Revision: 11/22/2021
User Manual
For the latest information and specifications visit
www.StarTech.com/A-LAPTOP-DESK-MOUNT
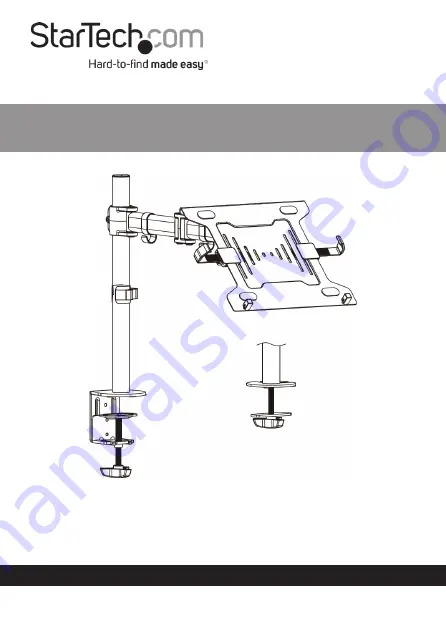
Articulating Laptop Holder
SKU:
A-LAPTOP-DESK-MOUNT
Actual product may vary from photos
Elevate your workspace with the StarTech.com A-LAPTOP-DESK-MOUNT! This innovative laptop desk mount offers a comfortable and adjustable viewing experience. To ensure users can maximize its potential, a comprehensive User Manual is available for download, absolutely free, from our website. Discover the perfect setup at manualshive.com and unleash your productivity!
Manual Revision: 11/22/2021
User Manual
For the latest information and specifications visit
www.StarTech.com/A-LAPTOP-DESK-MOUNT
Articulating Laptop Holder
SKU:
A-LAPTOP-DESK-MOUNT
Actual product may vary from photos


