Sony Handycam DCR-PJ5E, Operating Manual
The Sony Handycam DCR-PJ5E is a versatile video camera that captures high-quality footage. For a hassle-free experience, ensure you have the essential knowledge by accessing the comprehensive Operating Manual, available for free download at manualshive.com. Explore the features and unleash the camera's full potential with this user-friendly manual.
Share
Download


Reviews:
No comments
Related manuals for Handycam DCR-PJ5E

NV-GS80EB
Brand: Panasonic Pages: 19

Camcorders
Brand: Flip Pages: 7

VP-D381( i )
Brand: Samsung Pages: 117

VP-DC171WH
Brand: Samsung Pages: 130

VP-DC565i
Brand: Samsung Pages: 128

SMX-F50SN
Brand: Samsung Pages: 124

TL-SC2020N
Brand: TP-Link Pages: 2

Cinema Pro
Brand: VARIZOOM Pages: 30

M52
Brand: Samsung Pages: 62

Hi8 VP-L900
Brand: Samsung Pages: 75

AG-AC30PJ
Brand: Panasonic Pages: 154

HC-X1E
Brand: Panasonic Pages: 211

CC9390
Brand: RCA Pages: 180

FDR-X3000
Brand: Sony Pages: 191

GP-VD151A
Brand: Panasonic Pages: 168

VP-D200(i)
Brand: Samsung Pages: 108

Optura 200 MC
Brand: Canon Pages: 6
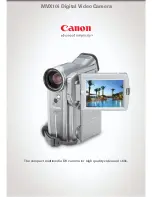
MVX10i
Brand: Canon Pages: 8


