Sony BETAMOVIE BMC-220, Operating Instructions Manual
The Sony BETAMOVIE BMC-220, a classic camcorder for avid filmmakers, is now available for free download with the Operating Instructions Manual. Discover the rich functionalities and enhance your videography skills with this iconic device. Visit manualshive.com to access the comprehensive manual for your Sony BETAMOVIE BMC-220.
Share
Download


Reviews:
No comments
Related manuals for BETAMOVIE BMC-220

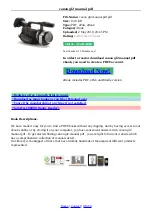
CAM-BOX
Brand: DEWESOFT Pages: 59

VP-M2100B
Brand: Samsung Pages: 134

VP-MX20C
Brand: Samsung Pages: 121

M7 GPS Dual
Brand: TrueCam Pages: 67

BX1000 Plus
Brand: Smarty Pages: 31

HDSport
Brand: ElectroFlip Pages: 23
GL-2
Brand: Canon Pages: 8

ZR900
Brand: Canon Pages: 2

UC 5 Hi
Brand: Canon Pages: 60

SC-D352
Brand: Samsung Pages: 128

HMX-F810BP
Brand: Samsung Pages: 108

APDV-1012
Brand: AgfaPhoto Pages: 2

SCD250
Brand: Samsung Pages: 108

MAXIMUS MMX
Brand: Videotec Pages: 88

A0101
Brand: Rylo Pages: 5

Flip Ultra2HD
Brand: Pure Digital Pages: 1

Flip MinoHD
Brand: Pure Digital Pages: 3

TIX402
Brand: lumishore Pages: 13


