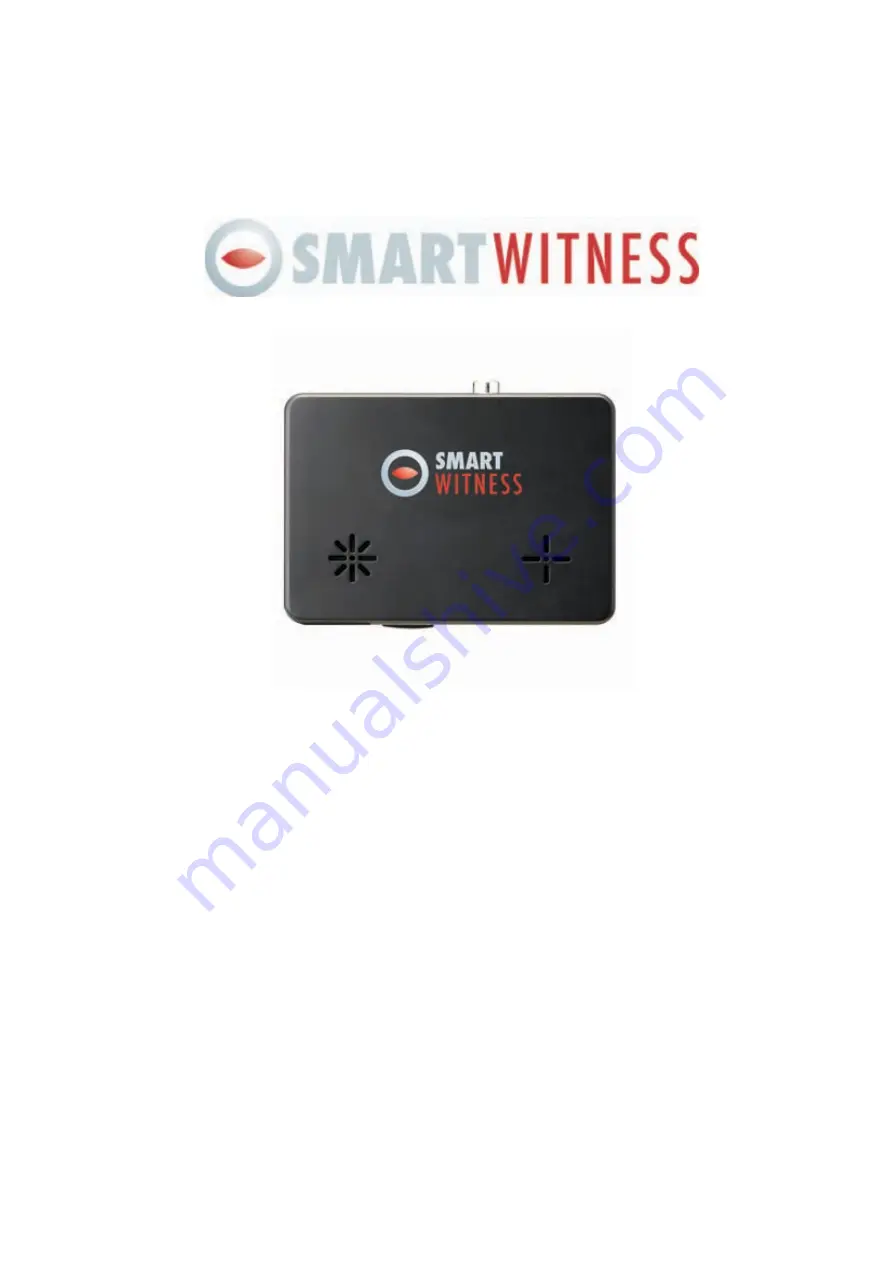
background image

SVC300GPS

!

3 CAMERA VEHICLE JOURNEY RECORDER

!

!

!

 Thank you for purchasing this Journey Recorder. 

!

!

 Please ensure that you read and understand this USER GUIDE 

    and use it before connecting and installing this Recorder. 

!

!

 Please store the USER GUIDE in an easily accessible location. 

VER 1.0.0 1

st

 Edition


USER GUIDE

!

Summary of Contents for SVC300GPS

Page 1: ...ou for purchasing this Journey Recorder Please ensure that you read and understand this USER GUIDE and use it before connecting and installing this Recorder Please store the USER GUIDE in an easily ac...

Page 2: ......

Page 3: ...SIDE REFER SERVICING TO QUALIFIED SERVICE PERSONNEL WARNING TO PREVENT FIRE OR ELECTRIC SHOCK HAZARD DO NOT EXPOSE THIS APPLIANCE TO RAIN OR MOISTURE Caution Connect your vehicle s power cable to the...

Page 4: ...ignal is installed in the vehicle e g Other GPS devices such as a certain type of wireless activated alarms MP3 and CD players and camera alarms using GPS 4 If you are using a receiver connected by ca...

Page 5: ...5 Sticker for mounting double sided 3M tape x1 Smart Witness SVC300GPS Receiver Recording Unit 4GB SD memory card Note Analysis Software is on this SD card USB SD Card Reader Smart Witness SVC300 GPS...

Page 6: ...6 CONTENTS AV Output Cable Power Cable 2x Camera Input Cable...

Page 7: ...SVC300GPS JOURNEY RECORDER REAR 7 SD Slot SD Door AV Output External MIC input Speaker Internal Microphone Camera Input 1 2 Remote Control Input GPS Input Power Input Alarm Car Signal Input Rear View...

Page 8: ...IDENTIFYING PARTS REMOTE CONTROLLER 8 Record LED Blue Overwrite LED Red Snap Shot Button Play Button Record Button AV OUTPUT CABLE Video Output 1 Video Output 2 Audio Output...

Page 9: ...9 IDENTIFYING PARTS POWER CAR SIGNAL INPUT Fuse 250V 3A Power Red Ground Black Alarm 1 Blue Alarm3 Yellow Alarm 2 Green Car pulse speed White...

Page 10: ...ng the Information OSD If camera 3 Rear View camera is on the live display channel will automatically switch to camera 3 To use camera 3 as an automatic rear view camera then pow er it from the vehicl...

Page 11: ...battery Blue LED RECORD The Blue LED shows the power is on It will flash during event recording Red LED WARNING The Red LED will turn on when there is video loss or the system has failed Buzzer A Beep...

Page 12: ...the SD memory card Turn off the power and then check the BLUE LED light Once the BLUE LED light is off insert the SD Memory Card System Error Buzzer A Beep Beep sound will occur and the BLUE RED LED...

Page 13: ...he SVC300GPS and press the PLAY button to turn on the Information OSD On Screen Display To change the live display channel press the RECORD button to select the camera then press the STOP button If th...

Page 14: ...ther and then turn on the power The G Sensor Calibration screen will be displayed 2 Press and hold the PLAY STOP buttons together again for more than 2 seconds The G Sensor Calibration OSD will show t...

Page 15: ...during the recording The SVC300GPS will not make a separate event file during the continuous recording It will mark the Event area as Record button in the continuous recording file which can be easil...

Page 16: ...CORD button Move to the previous file Press and hold the STOP PLAY button Move to the next file Press and hold the RECORD PLAY button Play Pause Press the PLAY button Slow Play Press and hold the PLAY...

Page 17: ...is Software may not function properly OS Windows 2000 Windows XP Windows Vista Windows 7 CPU Pentium4 2 6GHz or higher RAM 512MB or higher Interface SD Memory Card Reader HDD Free space Install 20MB o...

Page 18: ...ght click the DRIVEREC1 drive and select OPEN 3 Double click SETUP EXE in the pcsw folder 4 Select the language and then follow the dialog box 5 The PCViewer icon will be displayed on your desktop NOT...

Page 19: ...rd 1 Connect SD memory card in to the SD card reader 2 Run Smart Witness 3 Select FILE and then click Select Data Folder or click the OPEN button 19 OPEN button 4 Select SD memory card folder at the f...

Page 20: ...Windows setting However it can be changed with this PC viewer setting menu To see the better quality playback picture on your PC check Deblocking box To set PC Viewer select FILE and then click PC Vi...

Page 21: ...file list recorded by pressing the RECORD button The Continuous record file list The Snapshot file list saved by pressing the SNAPSHOT button The Log file list Load Button Check the event s individual...

Page 22: ...frames Playback position indicator Event data in the Playlist Check box for continuous playback This button is enabled when playing back recorded file s The Yellow Mark indicates there is An Event tri...

Page 23: ...View CH1 CH2 CH3 Quad View Playback buttons Pause Next Image Previous Image X0 5 1 Play X2 4 8 16 Fast Forward X0 5 1 Reverse X2 4 8 16 Fast Reverse 4x4 Multi View Thumb nail function Zoom In G Sensor...

Page 24: ...024x768 mode Enter Return to the previous mode Enter Full screen mode Alt Enter Return to the previous mode Enter Playback speed control Ctrl F 0 5 1 Reverse playback speed control Ctrl B 0 5 1 Pause...

Page 25: ...PC should be connected to the Internet The playback position will be shown on the map with an arrow The blue markings show the route taken Double click the blue mark to change the video playback posit...

Page 26: ...L FUNCTION 26 Shortcut Click the right mouse button of to go back to single image playback mode Click the thumb nail image to Change the playback position Click the CLOSE button to finish the event pl...

Page 27: ...SAVING JPG FILE AVI FILES Pause the playback and click Save Image icon to make a JPG file Pause the playback and Click Save AVI icon to make a AVI file Save Image icon Save AVI icon 27...

Page 28: ...ING AN IMAGE Print image icon Pause the playback and click Print Image icon Input the file name Print Title any notes Print Comment using Keyboard The Print comment window allows up to 7 lines in tota...

Page 29: ...for printing The file name Print Title any notes Print Comment G Sensor graph map will be printed on the first page The second page will print the images selected Click 2x2 and then click Print to pr...

Page 30: ...up the files to the PC Backup icon Select and Load Event Normal Panic Log Memo data first before clicking the Backup icon The selected files will appear in the lists in the Backup window OR Check Back...

Page 31: ...versa All normal recording data or all event recording data in SD card will be automatically deleted to make a free space on the SD Card Once done the old data cannot be recovered 31 Initialize SD ca...

Page 32: ...D1 2 Cameras supports 1 15 fps Half D1 Overwrite Overwrite The image data is overwrites the oldest files when the SD memory is full One time The recording stops automatically when the SD memory is fu...

Page 33: ...as below G SENSOR SETTINGS If G Sensor sensitivity value is too high like 1 it may be too sensitive so it will detect even a light impact or light turn If the G Sensor sensitivity value is too dull it...

Page 34: ...GMT This setting will allow you to set the Time Zone and synchonise the time using GPS Time DST Check this box to activate Daylight Saving Time Manual Time Setting Check this box to set the time manua...

Page 35: ...d then click SD Initialize We recommend you initialize the SD Memory Card at least once per month to prevent the SVC300GPS from getting any software errors SETTING THE DRIVE RECORDER WARNING Once Sett...

Page 36: ...Click the About icon to check the product information About icon SETTING THE DRIVE RECORDER 36 ABOUT PRODUCT INFORMATION...

Page 37: ...Switch or G Sensor indicators to show how the recording was triggered Journey Log data will be recorded during driving even if there are no events The total log data size can not exceed 48MB The unit...

Page 38: ...and click the Google Earth button 1 Install the Google Earth on your PC http earth google com 2 Check the log file 3 Click Google Earth in the Tool menu We recommend to use Google Earth Version 5 0 or...

Page 39: ...LUDES BRACKET FOR FLUSH SURFACE MOUNTING ON A BUMPER OR MOUNTING ON A WING MIRROR See diagram below for connection to the SVC300GPS unit To Camera Power Connections 0 120 02 0 21 0 120 02 0 21 0 120 0...

Page 40: ...ow for connection to the SVC300GPS unit INTERNAL MICROPHONE See diagram below for connection to the SVC300GPS unit SECURITY BRACKET USED TO SECURE AND PROTECT THE SVC300GPS UNIT WHEN IN A VEHICLE SVC3...

Page 41: ...or Speed and Brake Left Turn Right Turn when connected to Alarm Inputs Alarm Input 3 Compression MPEG4 Continues recording MJPEG Event recording Remote controller Panic Record button Playback button S...

Page 42: ...LIMITED WARRANTY This product is supplied with 1 year warranty The Warranty excludes products That have been misused including accidental damage and damage caused by normal wear and tear In the unlike...

Page 43: ...Manufactured exclusively for www smartwitness com Smart Witness is a Division of Xvision...

Reviews: