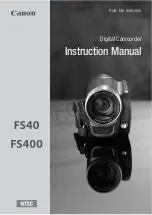
Canon FS40, Instruction Manual
Looking for a user manual for the Canon FS40? Look no further! Download the quick manual for free from our website. Find all the information you need about operating your Canon FS40 in this comprehensive manual. Visit manualshive.com to get your hands on this essential resource.
Share
Download


Reviews:
No comments
Related manuals for FS40

KPC-HDB450
Brand: KT&C Pages: 21

Pocket Cam
Brand: Panta Pages: 56
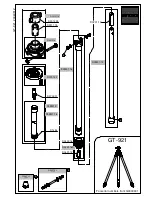
Series 0 Basalt GT-921
Brand: Gitzo Pages: 1

VPC-CG9BK
Brand: Sanyo Pages: 4

VPC-CG9 - Xacti Camcorder - 9.1 MP
Brand: Sanyo Pages: 2

VPC-CG9 - Xacti Camcorder - 9.1 MP
Brand: Sanyo Pages: 34

VPC-CS1 - Full HD 1080 Video
Brand: Sanyo Pages: 56

VPC-CG88BK
Brand: Sanyo Pages: 55

VPC-C6EXBK
Brand: Sanyo Pages: 35

VPC-CS1 - Full HD 1080 Video
Brand: Sanyo Pages: 92

VPC-CA9BK
Brand: Sanyo Pages: 57

VPC-CG100EXBK
Brand: Sanyo Pages: 57

VPC-CA8EXBK
Brand: Sanyo Pages: 59

VPC-E1600TP
Brand: Sanyo Pages: 113

VPC-CA65EXBL
Brand: Sanyo Pages: 60

VPC-CA100EXBK
Brand: Sanyo Pages: 60

VM-EX370P
Brand: Sanyo Pages: 22

VM-EX30P
Brand: Sanyo Pages: 32


