


Read this User’s Guide before operating the printer.
Keep this manual for future reference.
User's Guide
U00130312100
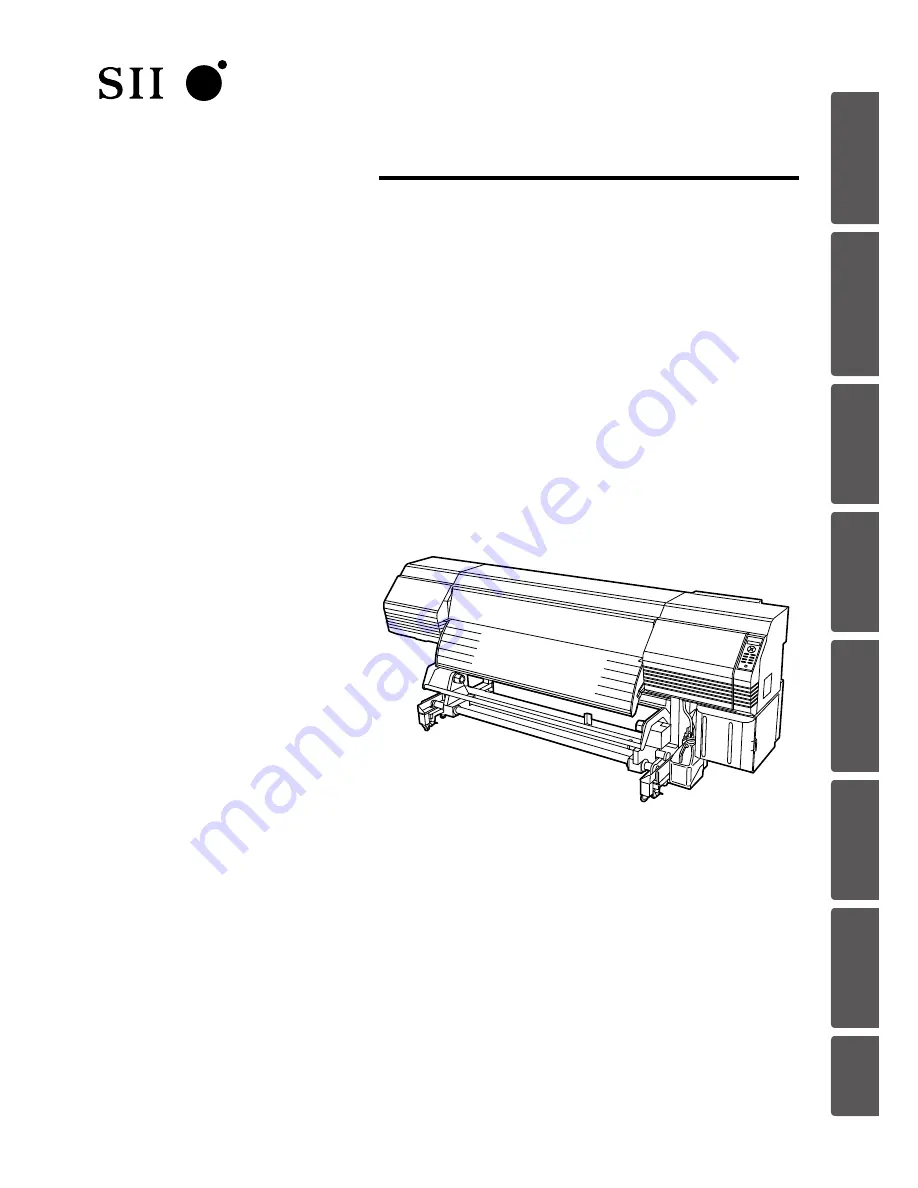
Solvent Ink Color Inkjet Printer
IP-6620
Seiko I Infotech Inc.
Be
fo
re
p
rin
tin
g
Lo
adi
ng
the
m
edi
a
A
dj
us
tm
ent
M
ai
nt
enan
ce
A
dv
an
ce
d
op
er
ati
on
s
Trou
ble
sh
oo
tin
g
M
enu
tr
ee
Ap
pe
nd
ix
Summary of Contents for IP-6620
Page 112: ...222 ...


