Siemens Gigaset 3000 Micro, Operating Instructions Manual
Introducing the Siemens Gigaset 3000 Micro - a compact and reliable cordless phone designed to suit your communication needs. Enhance your experience with its user-friendly interface by simply downloading the free Operating Instructions Manual from manualshive.com. Discover the convenience of this feature-packed phone today!
Share
Download


Reviews:
No comments
Related manuals for Gigaset 3000 Micro
KX-UTG200
Brand: Panasonic Pages: 17
KX-UDT131
Brand: Panasonic Pages: 2
KX-TPA60
Brand: Panasonic Pages: 2
KX-TPA60
Brand: Panasonic Pages: 5
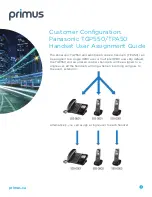
TGP 550
Brand: Panasonic Pages: 4
KX-TGA950B
Brand: Panasonic Pages: 16
KX-TGA106M - Cordless Extension Handset
Brand: Panasonic Pages: 6

Savi W740
Brand: Plantronics Pages: 37

LBT-OH05
Brand: Elecom Pages: 2

C300-XT
Brand: BlueParrott Pages: 20

Q3
Brand: Blueant Pages: 28

C124
Brand: NEC Pages: 22

DTP-16HC
Brand: NEC Pages: 3

DTP-16HC - Dterm Handset Cordless Telephone
Brand: NEC Pages: 3

C944
Brand: NEC Pages: 53

UNIVERGE MH240
Brand: NEC Pages: 2

MH110
Brand: NEC Pages: 4

M166C
Brand: NEC Pages: 56


