Sharp DV-RW270S, Operation Manual
The Sharp DV-RW270S is a versatile digital video recorder designed to capture and play both DVDs and VHS tapes. Seamlessly switch between formats with ease using the comprehensive Operation Manual. Download the manual for free from our website, allowing you to unlock the full potential of this exceptional device.
Share
Download


Reviews:
No comments
Related manuals for DV-RW270S

WS 100 - 64 MB Digital Voice Recorder
Brand: Olympus Pages: 2

ALI-QVR4008H Series
Brand: ALIBI Pages: 4

1050MD
Brand: Kenwood Pages: 54
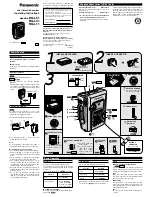
RQ-L51
Brand: Panasonic Pages: 2
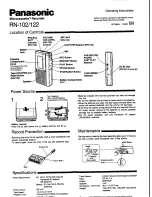
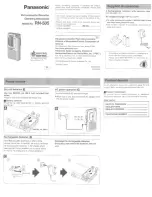
RN-102
Brand: Panasonic Pages: 2
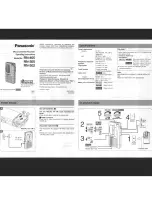
RN-405
Brand: Panasonic Pages: 4
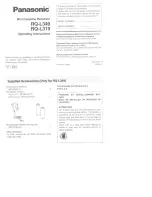
RQ-L349
Brand: Panasonic Pages: 7

RQ-L319
Brand: Panasonic Pages: 7
RN-505
Brand: Panasonic Pages: 6
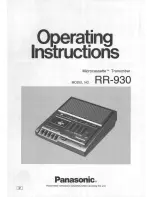
transcriber - RR 930 Microcassette
Brand: Panasonic Pages: 12
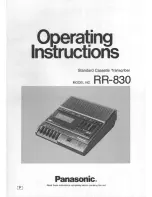
RR830 - Desktop Cassette Transcriber
Brand: Panasonic Pages: 12

MR-10B/PRO
Brand: Vesta Fire Pages: 16

SB-VR5700
Brand: SB Pages: 23

FA5000
Brand: L3 Pages: 209

L87
Brand: G Pages: 30

DMR-ES30VS
Brand: Panasonic Pages: 84

VN-8000PC
Brand: Olympus Pages: 18

DMR-EZ485VK
Brand: Panasonic Pages: 100


