


OPERATION MANUAL
MODE D’EMPLOI
MANUAL DE OPERACION
MANUAL DE OPERAÇÃO
DT-200
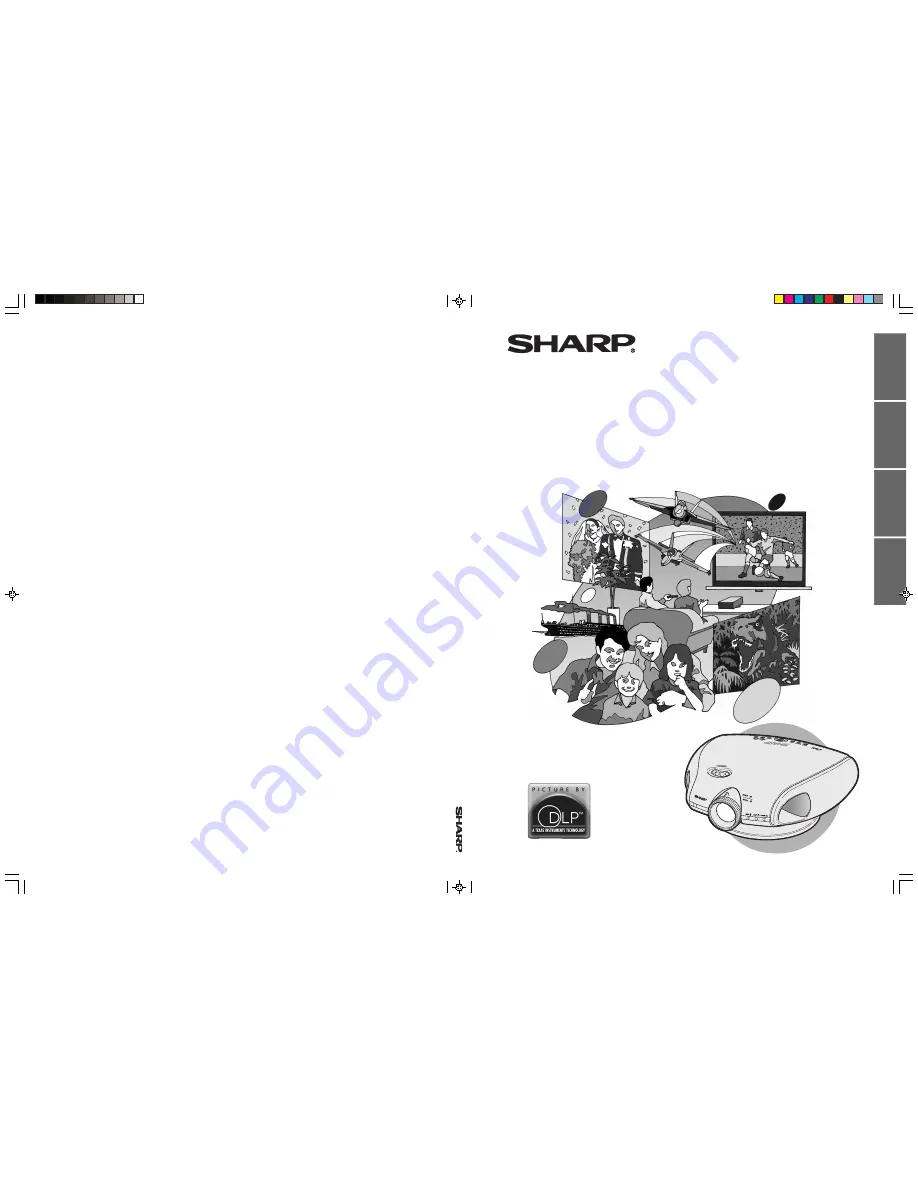
PROJECTOR
PROJECTEUR
PROYECTOR
PROJETOR
DT-200
SHARP CORPORATION
Printed in Japan
Imprimé au Japon
Impreso en Japón
Impresso no Japão
TINS-A287WJZZ
A
DT-200
ENGLISH
FRANÇAIS
ESP
AÑOL
PORTUGUÊS
DT-200(E)#Hyo1+4.p65
02.11.21, 12:59 PM
1


