background image

Thank you for purchasing this SHARP product. 
To obtain the best performance from this product, please read this
manual carefully. It will guide you in operating your SHARP product.

CD-ES777 Mini Component System consisting of CD-ES777 (main unit)
and CP-ES777 (speaker system).

Note:

Only the above accessories are included.
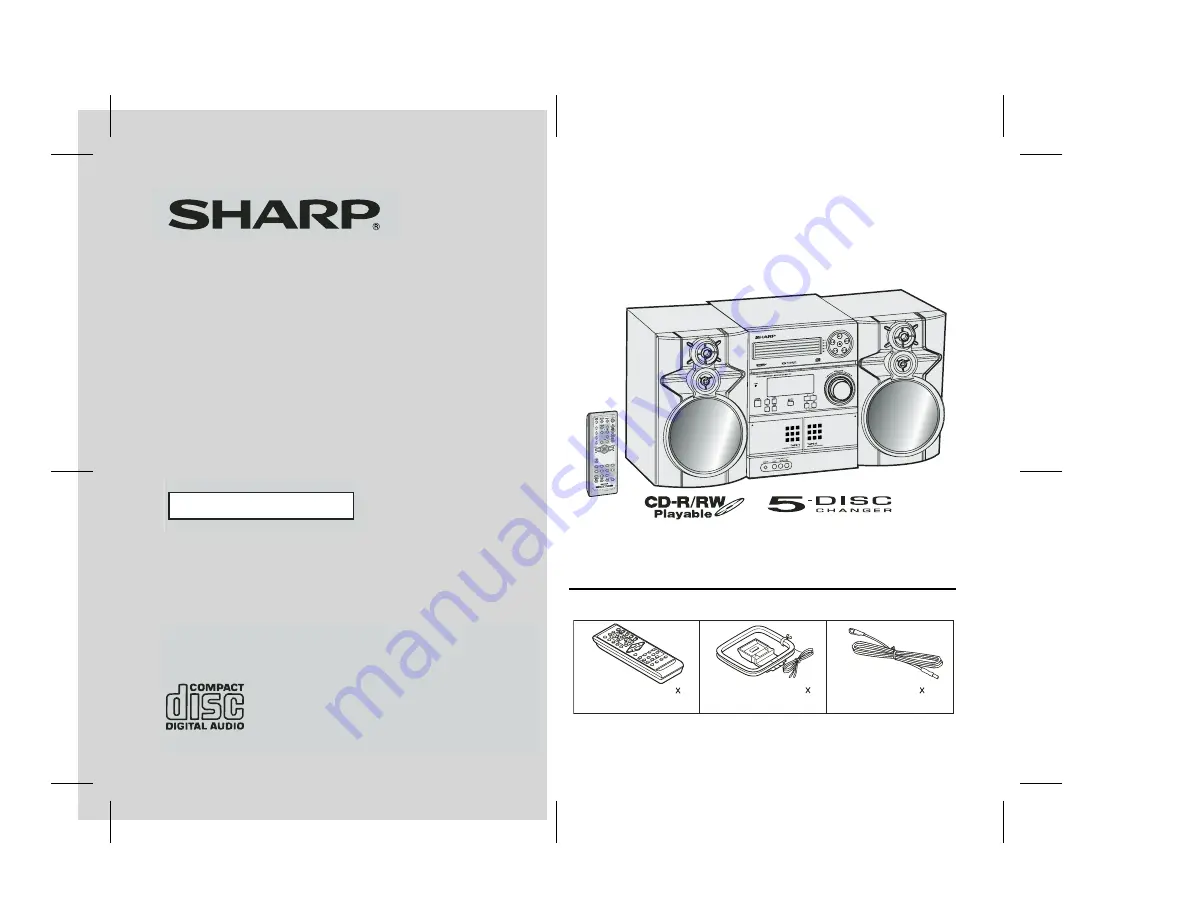
Remote control    1

(RRMCGA087AWSA)

AM loop antenna     1

(QANTL0010AWZZ)

FM antenna     1

(FANT1535A)

Accessories

Please confirm that the following accessories are included.

MINI COMPONENT SYSTEM


MODEL


CD-ES777

OPERATION MANUAL

Summary of Contents for CD-ES777

Page 1: ...r SHARP product CD ES777 Mini Component System consisting of CD ES777 main unit and CP ES777 speaker system Note Only the above accessories are included Remote control 1 RRMCGA087AWSA AM loop antenna 1 QANTL0010AWZZ FM antenna 1 FANT1535A Accessories Please confirm that the following accessories are included MINI COMPONENT SYSTEM MODEL CD ES777 OPERATION MANUAL ...

Page 2: ... equipment generates uses and can radiate radio frequency energy and if not installed and used in accordance with the instructions may cause harmful interference to ra dio communications However there is no guarantee that interference will not occur in a particular installation If this equipment does cause harmful interference to radio or television reception which can be deter mined by turning th...

Page 3: ...locked by placing the product on a bed sofa rug or other similar surface This product should not be placed in a built in installation such as a bookcase or rack unless proper ventilation is provided or the manufacturer s instructions have been adhered to 11 Power Sources This product should be operated only from the type of power source indicated on the marking label If you are not sure of the typ...

Page 4: ...ning or removing covers may expose you to dangerous voltage or other hazards Refer all servicing to qualified service personnel 21 Damage Requiring Service Unplug this product from the wall outlet and refer servicing to qualified service personnel under the following conditions a When the power supply cord or plug is damaged b If liquid has been spilled or objects have fallen into the product c If...

Page 5: ...ening to a cassette tape TAPE 1 or TAPE 2 23 24 Tape Recording Recording on a cassette tape 24 26 Advanced Features Timer and sleep operation Remote Control only 27 30 Enhancing your system 31 32 References Troubleshooting chart 32 34 Maintenance 34 Specifications 35 CONSUMER LIMITED WARRANTY Back cover ENERGY STAR Program Information Products that have earned the ENERGY STAR are designed to prote...

Page 6: ...ident causing damage SHARP will not be held responsible for any damage resulting from use of this unit with a voltage other than that which is specified Volume control The sound level at a given volume setting depends on speaker efficiency location and various other factors It is advisable to avoid exposure to high volume levels which occurs while turning the unit on with the volume control settin...

Page 7: ...ssette Compartment 23 9 Headphone Jack 32 10 Game Video Input Jacks 31 11 Disc Tray Open Close Button 16 12 Disc Number Select Buttons 16 13 Volume Control 14 14 CD or Tape Stop Button 17 24 15 CD Play or Repeat Tape Play Button 16 19 23 16 CD Track Up or Fast Forward Tape 2 Fast Forward Tuner Preset Up Time Up Button 15 17 22 24 17 CD Track Down or Fast Reverse Tape 2 Rewind Tuner Preset Down Tim...

Page 8: ...y Timer Indicator 28 11 FM Stereo Receiving Indicator 21 12 Tape 2 Record Indicator 25 13 Sleep Indicator 30 14 Timer Play Indicator 28 15 Timer Recording Indicator 28 Rear panel Reference page 1 Cooling Fan 12 2 AC Power Cord 12 3 FM 75 Ohms Antenna Jack b 11 4 AM Antenna Ground Terminal 11 5 AM Loop Antenna Terminal 11 6 Speaker Light Up Jack 11 7 Video Output Jack 31 8 Speaker Terminals 11 Spea...

Page 9: ... 2 Button 23 12 Game Video Button 31 13 CD Clear Dimmer Button 14 20 14 CD Random Button 19 15 CD Stop Button 17 16 Tape Stop Button 23 17 Memory Button 15 20 22 27 30 18 CD Pause Button 17 19 CD Play or Repeat Button 16 19 20 Tape Play Button 23 21 Tape 2 Record Pause Button 25 26 22 Tuning Up Button 21 23 CD Track Up or Fast Forward Tape 2 Fast Forward Tuner Preset Up Time Up Button 15 17 22 24 ...

Page 10: ...s AC INPUT AC outlet AC 120 V 60 Hz AC power connection see page 12 Right speaker AM loop antenna Make sure to unplug the AC power cord before any connections Antenna connection see page 11 Speaker connection see page 11 Left speaker Speaker light up wire Speaker light up wire FM antenna ...

Page 11: ...re to the FM 75 OHMS jack and position the FM antenna wire in the direction where the strongest signal can be received Supplied AM loop antenna Connect the AM loop antenna to the AM and GND terminals Position the AM loop antenna for optimum reception Place the AM loop antenna on a shelf etc or attach it to a stand or a wall with screws not supplied Assembling Attaching to the wall Wall Screws not ...

Page 12: ...reception Consult your dealer Note When an outdoor FM antenna is used disconnect the supplied FM antenna wire Cooling fan The main unit is built with a cooling fan at the rear of the unit for improved cooling Please do not cover the opening of the fan with any obstacles as this will block proper ventilation AC INPUT AC outlet AC 120 V 60 Hz AC INPUT The first time the unit is plugged in the unit w...

Page 13: ...itter on the remote control and the sensor on the unit with a soft cloth Exposing the sensor on the unit to strong light may interfere with operation Change the lighting or the direction of the unit Keep the remote control away from moisture heat shock and vibrations Test of the remote control Check the remote control after checking all the connections see pages 10 12 Point the remote control dire...

Page 14: ...he current mode setting will be displayed To change to a different mode press the EQUALIZER MODE button repeatedly until the desired sound mode appears After use Press the ON STAND BY button to enter the power stand by mode Main unit operation When the VOLUME control is turned clockwise the volume will increase When it is turned counterclockwise the volume will decrease Remote control operation Pr...

Page 15: ... hour or 24 hour display will be skipped To change the 12 hour or 24 hour display 1 Press the ON STAND BY button to turn the power on 2 Press the CLOCK TIMER button 3 Within 10 seconds press the or button to select CLOCK and press the MEMORY button 4 Press the or button to select 12 hour or 24 hour display and then press the MEMORY button AM 12 00 The 12 hour display will appear AM 12 00 PM 11 59 ...

Page 16: ...rn the power on 2 Press the CD button 3 Press the 1 button and within 5 seconds press the button to open the disc tray 1 4 Place the CD on the disc tray 1 label side up Be sure to place 3 8 cm CD in the middle of the disc trays 5 Press the button to close the disc tray 1 Total number of tracks on the CD whose number is flashing Total playing time of the CD whose number is flashing will appear 6 Yo...

Page 17: ...io interference occurs during CD operation move the unit away from the TV or radio If a disc is damaged dirty or loaded upside down the disc will be skipped Auto power on function When you press any of the following buttons the unit turns on CD button main unit and remote control The unit turns on and the CD function is activated button main unit The unit turns on and playback of the last function...

Page 18: ... buttons are pressed while the disc is stopped press the button to start the desired track on the current disc Notes A track number higher than the number of tracks on the disc cannot be selected During random play direct search is not possible 1 Press one of the 1 5 buttons to select the desired disc Selected disc number 2 Within 5 seconds press the button on the main unit Use the direct search b...

Page 19: ...the random operation On the other hand the button does not allow you to move to the previous track The beginning of the track being played will be located In random play the CD player will select and play tracks automatically You cannot select the order of the tracks Caution After performing repeat or random play be sure to press the CD button Otherwise the disc s will play continuously To repeat ...

Page 20: ...N STAND BY button to enter the stand by mode or change the function from CD to another the programmed selections will not be cleared During the program operation random play is not possible 1 While in the stop mode press the MEMORY button to enter the pro gramming save mode 2 Press one of the 1 5 buttons to select the desired disc Selected disc number 3 Press the direct search buttons on the remot...

Page 21: ...sion Press the TUNER BAND button to display the ST indicator will appear when an FM broadcast is in stereo If the FM reception is weak press the TUNER BAND button to extinguish the ST indicator The reception changes to monaural and the sound becomes clearer 1 Press the ON STAND BY button to turn the power on 2 Press the TUNER BAND button repeatedly to select the desired frequency band FM or AM 3 P...

Page 22: ...tore the stations in memory in order starting with preset channel 1 4 Within 30 seconds press the MEMORY button to store that station in memory If the MEMORY and preset number indicators go out before the station is memorized repeat the operation from step 2 5 Repeat steps 1 4 to set other stations or to change a preset station When a new station is stored in memory the station previously memorize...

Page 23: ...tion is activated Before playback For playback use normal or low noise tapes for the best sound Metal or CrO tapes are not recommended Do not use C 120 tapes or poor quality tapes as they may cause malfunctions Before loading a tape into the cassette compartment tighten the slack with a pen or a pencil 1 Press the ON STAND BY button to turn the power on 2 Open the cassette com partment by pushing ...

Page 24: ...Rewind TAPE 2 only Press in the playback or stop mode Before recording When recording important selections make a preliminary test to ensure that the desired material is properly recorded SHARP is not liable for damage or loss of your recording arising from malfunction of this unit The volume and sound controls can be adjusted with no effect on the recorded signal Variable Sound Monitor For record...

Page 25: ...ecorded on facing you Wind past the leader of the tape on which recording cannot be performed 4 Press the button Recording will be paused 5 Press one of the 1 5 buttons to select the desired disc 6 Within 5 seconds press the button to start recording Recording is started from the selected CD When the playback of the last track is finished or the end of the tape is reached the CD and the cassette w...

Page 26: ...ton until TAPE 2 appears on the display 3 Press the button 4 Press the TAPE button to start erasing Note Make sure that the TAPE 1 is not in use 1 Program discs and tracks See page 20 2 Press the button 3 Press the TAPE 1 Tune in to the desired station See page 21 2 Load a cassette into the TAPE 2 cassette compartment with the side to be recorded on facing you Wind past the leader of the tape on w...

Page 27: ...r Once timer play and once timer recording works for one time only at a preset time For example if you are away but want to record a program on a radio station Daily timer Daily timer play and daily timer recording works at the same preset time everyday For example set the timer as a wake up call every morning 1 Set the daily timer pages 27 29 2 Set the once timer pages 27 29 Start Daily timer Onc...

Page 28: ...hen press the MEMORY button 8 Set the time to finish as in steps 6 and 7 above White Red 9 Switch input with the or button and then press the MEMORY button To select the timer playback source CD TUNER TAPE 1 or TAPE 2 To select the timer recording source TUNER When you select the tuner select a station by pressing the or button and then press the MEMORY button If a station has not been programmed ...

Page 29: ...T jacks select GAME in step 9 This unit will turn on or enter the power stand by mode automatically however the connected unit will not turn on or off 1 Press the CLOCK TIMER button 2 Within 10 seconds press the or button to select ONCE or DAILY and press the MEMORY button 3 Within 10 seconds press the or button to select ONCE CAL or DAILY CAL and press the MEMORY button The unit returns to the ti...

Page 30: ...LOCK TIMER button 3 Within 10 seconds press the or button to select SLEEP and press the MEMORY button 4 Press the or button to select the time Maximum 3 hours Minimum 1 minute 3 hours 5 minutes 5 minute intervals 5 minutes 1 minute 1 minute intervals 5 Press the MEMORY button SLEEP will appear 6 The unit will enter the power stand by mode automatically after the preset time has elapsed The volume ...

Page 31: ...TUNER GAME VIDEO To record on a tape from Game VCR etc AC INPUT GAME or VCR DVD etc Red White Yellow Yellow To the line output jacks To video input jack RCA cord not supplied Video cable not supplied Video cable not supplied Yellow TV Yellow Red White 1 Connect a video game system VCR DVD etc to the front GAME INPUT VIDEO AUDIO L and R jacks 2 Connect a TV to the rear VIDEO OUT jack Switch the TV ...

Page 32: ...r service center General CD player Symptom Possible cause The clock is not set to the correct time Did a power failure occur Reset the clock Refer to page 15 When a button is pressed the unit does not respond Set the unit to the power stand by mode and then turn it back on If the unit still malfunctions reset it Refer to page 33 No sound is heard Is the volume level set to 0 Are the headphones con...

Page 33: ...d in memory including clock timer settings tuner preset and CD program Symptom Possible cause Cannot record Is the erase prevention tab removed Cannot record tracks with proper sound quality Is it a normal tape You cannot record on a metal or CrO tape Cannot erase completely Sound skipping Is there any slack Is the tape stretched Cannot hear treble Are the capstans pinch rollers or heads dirty Sou...

Page 34: ...irt or water on the CDs can cause noise or mistracking If a CD is dirty or does not play properly clean it with a soft dry cloth wiping straight out from the center along the radius Maintenance Cleaning the tape handling parts Dirty heads capstans or pinch rollers can cause poor sound and tape jams Clean these parts with a cotton swab moistened with commercial head pinch roller cleaner or isopropy...

Page 35: ...z to 20 kHz 10 total harmonic distortion Output terminals Speakers 6 ohms Headphones 16 50 ohms recommended 32 ohms Video output 1Vp p Input terminals Game Auxiliary audio signal 500 mV 47 k ohms Game Video 1Vp p Type 5 disc multi play compact disc player Signal readout Non contact 3 beam semiconductor laser pickup D A converter 1 bit D A converter Frequency response 20 20 000 Hz Dynamic range 90 ...

Page 36: ...be the sole and exclusive warranties granted by Sharp and shall be the sole and exclusive remedy available to the purchaser Correction of defects in the manner and for the period of time described herein shall constitute complete fulfillment of all liabilities and responsibilities of Sharp to the purchaser with respect to the Product and shall constitute full satisfaction of all claims whether bas...

Reviews: