SATO CX208, User Manual
The SATO CX208 User Manual is a valuable resource, providing comprehensive instructions for operating and maintaining your SATO CX208 printer. With a simple click, you can easily download this manual for free from our website, making it readily accessible whenever you need it. Get yours now at manualshive.com.
Share
Download


Reviews:
No comments
Related manuals for CX208

DL-210
Brand: Tally Dascom Pages: 62

FB 70
Brand: La Marzocco Pages: 17

158306
Brand: Mr. Coffee Pages: 17

1387B
Brand: ARIETE Pages: 159

WH95
Brand: U-Line Pages: 19

KM-630MAH-E
Brand: Hoshizaki Pages: 25

44141-MX
Brand: Proctor-Silex Pages: 19

DOMO B3974
Brand: Linea 2000 Pages: 102

Rhino Pro 3000
Brand: Dymo Pages: 2

PL41PLUST
Brand: Lelit Pages: 36

Elektronika Profi Due
Brand: ECM Pages: 61

PICKYOO
Brand: Yoo Digital Pages: 40

PerfectCoffee MC 08
Brand: Waeco Pages: 124

CA1051
Brand: Jata Pages: 24

IM2102ADT-UL
Brand: Elechomes Pages: 16
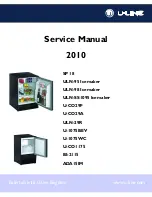
BI95FCB
Brand: U-Line Pages: 66
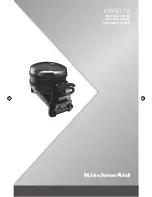
KWB110
Brand: KitchenAid Pages: 48
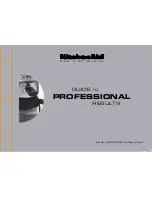
4KPCM050
Brand: KitchenAid Pages: 38


