Sagem FAX 4440, User Manual
The Sagem FAX 4440 is an efficient and reliable fax machine that meets all your document transmission needs. With its user-friendly design and advanced features, it ensures seamless communication. For easy operation, a detailed user manual is available for free download at manualshive.com, guiding you through every step.
Share
Download


Reviews:
No comments
Related manuals for FAX 4440

WF361 Series
Brand: Samsung Pages: 72

WF1804WP series
Brand: Samsung Pages: 88

Kenmore 385.12116690
Brand: Sears Pages: 93

BINDPRO
Brand: National Flooring Equipment Pages: 36

ULTRAFEED LS
Brand: Sailrite Pages: 38

Trooper 1000
Brand: Nobles Pages: 3

714XA A-2-P-1
Brand: Baum Pages: 49

Firebase SG-Z1200
Brand: FROGGYS FOG Pages: 6

Hard Floor Cleaner
Brand: Prolux Pages: 20

745 -
Brand: ELNA Pages: 61

SG8
Brand: Club Piscine Pages: 10

DU-1181N
Brand: JUKI Pages: 100

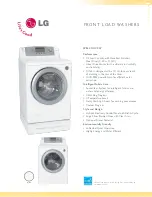
WM2688H*MA
Brand: LG Pages: 37

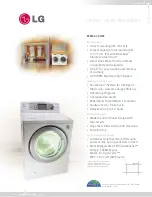
WM3170CW
Brand: LG Pages: 96

WM1832CW
Brand: LG Pages: 2

WD-20900
Brand: LG Pages: 51
WM2042CW
Brand: LG Pages: 2
WM2432HW
Brand: LG Pages: 2


