Roberts R9969, Manual
The Roberts R9969 manual is available for free download on manualshive.com, providing users with a comprehensive guide to maximize their experience with this exceptional product. Discover key features, settings, and troubleshooting tips effortlessly with this downloadable manual, ensuring you get the most out of your Roberts R9969.
Share
Download


Reviews:
No comments
Related manuals for R9969
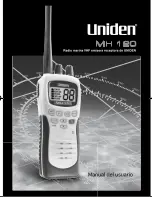
MH120
Brand: Uniden Pages: 32

R-1
Brand: VEF Pages: 3

GMR1035-2
Brand: Uniden Pages: 2

ECOterra GMR2838-2CK
Brand: Uniden Pages: 2

JBL-R3500
Brand: JBL Pages: 25
Speedster
Brand: Bushnell Pages: 9

M-150 Plus
Brand: Intek Pages: 32

M-150 Plus
Brand: Intek Pages: 42

APR-11
Brand: Akai Pages: 12

21-01904
Brand: Tekcom Industries Pages: 14

Walkie Talkie 202
Brand: BUSCH Pages: 33

TX3120S
Brand: GME Pages: 40

DB-330
Brand: Ocean Digital Pages: 9

NS-C2000 - AM/FM Clock Radio
Brand: Insignia Pages: 50

RV-M29
Brand: Raveon Pages: 40

R9903
Brand: Roberts Pages: 8

NSVS884
Brand: JRC Pages: 4

i-Talk T50
Brand: Intek Pages: 2


