Raymar DSP9612RM, User Manual
The Raymar DSP9612RM User Manual is an essential guide for users of this product. It provides detailed instructions on setup, usage, and troubleshooting. Download this comprehensive manual for free at manualshive.com, ensuring you have all the necessary information to maximize the potential of your Raymar DSP9612RM.
Share
Download


Reviews:
No comments
Related manuals for DSP9612RM

DSL-320T
Brand: D-Link Pages: 66

DSL-300T
Brand: D-Link Pages: 26

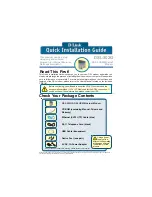
DSL-100D
Brand: D-Link Pages: 16

Vantage Connect
Brand: DAVIS Pages: 12

DWA-123
Brand: D-Link Pages: 42
DSL-3782
Brand: D-Link Pages: 64

DSL-300G+
Brand: D-Link Pages: 42

DWA-X3000
Brand: D-Link Pages: 19

DSL-322T
Brand: D-Link Pages: 66

DWA-X3000
Brand: D-Link Pages: 2

DSL-302G
Brand: D-Link Pages: 99
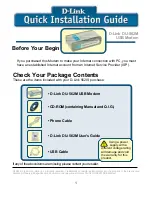
DU-562M
Brand: D-Link Pages: 84
DSL-302G
Brand: D-Link Pages: 12

DSL-4320L
Brand: D-Link Pages: 154

DSL-300T
Brand: D-Link Pages: 57

DSL-320B
Brand: D-Link Pages: 63

DSL-302T
Brand: D-Link Pages: 69

DSL-380T
Brand: D-Link Pages: 66


