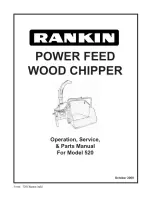
Rankin 520, Operation, Service & Parts Manual
The Epson 520 User Manual is your complete guide to unlocking the full potential of your Epson 520 printer. With detailed instructions and troubleshooting tips, this manual is essential for anyone looking to optimize their printing experience. Download your free copy today from manualshive.com and get started with ease.
Share
Download


Reviews:
No comments
Related manuals for 520

810
Brand: Salsco Pages: 31
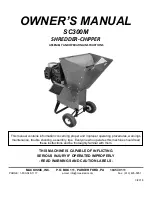
SC300M
Brand: MACKISSIC Pages: 37
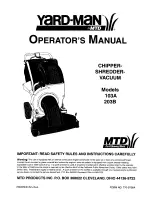
103A
Brand: Yard-Man Pages: 24
GS650
Brand: P.Lindberg Pages: 94
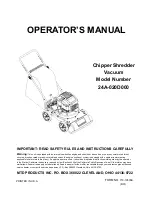
24A-020D000
Brand: MTD Pages: 32

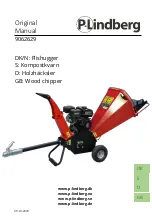
9065102
Brand: P.Lindberg Pages: 78
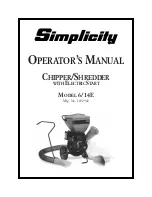
14E
Brand: Simplicity Pages: 36

SAELEN GS/LYNX14P
Brand: TS Industrie Pages: 44
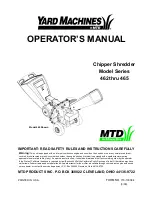
462 thru 465
Brand: MTD Pages: 16
635CSV
Brand: Salsco Pages: 22
CSV24
Brand: Cadet Pages: 24
Power Garden SSH-240
Brand: Ozito Pages: 16
462B series
Brand: Yard Machines Pages: 8

CARDEN TOOLS GBD-601C
Brand: MADER Pages: 76

GUO023
Brand: Landworks Pages: 12

R95 B Series
Brand: Negri Pages: 32

Prof 6
Brand: Eliet Pages: 92

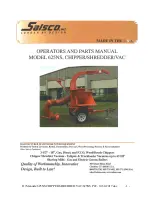
625NS
Brand: Salsco Pages: 22


