background image

Touch

Mix

Self-Guided Tour

WELCOME TO TOUCHMIX! 

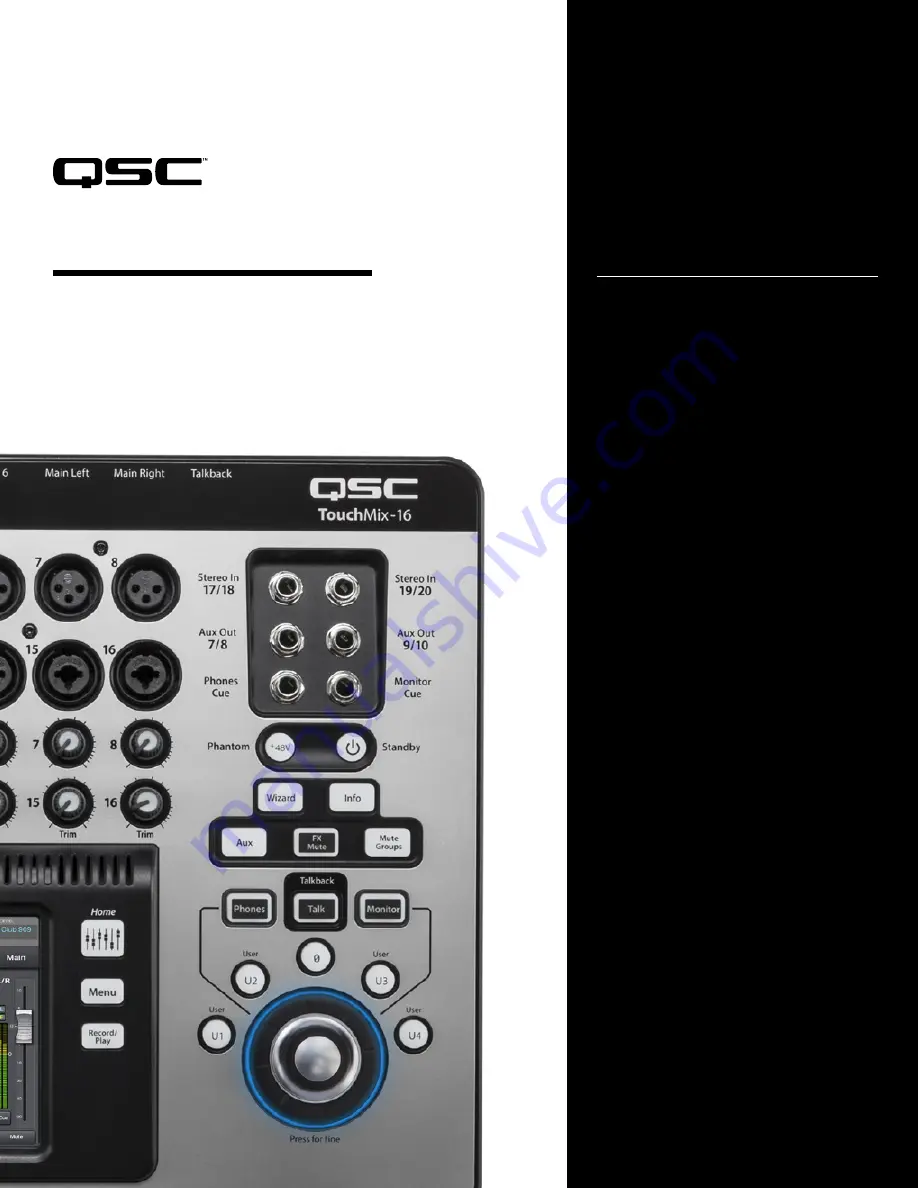
This guide will introduce you to 

many commonly used features of 

TouchMix. Click on a chapter title 

below, or follow the guide from start 

to finish for the complete TouchMix 

Tour. The example images portray 

a TouchMix-16 running firmware 

version 3.0, but the TouchMix-8 and 

TouchMix-30 Pro are nearly identical 

in operation. The “Home” icon on 

the bottom of each page will bring 

you back to select another chapter. 

Happy mixing!

02

08

10

13

14

16

20

22

26

CHAPTER 

PG

Navigation

Simple / Advanced Mode

Presets 

Scenes

FX

Wizards

Auxes

Recording

Video Training

Summary of Contents for TouchMix-16

Page 1: ...he complete TouchMix Tour The example images portray a TouchMix 16 running firmware version 3 0 but the TouchMix 8 and TouchMix 30 Pro are nearly identical in operation The Home icon on the bottom of...

Page 2: ...to power on the mixer Image 1 1 When the Power Standby button is pressed to power down a dialogue box will appear on the screen asking if you d like to power down the mixer ALWAYS power the mixer down...

Page 3: ...g it Turn the Master Encoder Image 1 6 to adjust the channel volume level This touch and turn technique allows you navigate quickly and make precise adjustments at the same time The tactile control of...

Page 4: ...ter Touch the tabs at the top of the screen to get to the controls you want to work with The Overview screen Image 1 8 displays all the channel s settings at one time Touch the EQ tab to display the E...

Page 5: ...r Gate you can touch and adjust parameters with the Master Encoder just like the Channel Faders and EQ TouchMix also gives you assignable Phantom Power on all your inputs To assign Phantom Power to an...

Page 6: ...e got the basic control of the mixer down let s dive a little deeper and explore the output processing of the mixer Push the Home button and select Aux Masters Image 1 15 The mixer will display all th...

Page 7: ...the Anti Feedback filters Image 1 18 These filters may be adjusted manually using the Freq and Gain controls Also note the Feedback Frequency window The mixer is always looking for suspect feedback fr...

Page 8: ...des and condenses controls to make it easier and faster to edit and mix To change between the two modes Open the Channel Strip by touching its name above the fader of a channel from the HOME screen Im...

Page 9: ...ight hand portion of the screen next to the Master Encoder Image 1 9 Next you will be asked Are you sure that you want to set all screens to Simple or Advanced edit mode Select Yes on this screen A vi...

Page 10: ...ts were created by a team of highly skilled mix engineers throughout many live sessions utilizing a variety of instruments being played through a variety of different live sound reinforcement equipmen...

Page 11: ...n that seems best for your application Press Recall Preset Image 3 5 in the bottom left hand corner of the screen To learn more about a Preset tap the Preset Info button on the Presets screen and a wi...

Page 12: ...call it again at any time To save a Custom Preset Navigate back to the Presets Image 3 7 tab within the Input channel Switch to User Image 3 8 mode by toggling the switch above the Instrument bank Pre...

Page 13: ...fferent applications very quickly To Save a Custom Scene Press Menu Image 4 1 Select Scenes Image 4 2 A pop up window will appear on the screen where you touch Save Save As To name your Scene and desi...

Page 14: ...ed into 4 Effects Master Engines 6 for TouchMix 30 Pro Once an Effect is designated to an engine that Effect can be sent to any input at any level you choose Let s start with some Reverb From the HOME...

Page 15: ...s its parameters Select a parameter by touching the corresponding knobs Use the Master Encoder Image 5 5 to adjust the FX parameters press and turn for fine adjustment You can Save your FX Settings as...

Page 16: ...rformance The FX Wizard will help choose the best FX Preset for your specific application To access the FX Wizard Press the Wizard Image 6 1 button on the right hand side of the mixer Select FX Wizard...

Page 17: ...gory from the Source Image 6 4 window Select a Type from the middle window Image 6 5 In the last window you can choose the Preset that best fits your application With the Preset selected touch the gre...

Page 18: ...Wizard Press the Wizard Image 6 7 button on the right hand side of the mixer Select the Gain Wizard Image 6 8 button on the screen The Wizard will show you all 16 Inputs with clip indicators above th...

Page 19: ...oudspeaker system to an acousti cal space Once the Wizard has measured and compensated for room acoustics you can apply a factory programmed response or adjust to taste To Access the Tuning Wizard Pre...

Page 20: ...p an Aux Mix The Aux select buttons are displayed on the left side of the screen Touch Aux 1 Image 7 1 to display the faders for Aux 1 The faders will look a little different than the main HOME screen...

Page 21: ...touching its name above the fader from the main Home Screen Select Auxes at the top of the channel screen Image 7 5 Select an Aux fader Image 7 6 by touching it Use the Master Encoder Image 1 6 to adj...

Page 22: ...ss the Record Play Image 8 1 button on the side of the screen Now you can setup your recording session Press New Recall Session Image 8 2 to the left of the Transport Controls With a compatible hard d...

Page 23: ...session we re ready to record Press the Record Play Image 8 4 button once more to get back to your Transport Control Press the Arm Image 8 5 button at the bottom of the channels you want to record Pr...

Page 24: ...n recorded Press the Arm Image 8 7 button to unarm the tracks that were previously recorded Touch the Track toggle switch Image 8 8 above the Arm button to set those channels for playback The Arm butt...

Page 25: ...8 10 You can also Reset the Recording Transport by dragging the Play Pointer Locator Image 8 10 back to zero Touch Play on the Recording Transport Image 8 12 and adjust the fader levels as needed A v...

Page 26: ...rt 3 Simple vs Advanced Mode Part 4 Preset Libraries Part 5 FX Wizard Part 6 Advanced Effects Part 7 Gain Wizard Part 8 Recording Functions Part 9 Advanced Recording and Playback Part 10 Updating Firm...

Reviews: