background image


QM2 Installation Guide 


Unpacking Instructions 

Prior to unpacking your QM2 expansion card, ensure that all system requirements are met. 

Inspect each item in the packet contents. Contact your reseller for any damaged or missing parts. 

Package Contents 


QM2 with cooling module; 

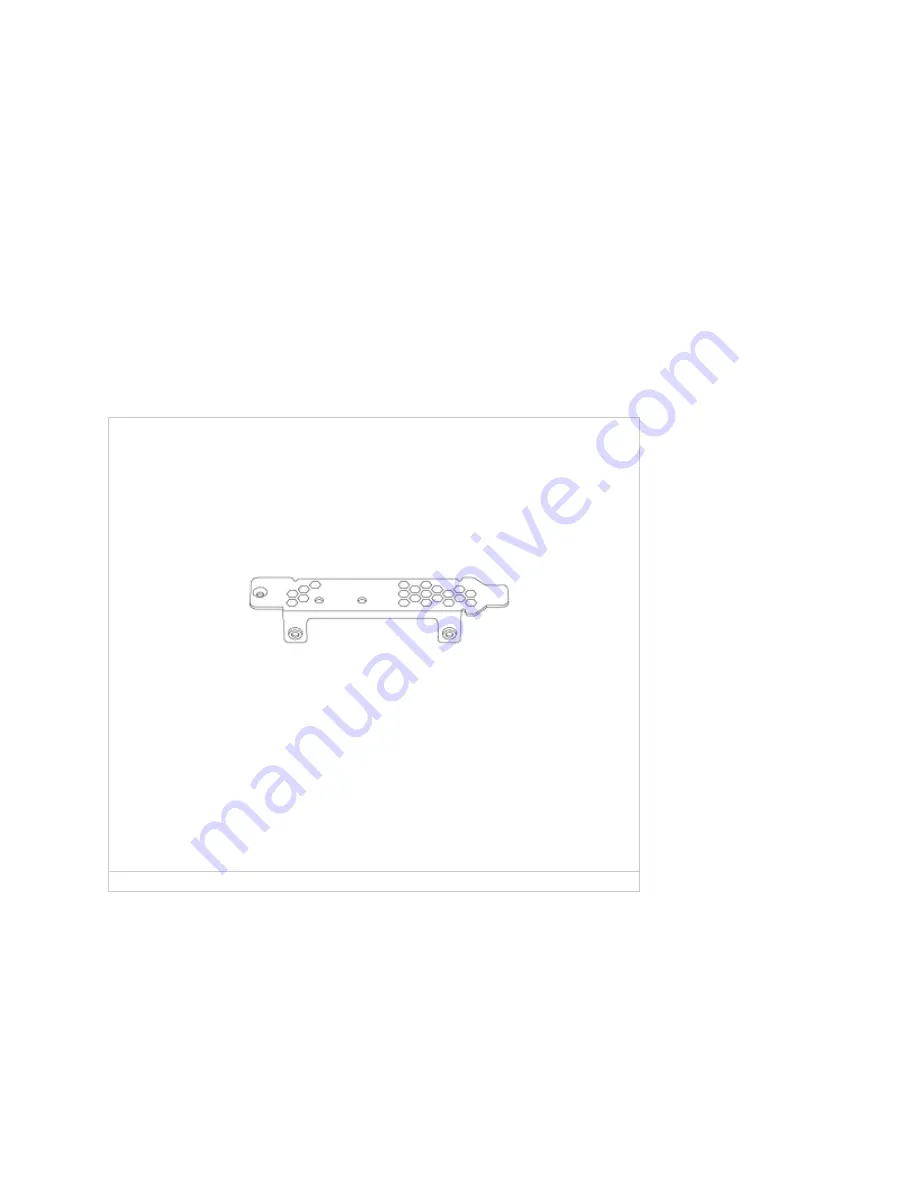
Low-profile bracket (preinstalled) 


Full-height bracket 


Low-profile flat bracket 


Summary of Contents for QM2 Series

Page 1: ... expansion card ensure that all system requirements are met Inspect each item in the packet contents Contact your reseller for any damaged or missing parts Package Contents QM2 with cooling module Low profile bracket preinstalled Full height bracket Low profile flat bracket ...

Page 2: ...Thermal pad kit Rubber pad black kit M 2 SSD screw pack ...

Page 3: ...rom both sides of thermal pad and place thermal pad on SSD controller b Remove protective film from rubber pad black and stick rubber pads on the bottom side of the SSD as needed Note the thermal and rubber pads work together to transfer heat from the SSD controller to the cooling module ...

Page 4: ...2 Unscrew the cooling module from the QM2 board 3 Remove the cooling module from the QM2 board without disconnecting the power connector 4 Insert M 2 SSD onto QM2 ...

Page 5: ...a Insert M 2 SSD into M 2 socket b Secure M 2 SSD with screw ...

Page 6: ...oling module to the QM2 board and secure screws Installing a QM2 Card in a NAS 1 Power off the NAS 2 Unplug the power cord from the electrical outlet 3 Disconnect all cables and external attachments 4 Remove the screws on the back of the NAS that connect the case cover to the chassis ...

Page 7: ...Use low profile bracket Use full height bracket Use low profile flat bracket 5 Note Refer to your Hardware User Guide for details 6 Power off the NAS ...

Page 8: ...Use low profile bracket Use full height bracket Use low profile flat bracket 7 Remove the screw from the PCIe slot cover and then pull the cover off ...

Page 9: ...Use low profile bracket Use full height bracket Use low profile flat bracket 8 Identify the bracket required for your NAS ...

Page 10: ...Use low profile bracket Use full height bracket Use low profile flat bracket 9 Change PCIe bracket on the QM2 card if necessary ...

Page 11: ...a Remove screws from existing bracket b Remove bracket from card ...

Page 12: ...c Attach required bracket to card using the same screws 10 Install the QM2 card ...

Page 13: ...Use low profile bracket Use full height bracket Use low profile flat bracket a Hold the expansion card by the edges b Insert the card into the slot ...

Page 14: ...c Attach the screw 11 Attach the case cover Use low profile bracket Use full height bracket Use low profile flat bracket ...

Page 15: ...12 Attach the screws to the back side of the case Use low profile bracket Use full height bracket Use low profile flat bracket ...

Page 16: ...Connect all cables and external attachments 14 Power on the NAS 15 Verify that the SSD on the QM2 card is recognized by the NAS a Log on to QTS as administrator b Go to Main Menu Storage Manager Disk VJBOD ...

Reviews: