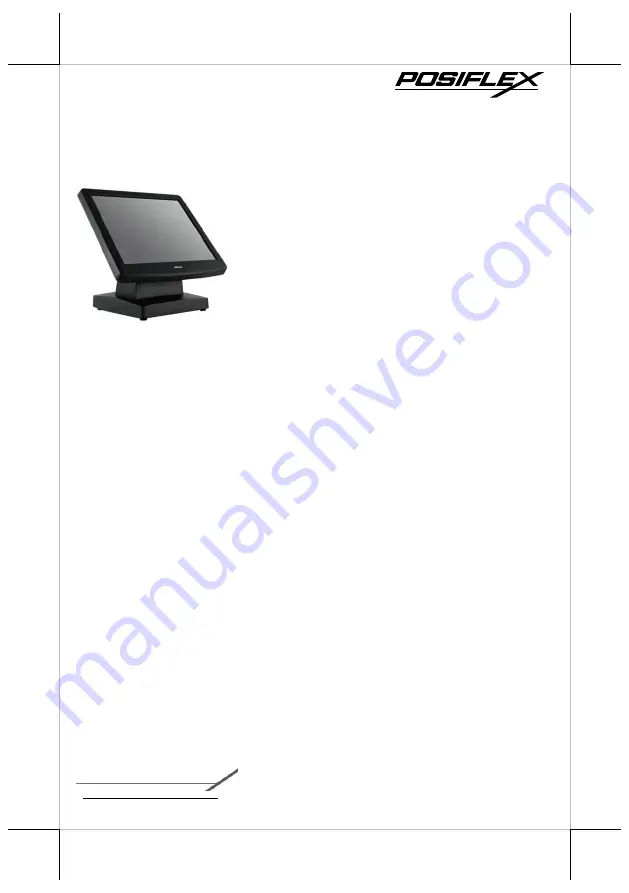
background image


Package Contents 


17” TM/LM-7117E 
Standalone Monitor……………….(x 1) 


VGA Cable………………………..(x 1) 


USB type A to B cable...……….....(x 1) 


Power Cord………………………..(x 1)  


12V/40W Power Adapter………....(x 1) 


User Manual………………………(x 1) 
 

Product Features 


17” TFT LCD panel  


LCD resolution up to 1280 x 1024 


5-wire resistive or IR touch panel for TM-7117E 


Easy tilt angle adjustment from 15

˚

 to 70

˚


x USB port support 


Optional side attachment support (SD-466Z or KP-300W) 


Optional VESA mounting kit (WB-6000V-B) 


Dimension : 401 mm (H) x 385 mm (W) x 286 mm (D);  


Weight : 6.82 kg 


19630902010 Ver. Original


http://www.posiflex.com


     TM/LM-7117E 

         Standalone POS Monitor 

    User Manual 

Summary of Contents for LM-7117E

Page 1: ...nel LCD resolution up to 1280 x 1024 5 wire resistive or IR touch panel for TM 7117E Easy tilt angle adjustment from 15 to 70 2 x USB port support Optional side attachment support SD 466Z or KP 300W Optional VESA mounting kit WB 6000V B Dimension 401 mm H x 385 mm W x 286 mm D Weight 6 82 kg 19630902010 Ver Original http www posiflex com TM LM 7117E Standalone POS Monitor User Manual ...

Page 2: ...ttom View Side Mount Cover Release Button Cable Exit 17 LM 7117E LCD Panel 17 TM 7117E Resistive or IR Touch Panel LED Indicator Cable Holder Cable Groove Rubber Feet with Fixing Screw Cable Passage Gen 5 Base Cable Cover Rubber Feet with Fixing Screw ...

Page 3: ...3 Left Side View Right Side View I O Ports VGA Port USB Type B Port DC IN Power Jack USB Type A Port OSD button EXT button button button Tilt Adjustment Lever OSD Control Button Power button ...

Page 4: ...CD panel into place Connecting VGA and USB Cables Gen5 base features its own cable management to help you well organize the cords The following will provide some useful cable routing instructions for you to connect VGA and USB cables to TM LM 7117E 1 To release LCD panel from Gen5 base support your monitor with one hand holding to the bottom of the panel and then push it up while pressing down the...

Page 5: ...e passage 6 Lift your monitor to aim four screw bolts on the rear of the monitor to the four screw holes on the Gen5 base Then along the rail slots push down the monitor until the LCD panel is well locked into place with a click sound 7 Connect the monitor to the terminal using VGA cable 7 1 Connect one end of the VGA cable to the VGA port at the bottom I O plate of your monitor 7 2 Take the other...

Page 6: ...ell connected to POS terminals and electricity is supplied to the monitor through external power sources Power ON TM LM 7117E Press the power button of the terminal to power up the terminal Few seconds later the monitor will be initiated automatically Power OFF TM LM 7117E After following the standard shutdown procedure to shut down your terminal the monitor will be consequently turned off Power L...

Page 7: ...ollow the below instructions to complete installation of The Dual Touch Manager a tool designed to allow your monitor to work as a secondary touchscreen monitor in extended mode 1 Make sure that the monitor is well connected to your POS terminal with USB type A to B cable 2 Visit Posiflex official site http www posiflex com en global Home index Or you may find USB Dual Touch Manager from your Posi...

Page 8: ...and then Drivers Utility 6 Click Setup icon of USB Dual Touch Manager to install the USB Dual Touch Manager 7 Follow the instructions to complete the manager installation After the installation is finished restart your terminal 1 2 ...

Page 9: ...72 46 9 75 1024 x 768 48 4 60 56 5 70 60 75 1280 x 1024 64 60 80 75 Using the OSD Menu OSD as known as On Screen Display is employed to assist users in adjusting a variety of monitor related settings depending on personal preference Through this section it is expected to familiarize you with the options which are accessible via OSD menu and to optimize your experiences with TM LM 7117E Power OSD B...

Page 10: ...onitor To help you get started with the OSD menu the following points are guidelines you are suggested to go through 1 Firstly press the OSD button to access the OSD menu 2 Scroll through OSD menu options using either the or button 3 Press the OSD button to select the particular menu option of interest It will lead you to its sub menu page if the selected menu option contains sub menu items 4 Unde...

Page 11: ...n to decrease contrast Sharpness Press the button to increase sharpness Press the button to decrease sharpness Display Auto Adjustment Execute the auto tune function for OSD menu which will automatically perform fine tune of the image quality for optimizing screen performance H Position Press the button to move the screen to the right Press the button to move the screen to the left V Position Pres...

Page 12: ...ctive Area 377 920 H x 270 336 V Pixel Pitch 0 264 H x 0 264 V Pixel Arrangement RGB Vertical Stripe Viewing Angle 80 80 80 80 degree U D L R Contrast Ratio 500 1 Response Time 6 ms Raising 2 ms Falling Brightness 300 cd m2 Touch Touch type 5 wire Resistive or IR N A Interface USB N A General Specification Display Interface VGA Power Supply 12V 40W Dimension 401 x 385 x 286 W x D x H in mm Weight ...

Reviews: