Note
– 1 –
– 2 –
– 3 –
– 4 –
1. Package Contents
2. Physical Installation
3. Hardware Installation
– 7 –
– 8 –
4. Web Login
5. Wireless Network Connection
– 5 –
– 6 –
Front Panel Description
Rear Panel Description
Wireless AP
Quick Guide
CD-ROM
Power Adapter
Mounting Kit
Ethernet Cable
300Mbps
802.11n Wireless Ceiling Mount
Range Extender / Access Point
WNAP-C3220
FURTHER INFORMATION
The above steps introduce simple installations and
configurations for WNAP-C3220. For further configurations of
different operation modes, please refer to the user’s manual in
the CD. If you have further questions, please contact the local
dealer or distributor where you purchased this product.
2011-E10400-000
Thank you for choosing PLANET WNAP-C3220. Before
installing the AP, please verify the contents inside the
package box.
If there is any item missed or damaged, please
contact the seller immediately.
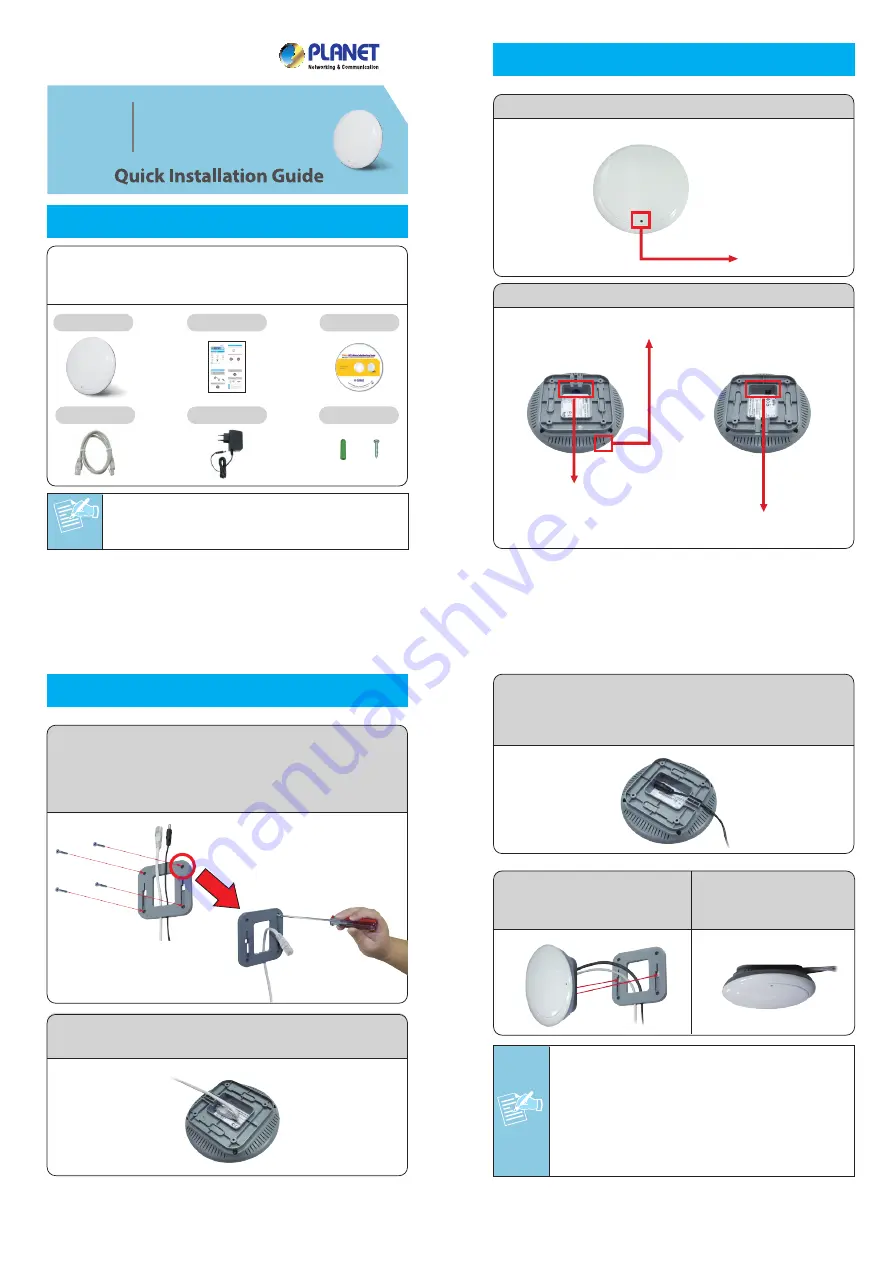
Step 1:
Attach the bracket to the wall or ceiling, and
mark each point in the bracket for the screws.
Remove the bracket to drill the points and insert
the plastic wall-mounts. Use screws to lock the
bracket by a screw driver.
Step 3:
Plug the power adapter into the WNAP-C3220.
If WNAP-C3220 is connected to a 802.3af PoE
switch in STEP 2, you don’t have to plug the
power adapter.
Step 4:
Attach the
WNAP-C3220 to the
mounting bracket.
Step 5:
Successful
installation.
Step 2:
Plug the RJ-45 Ethernet cable into the
WNAP-C3220.
Step 4:
Once the basic configuration of the AP is done.
Click Save button to make the change take
effect.
Step 3:
When you enter into the Web User Interface,
click
Setup Wizard
at the left hand side of the
screen.
1. Click
“Start”
button located at lower-left corner of you
computer
2. Click
“Control Panel”
3. Double click
“Network and Sharing Center”
icon
4. Click
“Change adapter settings”
5. Double click
“Local Area Connection”
6. Select
“Internal Protocol Version 4 (TCP/IPv4)”
and click
“Properties”
7. Select
“Use the following IP address”
8. Assign a static IP address to your PC which should be
in the same network segment with the WNAP-C3220.
As the default IP address of the WNAP-C3220 is
192.168.1.1
, you may choose from 192.168.1.2 to
192.168.1.254. Then click OK.
Step 1:
Set your computer to a static IP address.
(Following steps are based on Windows 7)
Step 2:
The Web management allows you to access and
manage the Wireless AP easily. Launch the Web
browser and enter the default IP address
http://192.168.1.1
The default User name and Password are both
“admin”
.
Then click OK button to continue.
Default IP Address:
192.168.1.1
Default Username:
admin
Default Password:
admin
Default SSID:
default
A computer with wired Ethernet connection to the
WNAP-C3220 is required for the first-time configuration.
Note
1. ONLY use the power adapter supplied with
WNAP-C3220. Otherwise, the product may be
damaged.
2. For the power supply of WNAP-C3220, you
could use either IEEE 802.3af PSE device or
12VDC Adapter. Please do not use 12V
adapter and PSE devices at the same time. It
may damage the WNAP-C3220 itself.
Step 1
: Right-Click on the
network icon
displayed in the
system tray.
Step 2
: Highlight the wireless network (SSID) to connect
and click [
Connect
].
Step 3
: Enter the
encryption key
of the Wireless Access
Point.
x 4
x 4
1 x 10/100/1000Mbps PoE LAN Port
Reset Button
Power Connector 12V DC Input
Power LED


