1
Unpacking and wall mounting instructions
For the unpacking instructions follow the illustrated steps printed on the
packaging (outside and inside). For the wall mounting instructions follow the
illustrated steps
‘
to
§
printed on the separate leaflet.
Make sure that the wall mount is being fixed securely enough so that it meets
safety standards.The weight of the monitor (excl. packaging) is about 24 kg
(32”), 30 kg (37”) and 35,5 kg (42”).
Note: Stands are optional accessories. Consult your dealer.
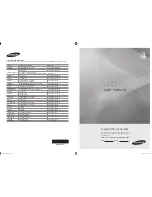
To prevent any unsafe situations, no naked flame sources, such as lighted
candles, should be placed on or in the vicinity. Avoid heat, direct sunlight and
exposure to rain or water.
The equipment shall not be exposed to dripping or splashing and no objects
filled with liquids, such as vases, shall be placed on it.
Connect your electronic receiver box
See the separate supplied instruction manual with your receiver box.
Connect your computer
To the receiver box
See the illustration in the inside frontcover of this handbook.
&
Connect one end of a VGA cable to the video card of the computer and the
other end to the
VGA IN
connector at the rear side of the receiver box. Fix
the connectors firmly with the screws on the plug.
é
In case of a Multimedia computer, connect the audio cable to the audio
outputs of your Multimedia computer and to the
AUDIO VGA R
(right) and
L
(left) inputs of the receiver box.
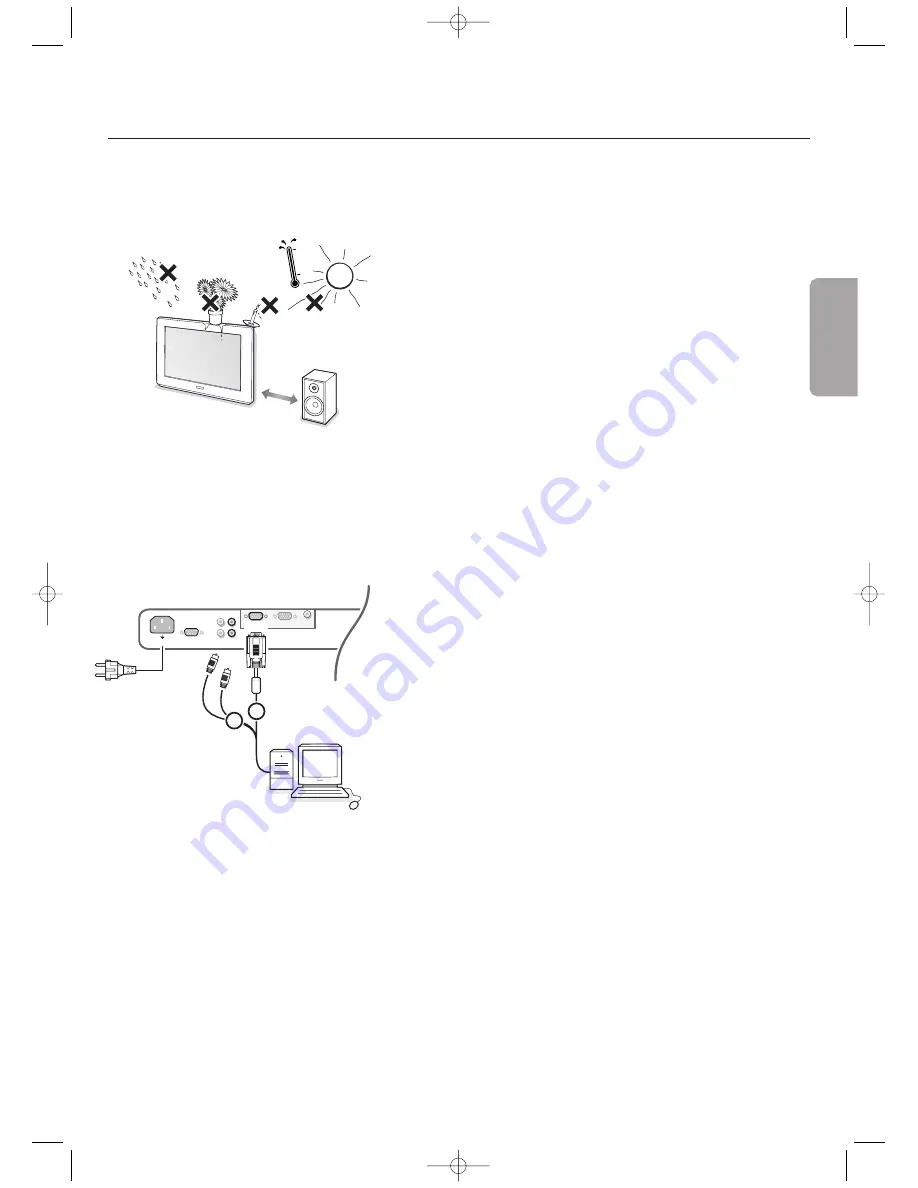
Directly to the monitor
&
Connect one end of a VGA cable
1
to the video card of the computer and
the other end to the
VGA 1
connector at the rear side of the monitor. Fix the
connectors firmly with the screws on the plug.
é
In case of a Multimedia computer, connect the audio cable
2
to the audio
outputs of your Multimedia computer and to the
AUDIO VGA 1 R
(right) and
L
(left) inputs of the TV monitor.
Daisy chaining
The Loop Through facility makes it possible to make a daisy chain with a
second monitor.
“
Connect one end of another VGA cable to the
VGA 2
connector at the rear
side of the monitor and the other end to the
VGA 1
connector of a second
monitor.
‘
In case of a Multimedia computer, also connect audio cables to the
AUDIO L
and
R
outputs of the original monitor and to the
AUDIO L
and
R
inputs of the
second monitor.
The RC out jack next to the
VGA 2
connector makes it possible to daisy chain
remote control signals to other equipment.
This output cannot be used to daisy chain a second monitor.
Serial I/O port RS232
The RS232 connector is only to be used with the monitor as stand alone.
This connector allows you to control the monitor via your PC (as a
replacement of the remote control).
Note: This connector can also be used for dealer service tools.
~ MAINS
RS232
VGA 2
L
R
L
R
AUDIO IN
VGA 1
VGA 1
VGA 2
RC OUT
2
1
English
1 m
min.
1011.5 gb 03-10-2003 11:17 Pagina 1