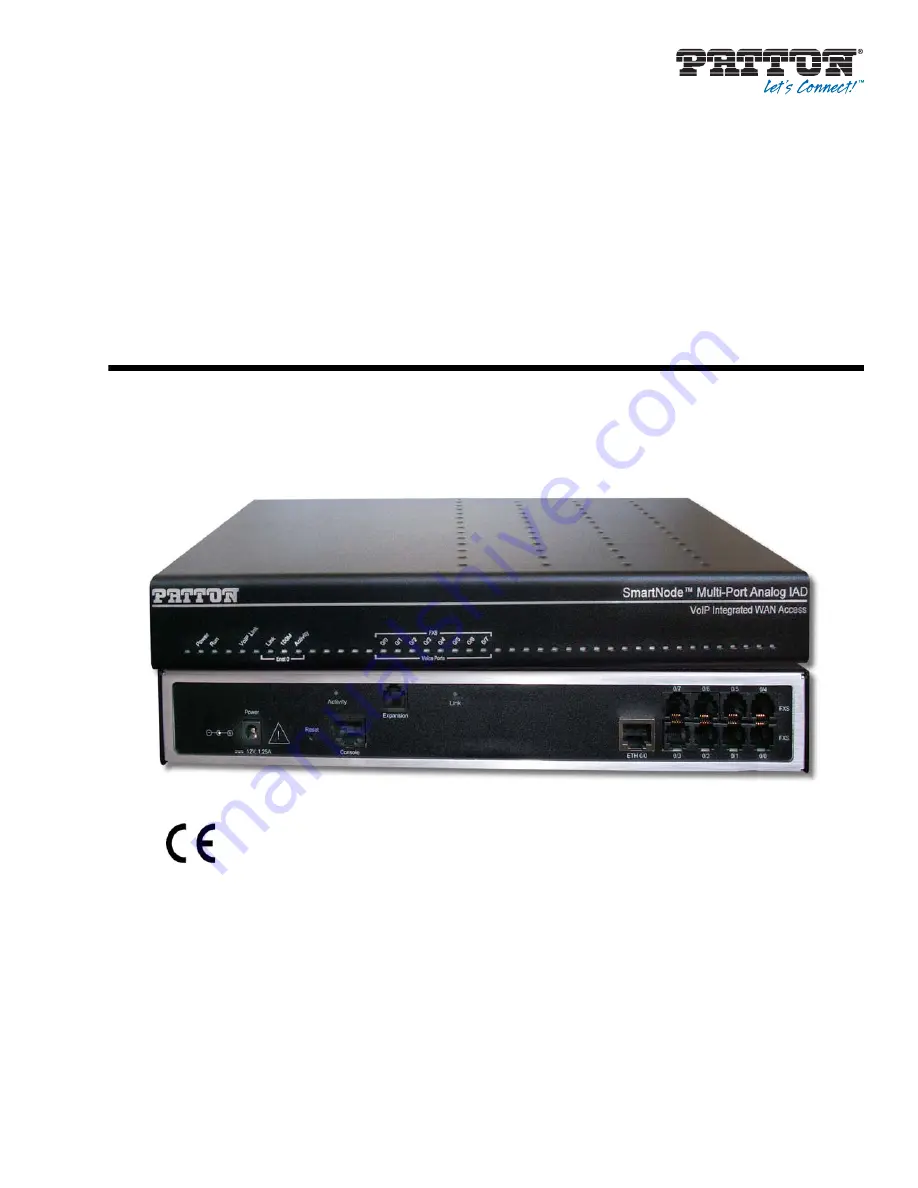
SmartNode 4830 DSL Series
Analog VoIP Integrated Access
Device
User Manual
Sales Office:
+1 (301) 975-1000
Technical Support:
+1 (301) 975-1007
E-mail:
WWW:
Part Number:
07MSN4830DSL-UM, Rev. C
Revised:
November 21, 2013
Approval
Models that are equipped with telecom interfaces have been approved for connection to the public
telecommunication network as listed under PSTN regulatory compliance.
Important
This is a Class A device and is intended for use in a light industrial environment. It is not intended
nor approved for use in an industrial or residential environment.