background image

Before connecting, operating or adjusting this product, please read these instructions completely.

Please keep this manual for future reference.

English

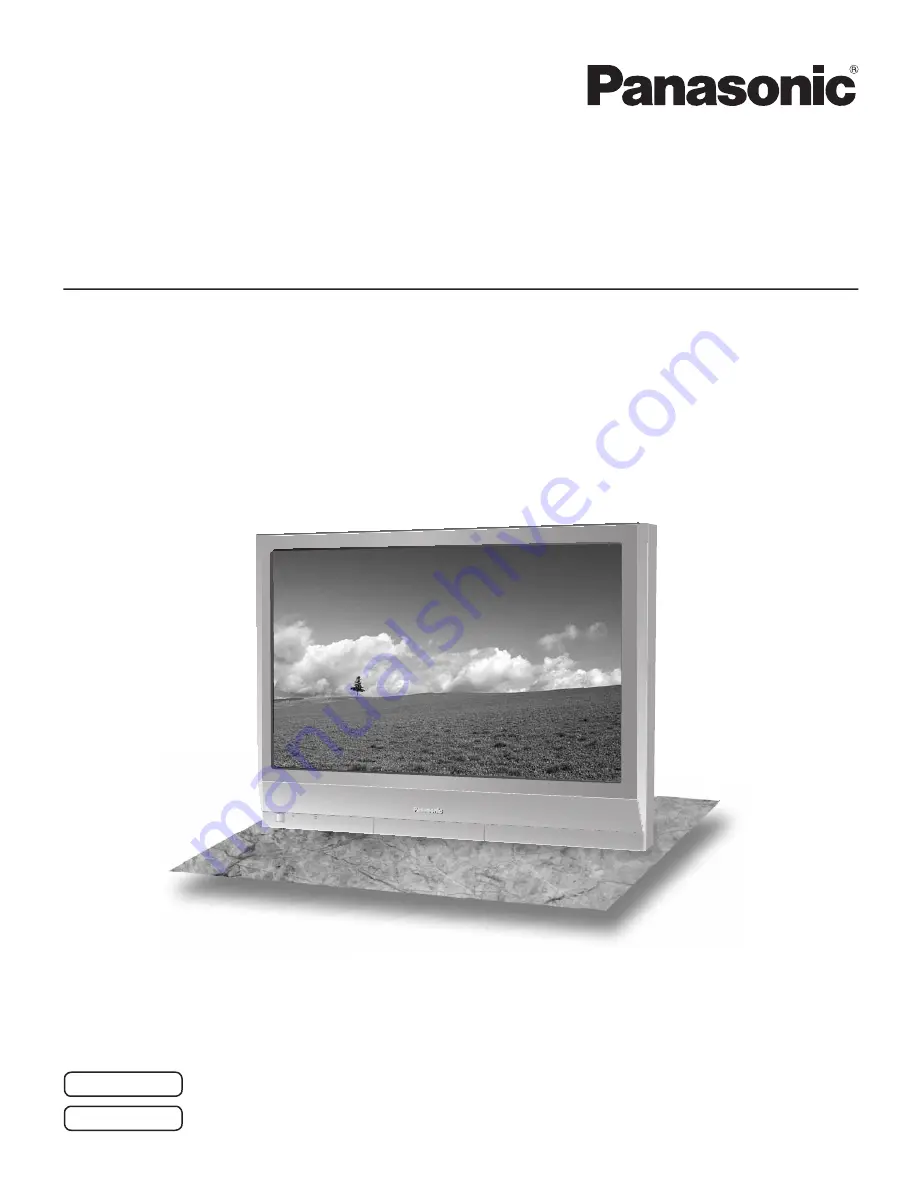
The illustration shown is an image.

TH-37PR10U
TH-42PR10U

Model No.

Número de modelo.

TQB2AA0801-1

Antes de conectar, utilizar o ajustar este producto, lea completamente este manual de instrucciones;

y guárdelo para consultarlo en el futuro en caso de ser necesario.

Español

La ilustración mostrada es una imagen.

Operating Instructions 

Manual de instrucciones 

High Defi nition Hospitality Plasma Display

Pantalla de plasma de alta defi nición para la industria hotelera

Summary of Contents for TH-42PR10U

Page 1: ...U Model No Número de modelo TQB2AA0801 1 Antes de conectar utilizar o ajustar este producto lea completamente este manual de instrucciones y guárdelo para consultarlo en el futuro en caso de ser necesario Español La ilustración mostrada es una imagen Operating Instructions Manual de instrucciones High Definition Hospitality Plasma Display Pantalla de plasma de alta definición para la industria hot...

Page 2: ...e appliance WARNING To prevent damage which may result in fire or shock hazard do not expose this apparatus to rain or moisture Do not place containers with water flower vase cups cosmetics etc above the set including on shelves above etc WARNING 1 To prevent electric shock do not remove cover No user serviceable parts inside Refer servicing to qualified service personnel 2 Do not remove the groun...

Page 3: ...ent of the obsolete outlet 10 Protect the power cord from being walked on or pinched particularly at plugs convenience receptacles and the point where they exit from the apparatus 11 Only use attachments accessories specified by the manufacturer 12 Use only with the cart stand tripod bracket or table specified by the manufacturer or sold with the apparatus When a cart is used use caution when movi...

Page 4: ... input signal 13 Selecting the On Screen Menu Language 13 Basic Controls 14 On Screen Menu Displays 16 ASPECT Controls 18 Adjusting POS SIZE 19 MULTI PIP 20 Advanced PIP 21 PICTURE Adjustments 22 ADVANCED SETTINGS 23 SOUND Adjustment 24 MUTE 24 Digital Zoom 25 PRESENT TIME SETUP SET UP TIMER 26 PRESENT TIME SETUP 26 SET UP TIMER 27 SCREENSAVER For preventing image retention 28 Setup of SCREENSAVER...

Page 5: ...his device must accept any interference received including interference that may cause undesired operation FCC CAUTION To assure continued compliance use only shielded interface cables when connecting to computer or peripheral devices Any changes or modifications not expressly approved by Panasonic Corporation of North America could cause harmful interference and would void the user s authority to...

Page 6: ... ventilation holes of the Plasma Display Top of the Plasma Display is usually very hot due to the high temperature of exhaust air being released through the ventilation holes Burns or personal injuries can happen if any body parts are brought too close Placing any object near the top of the display could also result in heat damages to the object as well as to the Display if its ventilation holes a...

Page 7: ...al optional accessory leave a space of 3 15 16 10 cm or more at the top left and right 2 3 8 6 cm or more at the bottom and 2 3 4 7 cm or more at the rear If using some other setting up method leave a space of 3 15 16 10 cm or more at the top bottom left and right and 2 3 4 7 cm or more at the rear Transport only in upright position Transporting the unit with its display panel facing upright or do...

Page 8: ...ries Supplied Check that you have the Accessories and items shown Operating Instruction book AC cord The remote control is not included with this set Available for purchase separately Object model EUR7636070R Fixing bands 2 ...

Page 9: ...hrough the locking block as shown in the figure While ensuring there is sufficient slack in cables to minimize stress especially in the power cord firmly bind all cables with the supplied fixing band To tighten To loosen Pull Pull Push the catch Note Make sure that the AC cord is locked on both the left and right sides Push until the hook clicks 2 Pull off 1 Keep the knob pressed Unplug the AC cor...

Page 10: ...e computer at the time of connection Some PC models cannot be connected to the set There is no need to use an adapter for computers with DOS V compatible Mini D sub 15P terminal The computer shown in the illustration is for example purposes only Additional equipment and cables shown are not supplied with this set Do not set the horizontal and vertical scanning frequencies for PC signals which are ...

Page 11: ...nsmitted be sure to wait for the response for the first command to come from this unit before sending the next command If an incorrect command is sent by mistake this unit will send an ER401 command back to the computer SL1A SL1B SL2A and SL2B of Command IMS are available only when a dual input terminal board is attached With the power off this display responds to PON command only Pin layout for S...

Page 12: ...e During operation of the power management function the power indicator turns orange in the power off state Power Indicator Remote Control Sensor Fix the AC cord plug securely to the Plasma Display with the clamper see page 9 Connecting the plug to the Wall Outlet Note When disconnecting theAC cord be absolutely sure to disconnect the AC cord plug at the socket outlet first Press the Power switch ...

Page 13: ...able languages Select the input signals to be connected by installing the optional Terminal Boards Press to select the input signal to be played back from the equipment which has been connected to the Plasma Display Input signals will change as follow Notes Selecting is also possible by pressing the INPUT button on the unit Input terminal will not be selected if the terminal board is not installed...

Page 14: ...ach time the MENU button is pressed the menu screen will switch see page 16 Power Indicator The Power Indicator will light Power OFF Indicator not illuminated The unit will still consume some power as long as the power cord is still inserted into the wall outlet Standby Red Power ON Green DPMS Orange With PC input signal and during operation of PC s screensaver Main Power On Off Switch Volume Adju...

Page 15: ...ct solution to image retention Channel Adjustment You can use this button when U V Tuner Board with MATE I F is installed optional accessories Refer to each Board s Operating Instruction for detail Volume Adjustment Press the Volume Up or Down button to increase or decrease the sound volume level OFF TIMER button The Plasma Display can be preset to switch to stand by after a fixed period The setti...

Page 16: ...OFF STANDBY SAVE OFF POWER MANAGEMENT OFF AUTO POWER OFF OFF OSD LANGUAGE ENGLISH US COMPONENT RGB IN SELECT RGB INPUT LABEL SIGNAL POWER SAVE SET UP 2 2 SET UP SCREENSAVER MULTI DISPLAY SETUP SET UP TIMER PRESENT TIME SETUP MENU ENTER INPUT VOL Normal Viewing PICTURE SETUP SOUND POS SIZE On Screen Menu Displays The MENU button on the unit can also be pressed Each time the MENU button is pressed t...

Page 17: ...SCREENSAVER START FUNCTION MODE WOBBLING PEAK LIMIT FINISH TIME START TIME WHITE BAR SCROLL TIME OF DAY 6 15 12 30 OFF OFF SIDE BAR ADJUST BRIGHT PRESENT TIME OF DAY 15 00 SCREENSAVER START FUNCTION MODE WOBBLING PEAK LIMIT SAVER DURATION SHOW DURATION WHITE BAR SCROLL INTERVAL 12 00 3 00 OFF OFF SIDE BAR ADJUST BRIGHT PRESENT TIME OF DAY 15 00 To SIGNAL screen for COMPONENT see page 33 2 Press to...

Page 18: ...ze to change unexpectedly When viewing such programs it is recommended that the ASPECT be set to NORMAL If adjusting the PICTURE V POS V SIZE in PanasonicAUTO with FULL mode the adjustment is not memorized When exiting the mode the screen will return to a former adjustment Panasonic AUTO can not be selected while BNC Dual Video Terminal Board TY FB9BD is installed For an elongated image Image is e...

Page 19: ...gnals are memorized for each frequency If a Cue or Rew signal from a VCR or DVD player is received the picture position will shift up or down This picture position movement cannot be controlled by the POS SIZE function If adjusting the PICTURE V POS V SIZE in Panasonic AUTO with FULL mode the adjustment is not memorized When exiting the mode the screen will return to a former adjustment While the ...

Page 20: ...und output is from the picture which is selected in Audio OUT PIP See page 24 In 2 screen display the same input mode cannot be selected for the main picture and sub picture The main picture and sub picture are processed by different circuits resulting in a slight difference in the clarity of the pictures There may also be a difference in the picture quality of the sub picture depending on the typ...

Page 21: ...nsions of the sub pictures these sub pictures cannot be shown in detail Computer screen picture is displayed in a simplified format and it may not be possible to discern details on them satisfactorily Following combinations of two analog signals cannot be displayed simultaneously Component Component Component PC RGB PC RGB Component PC RGB PC RGB Refer to each board s operating instruction for DVI...

Page 22: ... to something else adjust using the items in the PICTURE menu see next page PICTURE Adjustments 1 2 ADVANCED SETTINGS ON Enables fine picture adjustment at a professional level see next page ADVANCED SETTINGS OFF Displays images with settings of the PICTURE menu Press to enter Advanced Settings COLOR MANAGEMENT ON Enables vivid color adjustment automatically Press the left or right button to switc...

Page 23: ...ones SHARPNESS Less More Adjusts picture sharpness Item Effect Details BLACK EXTENSION Less More Adjusts the dark shades of the image in gradation INPUT LEVEL Less More Adjustment of parts which are extremely bright and hard to see This cannot be adjusted when the input signal is Digital GAMMA Down Up S CURVE 2 0 2 2 2 5 AGC OFF ON Increases the brightness of dark signal automatically W B HIGH R L...

Page 24: ... the sound 2 Select to adjust each item Useful when answering the phone or receiving unexpected visitors Press this button to mute the sound Press again to reactivate sound Sound is also reactivated when power is turned off or volume level is changed While the SOUND menu is displayed if either the N button on the remote control is pressed at any time or the ACTION button is pressed during NORMALIZ...

Page 25: ...llowing operation state Multi viewer Picture in Picture Picture out Picture Picture and Picture operation see page 20 While Digital Zoom is in operation Adjusting POS SIZE cannot be used Select the magnification required for the enlarged display Each time this is pressed the magnification factor changes This is shown in the image being displayed 3 2 4 The cursor will move 1 Display the operation g...

Page 26: ... Then set POWER ON TIME POWER OFF TIME Press to display the SET UP menu Press to select SET UP TIMER or PRESENT TIME SETUP Press to display the SET UP TIMER screen or PRESENT TIME SETUP screen Display the PRESENT TIME SETUP screen To set up DAY and PRESENT TIME OF DAY follow the procedure described below Press to select DAY or PRESENT TIME OF DAY Press to set up DAY or PRESENT TIME OF DAY button F...

Page 27: ... TIMER Press to select POWER ON TIME POWER OFF TIME Press to set up POWER ON TIME POWER OFF TIME button Forward button Back Notes Pressing or button once changes POWER ON TIME POWER OFF TIME 1minute Pressing or button continuously changes POWER ON TIME POWER OFF TIME by 15 minutes Press to select POWER ON FUNCTION POWER OFF FUNCTION Press to select ON Press twice to exit from SET UP Note Timer fun...

Page 28: ...E SCROLL selection 2 3 1 4 Press to display the SET UP menu Press to select the SCREENSAVER Press to select the SCREENSAVER screen Press to select the FUNCTION Press to select the desired function WHITE BAR SCROLL NEGATIVE WHITE BAR SCROLL A white bar will scroll from left to right NEGATIVE A negative image will be displayed on the screen MODE selection START setting 5 When the MODE is set to ON p...

Page 29: ...URATION SHOW DURATION WHITE BAR SCROLL INTERVAL 12 00 3 00 OFF OFF SIDE BAR ADJUST BRIGHT PRESENT TIME OF DAY 15 00 Setup of SCREENSAVER Time After selecting TIME OF DAY or INTERVAL the relevant Time Setup will become available for selection and the Operating Time may be set Time cannot be set when MODE is ON or OFF Press to select START TIME FINISH TIME When TIME OF DAY is selected Press to selec...

Page 30: ... of the display field To reduce the risk of such an image retention change the brightness of the side bars Display the SCREENSAVER screen Refer to the previous page operation guide steps 1 and 2 Notes To reduce the occurrence of image retention set the SIDE BAR ADJUST to BRIGHT The side bar may flash alternate black white depending on the picture being shown on the screen Using Cinema mode will re...

Page 31: ... is no signal When this is set to On the power supply of the unit goes Off 10 minutes after the input signals stop This function is effective for input signals except input from PC Mini D sub terminal Press to select INPUT LABEL Press to change the INPUT LABEL Customizing the Input labels This function can change the label of the Input signal to be displayed Select the input signal which you would...

Page 32: ... COMPONENT RGB IN SELECT Select to match the signals from the source connected to the COMPONENT RGB input terminals Y PB PR signals COMPONENT R G B HD VD signals RGB Press to display the SET UP menu Press to select the COMPONENT RGB IN SELECT Press to select the desired mode COMPONENT RGB Press to exit from adjust mode Select SIGNAL from the SET UP menu during VIDEO S VIDEO input signal mode SIGNA...

Page 33: ...it from adjust mode 3 2 PULLDOWN When ON the display attempts to reproduce a more natural interpretation of sources such as movie pictures which are recorded at 24 frames per second If the picture is not stable turn the setting to OFF Notes When ON this setting only affects the following signal input NTSC PAL signal input during VIDEO S VIDEO input signal 525i 480i 625i 575i 1125 1080 60i signal i...

Page 34: ...djust mode SYNC Setting RGB sync signal Confirm that the input is set to RGB INPUT this setting is valid only for RGB INPUT signal AUTO The H and V sync or synchronized signal are automatically selected If both input it is selected the H and V sync ON G Uses a synchronized signal on the Video G signal which is input from the G connector VBS Uses a synchronized signal of Composite Sync input which ...

Page 35: ...Command Timer Sets Weekly Command Timer see page 39 Onscreen display On Off On Displays all the following on screen Power on display Input signal switch display No signal display Mute and the remaining time of off timer after was pressed Off Hides all the items above from view Initial INPUT Off PC INPUT1 INPUT2 INPUT3 Adjusts the input signal when the unit is turned on Notes Only the adjusted sign...

Page 36: ...itch operation Notes Only the adjusted signal is displayed see page 13 Signal can be displayed when the Terminal board is installed Input switch can be used when this is set to Off In two screen display mode if anything other than Off is set the value will be fixed as the value input in the single screen display mode When a dual input terminal board is attached A or B is displayed depending on the...

Page 37: ...ff On Sets the panel ID Control Off Disables external control by the ID On Enables the external control by the ID Display size Off On Adjusts the image display size on screen Off Sets the normal image display size on screen On Sets the image display size approximately 95 of the normal image display Off On Notes This setting is valid only when the input signals are as follows NTSC PAL SECAM M NTSC ...

Page 38: ...On Note This mode is unavailable Rotate Off On Off Does not rotate the image On Rotates the image 180 degrees Serial Slot Select Slot1 Slot2 Slot3 Selects the slot which communicates serial Note The setting of an external command can be set only from the fixed serial terminal see page 11 Normalization When both main unit buttons and remote control are disabled due to the Button lock Remocon User l...

Page 39: ...OOM AVL 10 07 08 1 Program Program number Options Adjustments Weekly Command Timer You can set 7 day timer programming by setting time and command Note Before setting Weekly Command Timer set PRESENT TIME SETUP see page 26 Press to select Function Press to select On Note When Function is set to On SET UP TIMER see page 27 is unavailable and INTERVAL TIME OF DAY in MODE of SCREENSAVER see page 28 c...

Page 40: ...elect Command No Press to select a command number 6 Press to select Time Command Press to set each item Time Set the time to execute a command program Pressing or button once changes Time 1 minute Pressing or button continuously changes Time by 15 minutes Command Select a command to execute at the set time This unit has 64 commands to set see page 44 Notes Command is performed in order of executio...

Page 41: ...nu Press to select OSD LANGUAGE Press and hold till the SHIPPING menu is displayed Press to select YES Press to confirm from the unit 1 Press the MENU button till the Setup menu is displayed 2 Press the Volume Up or Down button to select OSD LANGUAGE 3 Press and hold the ENTER button till the SHIPPING menu is displayed 4 Press the Volume Up or Down button to select YES 5 Press the ENTER button and...

Page 42: ...cative of malfunctioning This Plasma Display uses special image processing Hence a slight time lag may occur between image and audio depending on the type of input signal However this is not a malfunction Plasma Display panel Symptoms Check The screen darkens slightly when bright pictures with minimal movements are shown The screen will darken slightly when photos still images of a computer or oth...

Page 43: ...16 56 25 36 0 21 800 600 60 Hz 37 88 60 32 40 0 22 800 600 72 Hz 48 08 72 19 50 0 23 800 600 75 Hz 46 88 75 00 49 5 24 800 600 85 Hz 53 67 85 06 56 25 25 1 024 768 60 Hz 48 36 60 00 65 0 26 1 024 768 70 Hz 56 48 70 07 75 0 27 1 024 768 75 Hz 60 02 75 03 78 75 28 1 024 768 85 Hz 68 68 85 00 94 5 29 1 152 864 75 Hz 67 50 75 00 108 0 30 1 280 960 60 Hz 60 00 60 00 108 0 31 1 280 960 85 Hz 85 94 85 00...

Page 44: ...cture mode Picture in Picture 36 DWA POP Dual Picture mode Picture out Picture 37 DWA SWP Swap main picture and sub picture when PIP mode 38 DWA TWN Dual Picture mode Picture and Picture 39 IMS PC1 Input select PC1 Main Picture when PIP mode 40 IMS SL1 Input select SLOT1 Main Picture when PIP mode 41 IMS SL1A Input select SLOT1A Main Picture when PIP mode 42 IMS SL1B Input select SLOT1B Main Pictu...

Page 45: ...mpressed Horizontal scanning frequency 15 110 kHz Vertical scanning frequency 48 120 Hz VGA SVGA XGA SXGA UXGA compressed Horizontal scanning frequency 15 110 kHz Vertical scanning frequency 48 120 Hz Connection terminals PC IN HIGH DENSITY MINI D SUB 15PIN Y or G with sync 1 0 Vp p 75 Ω Y or G without sync 0 7 Vp p 75 Ω B PB CB 0 7 Vp p 75 Ω R PR CR 0 7 Vp p 75 Ω HD VD 1 0 5 0 Vp p high impedance...

Page 46: ...OR CONSEQUENTIAL DAMAGES INCLUDING WITHOUT LIMITION DAMAGE TO DISCS RESULTING FROM THE USE OF THIS PRODUCT OR ARISING OUT OF ANY BREACH OF THE WARRANTY ALL EXPRESS AND IMPLIED WARRANTIES INCLUDING THE WARRANTIES OF MERCHANTABILITY AND FITNESS FOR PARTICULAR PURPOSE ARE LIMITED TO THE APPLICABLE WARRANTY PERIOD SET FORTH ABOVE Some states do not allow the exclusion or limitation of incidental or co...

Page 47: ... coverage period Proof of product purchase is a condition of warranty service The owner must produce the product purchase receipt or other satisfactory evidence of date of original purchase This warranty does not apply to external appearance items such as handles knobs safety windows etc This warranty does not apply to any part or parts of the product installed altered repaired or misused in any w...

Page 48: ...allas Region 6226 Abington Way Houston TX 77008 713 802 2726 No CA Northwest Region 5870 Stone Ridge 3 Pleasanton CA 925 416 5108 Government Marketing Department 52 West Gude Drive Rockville MD 20850 301 738 3840 Panasonic Canada Inc 5770 Ambler Drive Mississauga Ontario L4W 2T3 2007 Matsushita Electric Industrial Co Ltd All Rights Reserved Printed in U S A Customer s Record The model number and s...

Reviews: