


Before attempting to connect, operate or adjust this product, please read these
instructions thoroughly.
Spanish Quick Use Guide is included.
Guía para rápida consulta en español está incluida.
LSQT0574B
Model No.
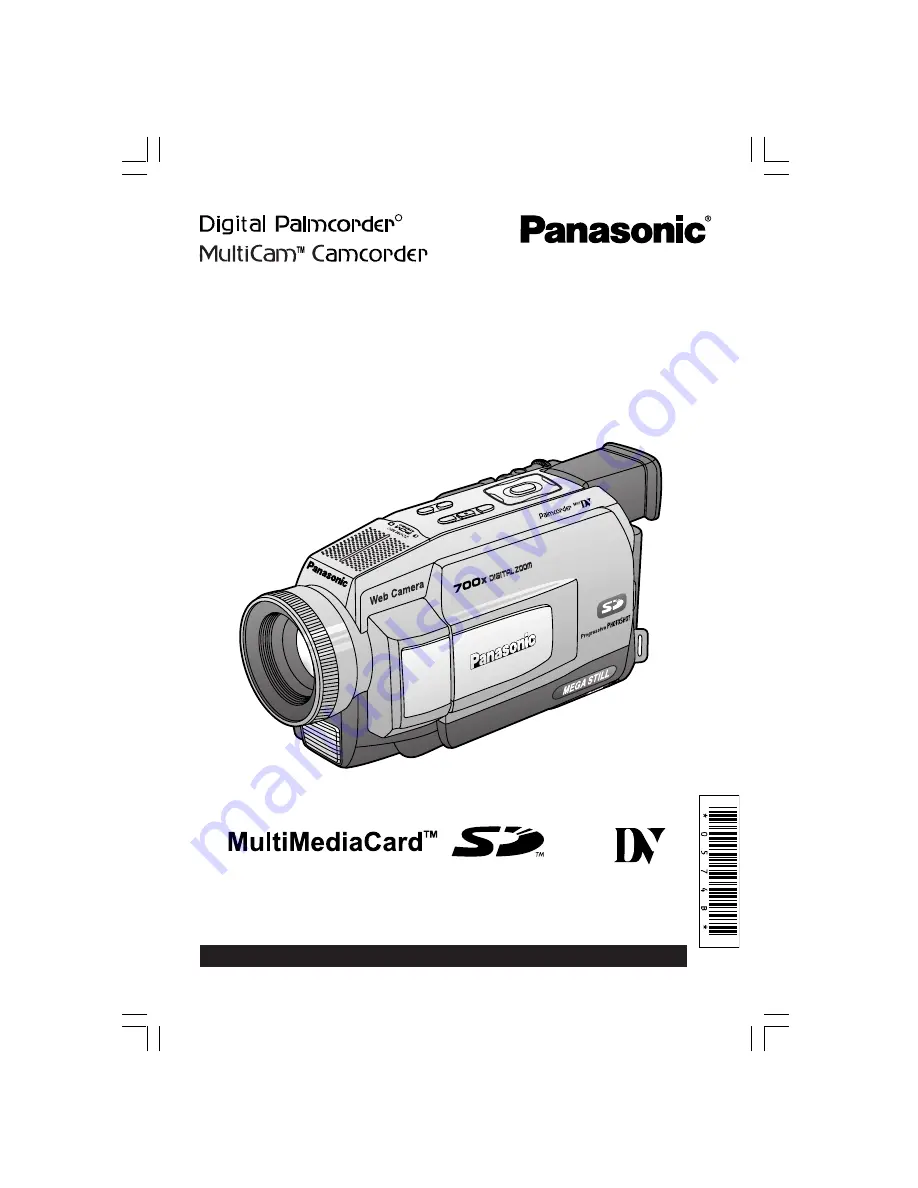
PV-DV102
Digital Video Camcorder
Operating Instructions
Mini
R
For assistance, please call : 1-800-211-PANA(7262) or send e-mail to : [email protected]
DV102.p 1-4.p65
02/03/05, 12:55
1


