SAFTEY PRECAUTIONS
- 1 -
777
Instruction Manual
Video
Camcorder
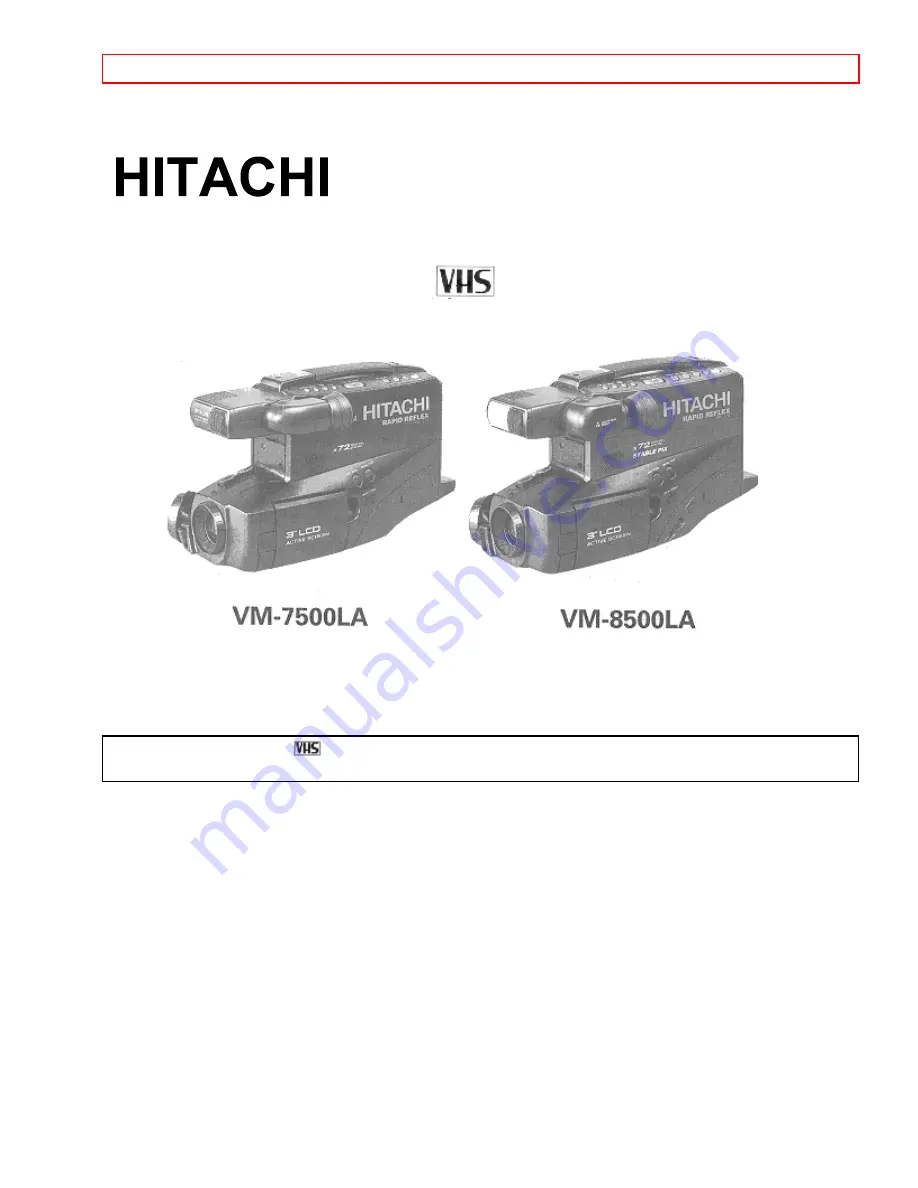
VM-7500LA/VM-8500LA
HITACHI HOME ELECTRONICS
HITACHI (HSC) CANADA INC.
(AMERICA),
INC.
6740 Campobello Road
1855 Donroch Court,
Mississauga, Ontario L5N 2L8
San Diego, California 92173
CANADA
Tel.
770-279-5600
Tel.
905-821-4545
Thank you for choosing the
video camcorder. For maximum pleasure and convenience please read these
simple instructions before operating your camcorder.
QR31031 ©Hitachi, Ltd. 1998
Printed in Japan KY-TF(N)