


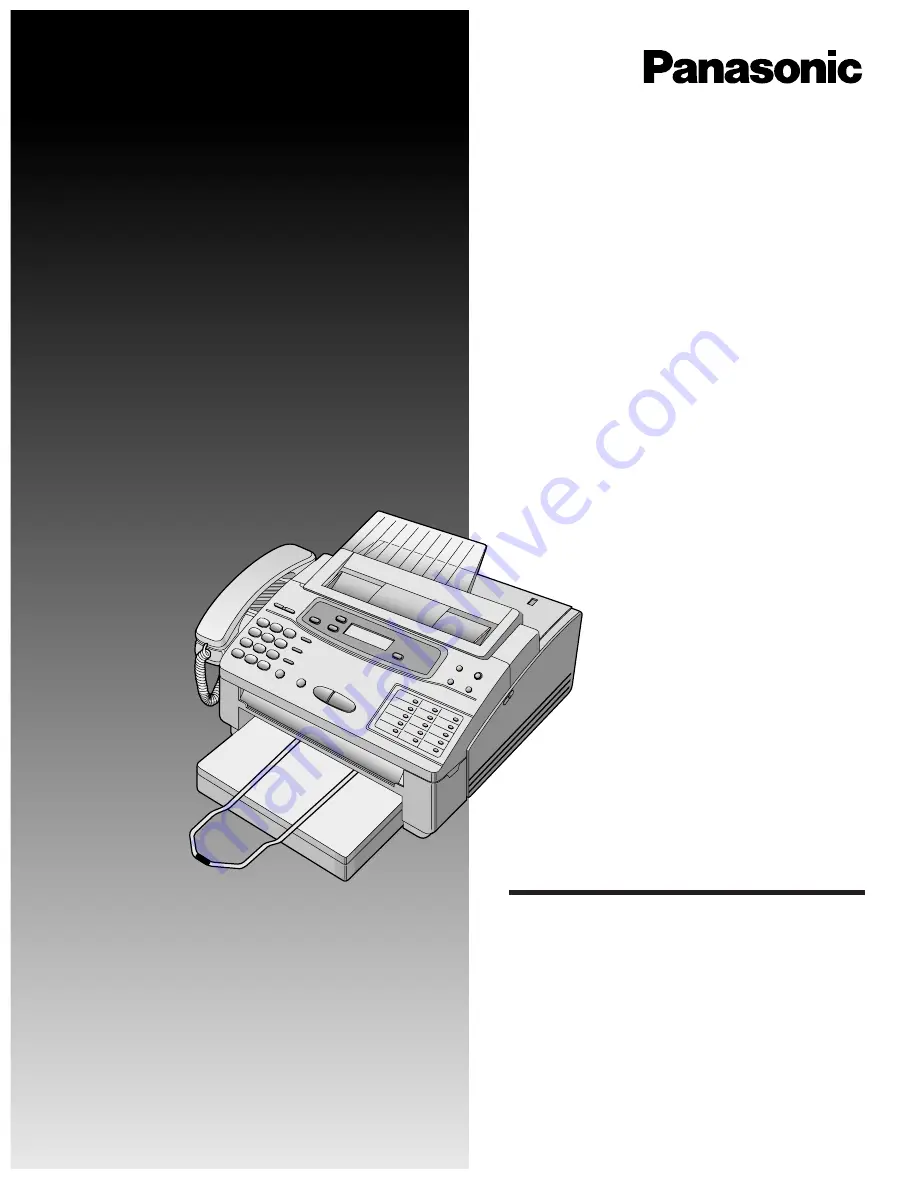
Plain Paper Facsimile
Model No.
KX-F1000AL
Telephone Answering System
with Plain Paper Facsimile
Model No.
KX-F1100AL
OPERATING
INSTRUCTIONS
Contents
Chapt 1. Installation and Connection
Chapt 2. Initial Preparation
Chapt 3. Making and Answering Voice Calls
Chapt 4. Transmitting and Receiving Fax Calls
Chapt 5. Operating the Answering Device
(KX-F1100AL only)
Chapt 6. Copier Function
Chapt 7. Automatic Dialing
Chapt 8. Advanced Operations
Please read these Operating Instructions before
using the unit and save for future reference.
Pictured model KX-F1100AL


