background image

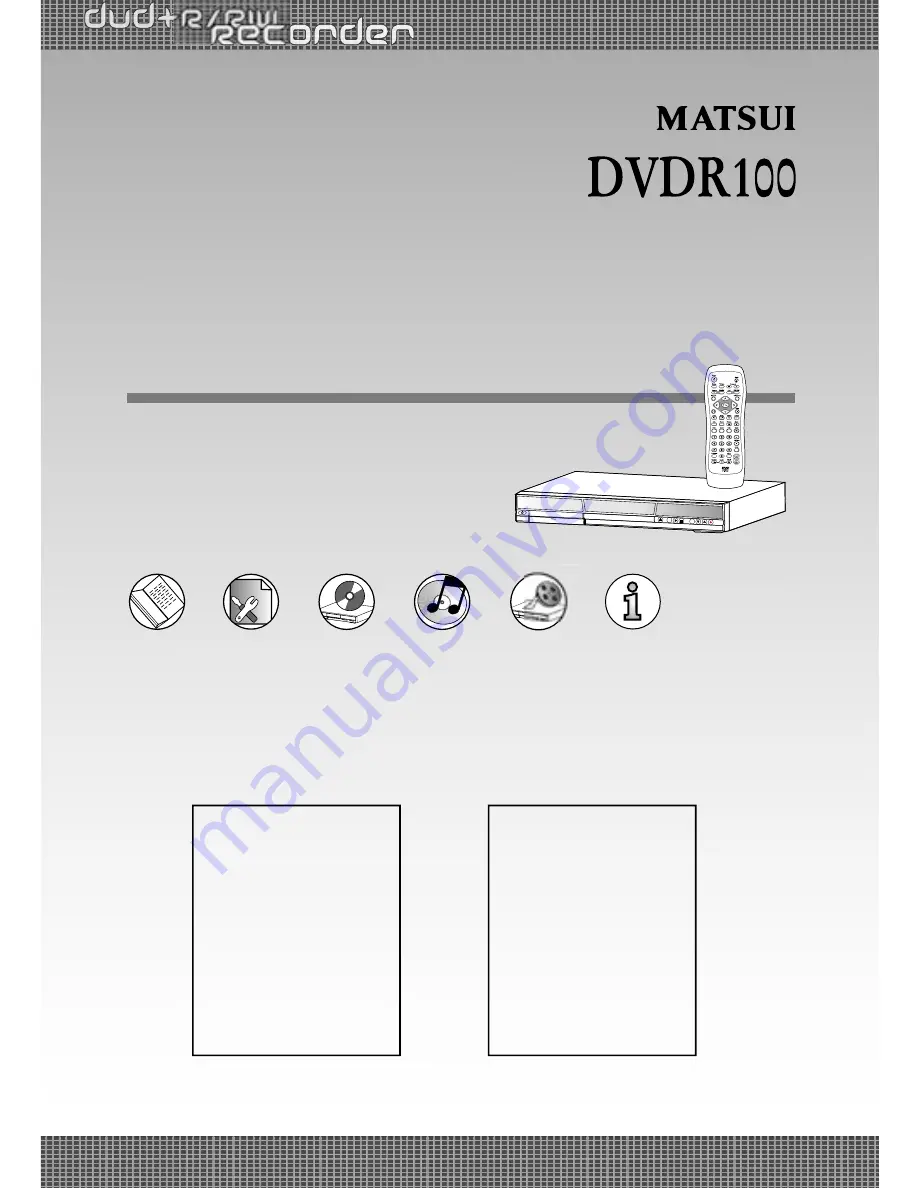
User Guide

82-165-00070

DVD+R/RW Recorder

* Before Attempting to connect, operate or adjust this product, please save 

and read the User Guide completely.

* The style of the DVD Recorder shown in the User Guide may be different 

due to various models.

Recordable Disc Format:

DVD+R

DVD+RW

Playable Disc Format:

DVD

DVD+R

DVD+RW

VCD

Audio CD

Kodak Picture CD

JPEG Picture CD

Summary of Contents for DVDR100

Page 1: ...his product please save and read the User Guide completely The style of the DVD Recorder shown in the User Guide may be different due to various models Recordable Disc Format l DVD R l DVD RW Playable...

Page 2: ...Manufactured under license from Dolby Laboratories Dolby and the double D symbol are trademarks of Dolby Laboratories...

Page 3: ...Contents Program List Schedule Record Setting 25 DVD 2 1 DVD Playback 26 Stopping Playback and Returning to the Menu Screen If a Menu Screen is Available on the Disc 26 Stopping Playback 26 Fast Forw...

Page 4: ...Record Setup 42 Record Quality Setting 42 Erase Setting 42 Finalise Setting 42 4 3 Recording 43 To Record from External Sources 43 4 4 Editing 44 To Edit a Title While the DVD is Playing 44 Insert Cha...

Page 5: ...user is encouraged to try to correct the interfer ence by one or more of the following measures Reorient or relocate the receiving antenna Increase the separation between the equipment and receiver C...

Page 6: ...ur before switching it on or make sure that the room temperature rises gradually Condensation may also form during the summer if the player is exposed to the breeze from an air conditioner In such cas...

Page 7: ...es Keep the unit away from naked flame sources such as fire and candles etc and do not place naked flames on the unit Important Warning A DVD player is a Class 1 laser product however this player uses...

Page 8: ...r the disc the higher the density at which the information can be recorded a DVD disc has a greater capacity than a single 1 2 mm thick disc Since the two thin discs are adhered to each other there is...

Page 9: ...ontrol Buttons with the same or similar marking on your DVD Recorder have the same function as those of the remote control For introduction to the panels DVD Recorder buttons Remote Control and variou...

Page 10: ...osition it with the printed title side facing up align it with the guides and place it in its proper position 4 Press Eject Disc tray will close and start playback 5 If it does not start playback do t...

Page 11: ...nal Sources 4 Press Source on the remote control repeatedly to toggle to the external A V input sources you wish to record For Example To record from your videotape player you can connect it to the S...

Page 12: ...8 Getting Started Quick Recording continued To view details and other functions on DVD recording please refer to Chapter 1 2 RECORD DISC Setup page 15 and Chapter 4 Recording Functions Page 45...

Page 13: ...r TUNING Setup 2 Under RECORD DISC Setup a a When No Disc is inserted 1 2 3 4 5 Auto Prog System Fine Tune Program Edit TUNING Record Quality Auto Chapter Disc Info Finalize Record Quality Auto Chapte...

Page 14: ...10 Initial OSD Settings 3 Under VIDEO Setup 5 Under TIMER Setup 1 Initial Settings continued 4 Under SYSTEM Setup TV Type Video Output TIMER...

Page 15: ...ss STANDBY ON on the DVD Recorder or Power on the remote control to turn on your DVD Recorder 2 Turn on your TV and switch it to the correct Video Input Source Video 1 etc 3 Press Setup in the stop mo...

Page 16: ...o get a better picture 1 Press Setup in the stop mode to display the menus 2 Select TUNING by pressing 3 Press to select Fine Tune and then press 4 Press to choose the program number to fine tune When...

Page 17: ...SC Setting OSD will vary depending on whether you have inserted no disc a DVD R or a DVD RW The disc pic tures next to the titles indicate the type of disc best suited to each DVD R DVD RW No Disc DVD...

Page 18: ...r to Chapter 4 4 Editing on page 50 The OSD example to the left appears when No Disc is in tray If you insert a DVD R or DVD RW disc the OSD will be shown as follows To return to the Setup MENU screen...

Page 19: ...e shown on the screen including Disc type Total title Total recorded time and Total free time a a If DVD R disc is inserted but not yet finalised b b If a finalised DVD R disc is inserted c c If DVD R...

Page 20: ...tup in the stop mode to display the menus 2 Press to select RECORD DISC then press 3 Press to select Make Compatible and then press 4 Select Confirm to make compatible If you do not make your DVD RW c...

Page 21: ...etup MENU screen Press To complete the setup operation Press Setup to exit from Setup MENU screen Protect Disc Setting 1 Press Setup in the stop mode to display the menus 2 Press to select RECORD DISC...

Page 22: ...n for a conventional size TV set Video material formatted in the pan scan style is played in that style the left and right edges are cut off TV Type Setting The kind of TV set 4 3 or 16 9 connected to...

Page 23: ...e connected the unit s P Scan Pr Y Pb Out jacks to your TV s Component In jacks c c S Video Select S Video when your TV provides S Video feature and you ve connected the unit s S Video Out jacks to yo...

Page 24: ...ess Setup in the stop mode to display the menus 2 Press to select SYSTEM and press 3 Select OSD Language by pressing 4 Press to select the preferred language and then press To return to the Setup MENU...

Page 25: ...deo discs featured with the parental lock function Some discs may not be encoded with specific rating level infor mation though its disc jacket says that is for adults For those discs the rating lock...

Page 26: ...ber buttons 6 Enter your new password again for confirmation and then press c c Input the same 5 digit password as in Step 5 with the number buttons If you input the wrong password the following scree...

Page 27: ...setting 1 Press Setup in the stop mode to display the menus 2 Press to select SYSTEM and press 3 Press to select Factory Reset and press 4 Select Confirm to reset After selecting Confirm the DVD Reco...

Page 28: ...re timer recording always check the Date Time setting again to make sure they are correct To return to the Setup MENU screen Press Clear To complete the setup operation Press Setup to exit from Setup...

Page 29: ...D recorder will now be in Stand By mode To watch your TV while a DVD re cording is taking place use your TV remote to select TV programmes Make sure Date and Time of the DVD Recorder is true to real t...

Page 30: ...on is being operated it means that the corresponding operation is prohibited by the DVD Re corder If a Menu Screen Is Available on the Disc Press Menu The DVD Recorder stops playback and then displays...

Page 31: ...s forwardly and backwardly x1 2 x1 4 x1 8 and then x1 2 x1 4 x1 8 each time you press Slow To return to normal playback Press Skipping Ahead or Back to Chapters You can skip a specific chapter or trac...

Page 32: ...ecify the starting position Example To locate 01 hr 50 min 00 sec press 0 1 5 0 0 and 0 5 Press The DVD Recorder starts playback from the specified position To return to normal playback Press Goto unt...

Page 33: ...back Press Repeat 1 ALL a number of times to select 1 4 Off Repeat playback works only with discs for which the elapsed playing time appears on the recorder s display during playback Repeat playback m...

Page 34: ...Zoom x2 Zoom x4 and Zoom x8 To return to normal playback Press Zoom a number of times until the zoom window box disappears Displaying Scene Information Displaying Scene Information Press Info during...

Page 35: ...e same scenes can be viewed from each of these different angles using the Angle button The recorded angles vary depending on the disc programmed 1 Press Angle repeatedly during playback to select the...

Page 36: ...2 and 3 To return to the previous menu screen Press Title Using the Menu Function 1 Press Menu A DVD chapter menu with brief broadcast of each paragraph now appears You may see the introduction of ea...

Page 37: ...corder is mute To resume the sound press Mute again VCD Menu only for VCD 2 0 PBC is a function which provides a menu for you to choose and start from your selected chapter but only on VCD 2 0 discs w...

Page 38: ...mode 3 Press Next and Prev to view the next or previous photo Pause Next and Prev 1 Press Pause to pause slide show To resume slide show Press Pause again 2 Press Next and press Prev to view the next...

Page 39: ...place it in its proper position 4 Press Eject The DVD Recorder starts playback 5 Press to select a specific music 6 Press The currently play ing song track A List of the total songs in your Audio CD...

Page 40: ...e the button is pressed Pause Playback Press Pause during playback The recorder will pause playback To return to normal playback Press Programming Audio CD Soundtrack A List of the total songs in your...

Page 41: ...llowing items When programming a MP3 disc To Play back the Programmed tracks Press to select the Play box and then press to start playback of the order from the program list To Remove the Programmed t...

Page 42: ...ack press Goto when the box has turned white If the box turns yellow you can t choose other options Selecting Music by Time 1 Press Goto during playback 2 Press to move the cursor to the time box Tr 0...

Page 43: ...ox 3 Press and the random box turns yellow 4 Press to select to play in random order Tr 001 00 48 45 2 2 Random 1 2 Normal 2 2 Random 5 Press The DVD Recorder starts playback in random order 3 1 Audio...

Page 44: ...epeat during playback A Repeat box appears on the screen 1 3 Off 2 Press 1 ALL Repeat continuously to select to play a track or entire disc repeatedly 1 3 Off 2 3 Track 3 3 Disc 2 3 Track 3 3 Disc The...

Page 45: ...to make sure the time and date information is correct For details please refer to Chapter 1 5 TIMER Setup on page 27 for further information 2 Make sure the DVD Recorder is properly connected to your...

Page 46: ...etails Record Quality Setting 1 Press Quality on the remote control repeatedly to scroll through the following record quality setting HQ High Quality to record about one hour SP Standard Play to recor...

Page 47: ...and available space left for recording 5 Press DVD REC on the remote control to switch to REC mode DVD REC is to toggle between REC mode and DVD mode You can process the recording only under REC mode...

Page 48: ...can jump from chapter to chapter within the title by pressing or Insert chapter 1 Press to select one title to play and press to start the playback 2 Press Edit and the EDIT menu will appear on the sc...

Page 49: ...you are at the point where you would like to hide the chapter press You have to insert a chapter into a title first and then hide it if the beginning and end of the hidden chapter hasn t been set up O...

Page 50: ...Show chapter You can use the function Play Full Title to play back all hidden chap ters 1 Press to select one title to play and press to start the playback 2 Press Edit and the EDIT menu will appear o...

Page 51: ...le box appears asking you to erase this title Press to select Confirm and press to start erasing this title a a To Edit with a DVD RW disc Protect Title 1 Press to select one title from the title menu...

Page 52: ...it and the EDIT menu will appear on the screen Press to select Edit Title and then press 3 An Edit Title box appears with a default title name shown in this box Press to change the words you wish to n...

Page 53: ...reen Press to select Edit Title and then press 3 An Edit Title box appears with a default title name shown in this box Press to change the words you wish to name for your selected title After completi...

Page 54: ...IT menu will be shown on the screen Press to select Finalise 3 Press A Finalise box appears asking to finalise this disc Select Confirm to start finalizing the disc As this command may not be paused o...

Page 55: ...heck the settings menu to make sure that the digital output is set to on Check if the audio format of the selected audio language matches your receiver capabilities Distorted picture Check the disc fo...

Page 56: ...ay be recorded for specific scenes only SYMPTOM COMMON REMEDY No key operation by the DVD Recorder Turn the unit off and then back to on Alternatively turn off the unit disconnect and or the remote co...

Page 57: ...on circular scratches are likely to occur which will cause noise If the disc is brought from a cold to a warm environment moisture may form on the disc Wipe the moisture off with a soft dry lint free...

Page 58: ...41 F to 95 F 5 C to 35 C Video Output Level 1V 0 2 Vpp Audio Output Level 2 Vrms 0dBFS DVD Record Media DVD RW DVD R DVD Playback DVD RW DVD R DVD R Video Mode DVD RW Video Mode CD CD R CD RW VCD CD...

Page 59: ...n provide accessories spares batteries and replacement parts with Next Day Delivery available upon request Please call 0870 600 1338 UK customers only Calls charged at National Rate or visit our websi...

Page 60: ......

Reviews: