


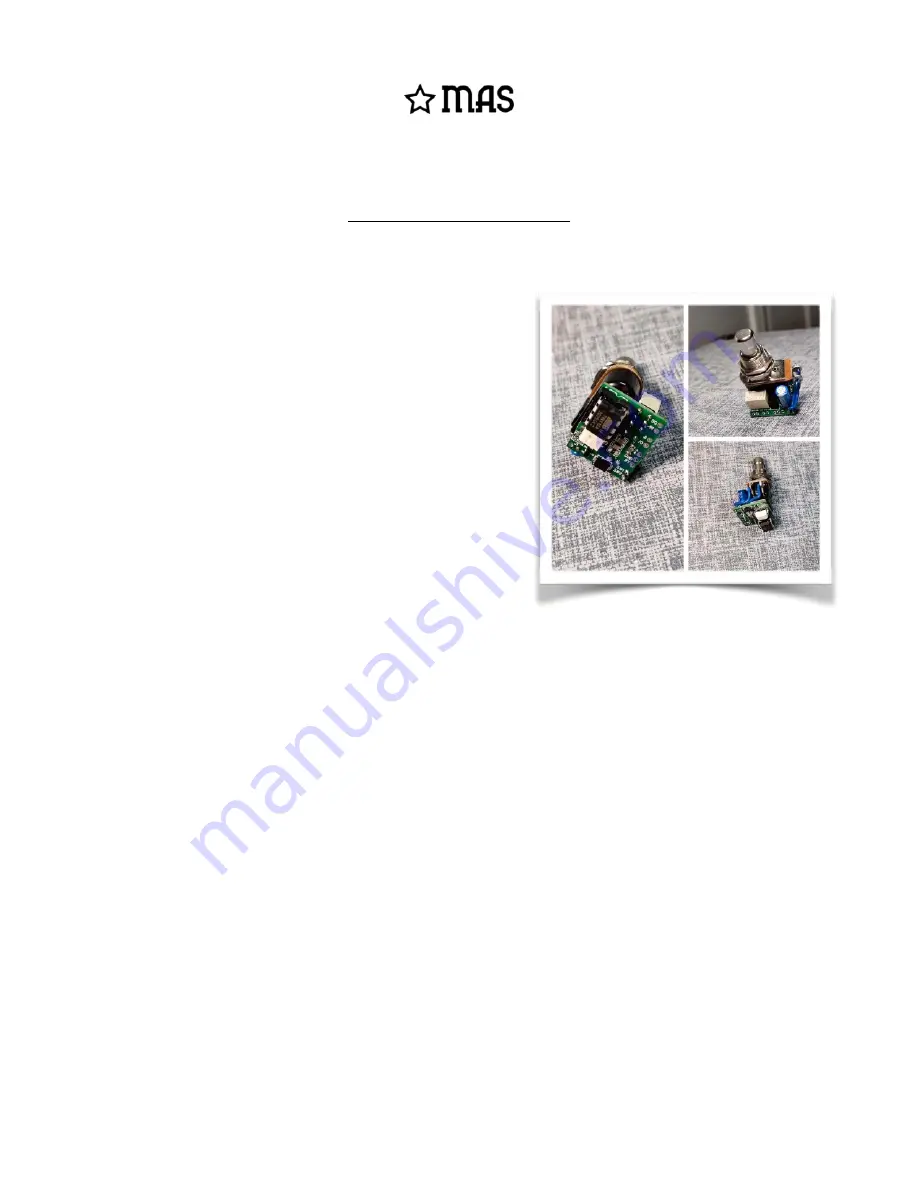
Soft Touch Relay Bypass
Typical 3PDT latching mechanical switches are noisy, hard to
press, and prone to mechanical failure after repeated use. A
controller board with a relay is a great alternative, and provides
some other really great options you couldn't otherwise do.
This tiny and featureful relay bypass board can do a LOT.
•
Soft touch, momentary switches can toggle your DIY
guitar pedal, using a relay to provide
true bypass.
•
Quick tap to switch
between engaged and bypass,
or
hold the foot switch to temporarily toggle
until you
release it
•
Fits easily in a tiny
1590A
enclosure
•
Optional
optocoupler muting
can be enabled with a
switch or jumper to mute any popping your circuit might
exhibit while switching
•
Hold when powering on to
toggle auto-on/auto-o
ff
•
Passes signal when powered o
ff
Usage Instructions
Engage / Bypass:
When bypassed, the sound signal will go directly from your input to your output jacks. Tap
the foot switch to engage the e
ff
ect and route the signal to your audio PCB. When engaged, tap the foot
switch again to switch to bypass.
Temporary Bypass/Engage
: Holding the foot switch while the e
ff
ect is engaged will temporarily bypass it,
and it will re-engage when you lift your foot. Similarly, holding the foot switch while bypassed will
temporarily engage it.
Auto-on:
When you supply power to your pedal, it will either engage or bypass. If you want to toggle which
setting is enabled when powered up, hold the foot switch down while you plug in the power. The LED (if
used) will blink to indicate the
auto-on
setting was changed. If you unplug then power up your pedal again, it
should now start in your desired setting.
Page of
1
4


