MAJORITY Neptune, User Manual
The FINIS Neptune Instruction Manual is available for free download at manualshive.com, providing valuable guidance on effectively utilizing this innovative product. This comprehensive manual equips users with step-by-step instructions and essential information, ensuring an optimal experience with the FINIS Neptune underwater audio device.
Share
Download


Reviews:
No comments
Related manuals for Neptune
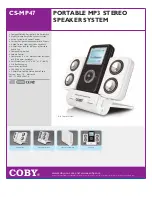
CS-MP47
Brand: Coby Pages: 1
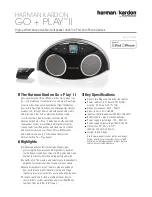
Go + Play II
Brand: Harman Kardon Pages: 2
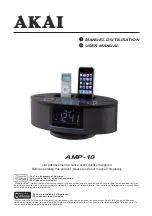
AMP-10
Brand: Akai Pages: 58
RCUBE
Brand: Arcam Pages: 24
SOUND STATION FOR PSP SLIM
Brand: GAMERON Pages: 40
HKGOPLAYMICAM
Brand: Harman Kardon Pages: 8
Genius iTempo 350
Brand: KYE Systems Corp. Pages: 15

Jongo T2
Brand: PURE Pages: 12
A9 iExecutive
Brand: Amethyst Pages: 12
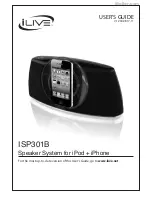
ISP301B
Brand: iLive Pages: 12

TravelDock 900
Brand: Creative Pages: 21

Zeppelin Mini
Brand: Bowers & Wilkins Pages: 8
PG533 HouseParty Rise 2 Wireless
Brand: Gear4 Pages: 24

JACKPORT
Brand: WHD Pages: 35

HouseParty
Brand: Gear4 Pages: 42
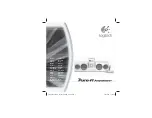
984-000056 - Pure-Fi Anywhere 2 Portable Speakers
Brand: Logitech Pages: 96
ISD391B
Brand: iLive Pages: 12

IBTLIA14
Brand: iWantit Pages: 16


