M-Audio ProjectMix I/O, User Manual
Looking for a User Manual for your M-Audio ProjectMix I/O? Look no further! Download the comprehensive manual for free from our website. Discover all the features and functionalities of this incredible product to enhance your audio production experience. Get the most out of your ProjectMix I/O at manualshive.com.
Share
Download


Reviews:
No comments
Related manuals for ProjectMix I/O

4400 Series
Brand: IED Pages: 10

MM120
Brand: MBW Pages: 33

Voluum
Brand: Sonuus Pages: 2

Design Stand Mixer Advanced Pro
Brand: Gastroback Pages: 52

GASTRONOMA 18210001
Brand: Adexi Pages: 55

ADDAC107
Brand: ADDAC System Pages: 17
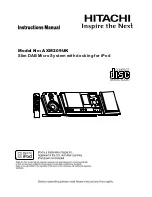
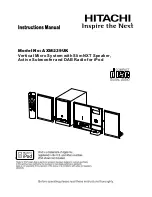
AXM209UK
Brand: Hitachi Pages: 16
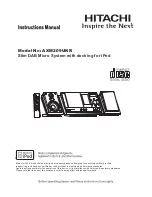
AXM209UKR
Brand: Hitachi Pages: 15
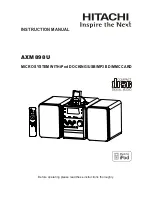
AXM898U
Brand: Hitachi Pages: 18
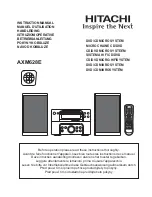
AXM628E
Brand: Hitachi Pages: 33
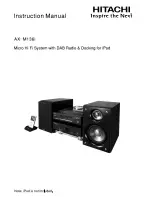
AX-M136i
Brand: Hitachi Pages: 25
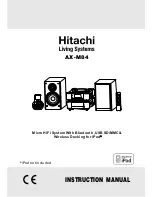
AX-M84
Brand: Hitachi Pages: 22
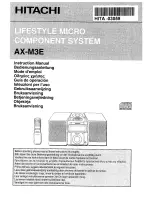
AX-M3E
Brand: Hitachi Pages: 44

AXM10E
Brand: Hitachi Pages: 120

GJ461-A
Brand: APURO Pages: 20
AXM239UK
Brand: Hitachi Pages: 15

7800
Brand: API Pages: 10

DCM3020
Brand: Philips Pages: 3


