background image

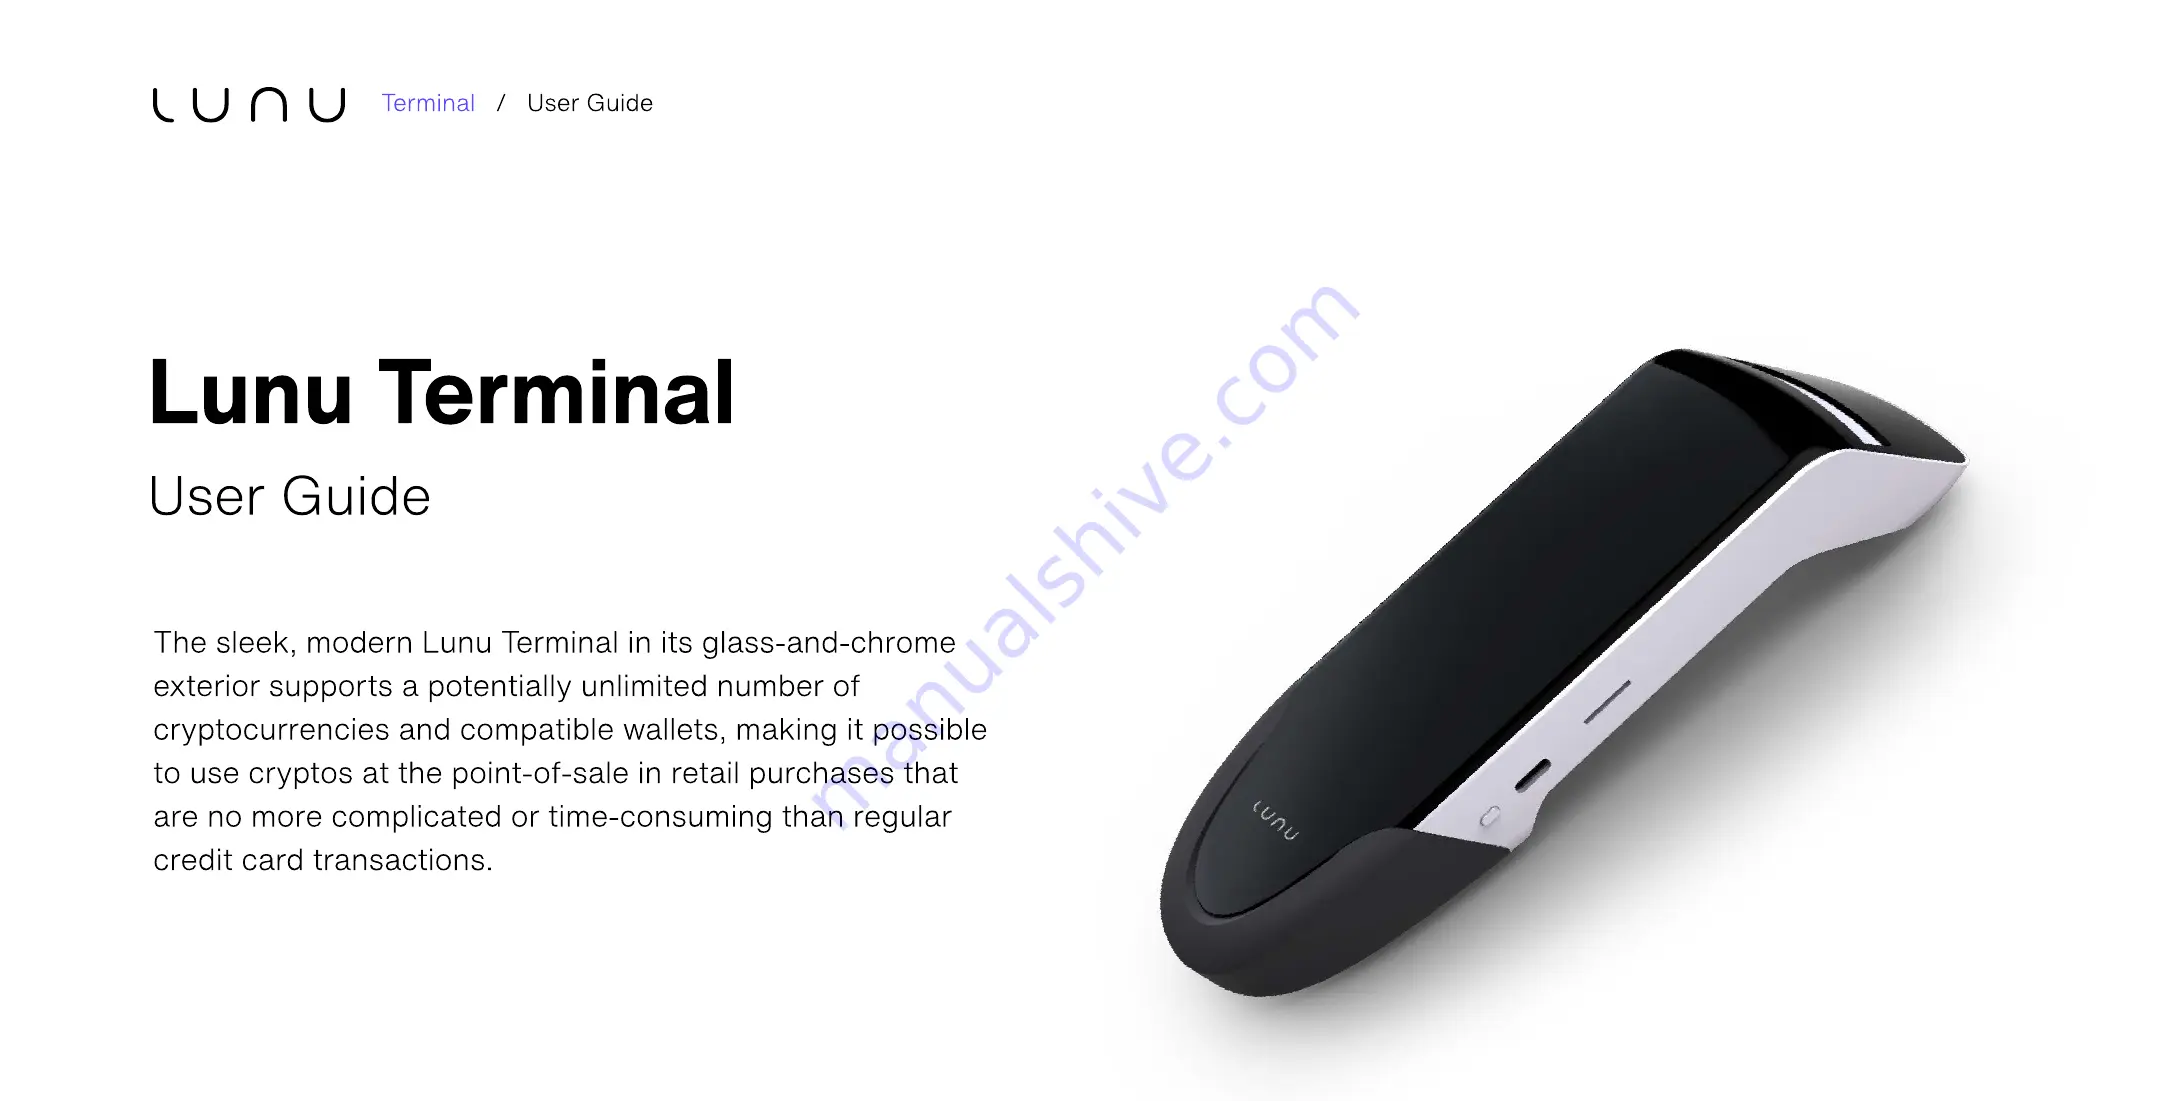
The sleek, modern Lunu Terminal in its glass-and-chrome 
exterior supports a potentially unlimited number of 
cryptocurrencies and compatible wallets, making it possible 
to use cryptos at the point-of-sale in retail purchases that 
are no more complicated or time-consuming than regular 
credit card transactions.

User Guide

Lunu Terminal

Terminal   /   User Guide 

Summary of Contents for V1.0

Page 1: ...potentially unlimited number of cryptocurrencies and compatible wallets making it possible to use cryptos at the point of sale in retail purchases that are no more complicated or time consuming than regular credit card transactions User Guide Lunu Terminal Terminal User Guide ...

Page 2: ...r On Off button 1 x Lunu payment terminal V1 0 1 x AC Power Adapter 1 x Cable The box you have just opened should contain the following items Congratulations on receiving your Lunu payment terminal We do hope you enjoy it Terminal User Guide ...

Page 3: ...Dark Moon Deep Ocean Gold Moon Moonlight Red Moon Available Color Options Terminal User Guide ...

Page 4: ...until the shutdown menu pops up Click on Power off option on the screen to shut down the terminal Turn ON Long press the Power button on the right side of the terminal until LCD backlight turns on successfully Turn On the Terminal Setting up the device T erminal User Guide ...

Page 5: ...rted one needs to select the type of connection from the following options displayed on the main screen of the terminal device WiFi To connect to WiFi Click on WiFi button All the available WiFi networks would be listed choose the network you want to connect Enter the password and click OK Connect to Network Terminal User Guide Language Selection Tab ...

Page 6: ...r the 5 digit Authorization Code post successful connection to internet Authorization code is available on Lunu Retailer console under mPOS T erminal tab Login to Lunu Payment T erminal T erminal User Guide ...

Page 7: ...urrency to initiate a sale Minimum transaction amount is 8 Click on tab to explore additional settings features of the device Home AfterLogin Landingscreenappearsasshownbelow TerminalisnowReadytoUse Landing Screen Terminal User Guide ...

Page 8: ...he entered details Step 1 Enter the amount in local currency ex 100 EUR Click Select Wallet NOTE If the transaction amount is above the defined threshold KYC Verification is mandatory Please refer Step 2 of Conducting a sale else skip to Step 3 To initiate a sale from the Lunu Payment terminal follow the steps Conducting a sale T erminal User Guide ...

Page 9: ...k on the entered email address Customer clicks the link and continue the verification process Once verification is completed terminal will change screen from KYC QR to Pay screen 1 2 3 4 5 6 If the transaction amount is above the threshold amount First time KYC Step 2 Consumer needs to follow the steps to make a payment Conducting a sale Terminal User Guide ...

Page 10: ... address Customer clicks the link to complete verification Once verification is completed terminal will change screen from KYC QR to Pay screen 1 2 3 4 5 If the transaction amount is above the threshold amount Subsequent transactions Step 2 1 Consumer needs to follow the steps to make a payment Conducting a sale Terminal User Guide ...

Page 11: ...e entered details All supported crypto wallets are listed in the dropdown One can also search by entering the name of wallet in Search Wallet tab placed at the top of the screen Select the preferred consumer s crypto Wallet for the payment Step 3 To initiate a sale from the Lunu Payment terminal follow the steps Conducting a sale T erminal User Guide ...

Page 12: ...hange click on Back button to edit the entered details Select the preferred Crypto from the available list of crypto supported within the selected wallet Select the consumer s preferred crypto currency Step 4 To initiate a sale from the Lunu Payment terminal follow the steps Conducting a sale T erminal User Guide ...

Page 13: ... of change click on Back button to edit the entered details QR code would be generated and displayed on the terminal for authorization Select the Crypto Network from the available list and click OK Step 5 To initiate a sale from the Lunu Payment terminal follow the steps Conducting a sale T erminal User Guide ...

Page 14: ...ypto value which is to be paid by the consumer to make the payment The crypto value is fixed for 5 minutes thus the transaction needs to be sent by the consumer within the time frame post which new exchange value will be applicable Consumer needs to follow the steps to make a payment Step 6 Conducting a sale Terminal User Guide ...

Page 15: ...n case the transaction can not be sent within 5 minutes click on Try again for completing the transaction Step 7 Consumer needs to follow the steps to make a payment Conducting a sale Terminal User Guide ...

Page 16: ...the crypto wallet the terminal identifies the payment record and proceeds to process and validate the payment Step 8 Consumer needs to follow the steps to make a payment Conducting a sale T erminal User Guide Click on to conduct another sale Hide ...

Page 17: ...Step 1 All the ongoing transactions can be viewed by clicking on Ongoing Transactions displayed at the top of the landing screen Ongoing Transactions Terminal User Guide ...

Page 18: ...Step 2 A list of ongoing transactions will be displayed indicating the transaction amount in both fiat currency equivalent crypto with transaction status Ongoing Transactions Terminal User Guide ...

Page 19: ...Step 3 As soon as the transaction is completed the status is updated to Payment Success Ongoing Transactions Terminal User Guide ...

Page 20: ...eted Payment Success notification appears on the terminal Post Lunu Processing performs its check in the blockchain for transaction correctness risk security and fraud the transaction is marked as success Sale Completed Terminal User Guide ...

Page 21: ... by clicking on Payment detail tab from the success page Post Lunu Processing performs its check in the blockchain for transaction correctness risk security and fraud the transaction is marked as success Sale Completed Terminal User Guide ...

Page 22: ...ud the transaction is marked as success Sale Completed Step 3 Consumer can scan the QR code from the terminal to view or download the Digital receipt on their device The crypto payment transaction is now complete the application will return to the Landing Screen by clicking on button Done Terminal User Guide ...

Page 23: ...Back to Landing screen Retailer Terminal ID On clicking the Home icon placed at the bottom of the main screen a list of options are displayed Main Menu Terminal User Guide ...

Page 24: ...Payment To execute a transaction click on You will land on Main Screen Payment Terminal User Guide ...

Page 25: ...To contact Lunu Support please scan the QR code from your mobile phone you will be directed to our support section on our website Help Terminal User Guide ...

Page 26: ...dio frequency energy and if not installed and used in accordance with the instructions may cause harmful interference to radio communications However there is no guarantee that interference will not occur in a particular installation If this equipment does cause harmful interference to radio or television reception which can be determined by turning the equipment off and on the user is encouraged ...

Page 27: ...roduct isdesignedtooperateatmultiplepowerlevelssoastouseonlythepower requiredtoreachthenetwork Ingeneral thecloseryouaretoawirelessbasestationantenna thelower thepoweroutput Beforeaproductmodelisavailableforsaletothepublic itmustbetestedandcertifiedtotheFCCthatitdoesnotexceedthelimit establishedbythegovernmentadoptedrequirementforsafeexposure Thetestsareperformedinpositionsanlocations e g attheear...

Page 28: ...evice was tested for typical body worn operations To comply with RF exposure requirements a minimum separation distance of 0mm is used between the user s body and the handset including the antenna Third party belt clips holsters and similar accessories used by this device should not contain any metallic components Body worn accessories that do not meet these requirements may not comply with RF exp...

Page 29: ...Click on tab in case you wish to logout from the retailer account from the terminal device Logout Logout T erminal User Guide ...

Page 30: ...cy used for payment Time period 4 3 2 1 There are various filters available One can view and download transaction history under this tab The transaction history contains the time date cryptocurrency used and sales figure for the specified time period Transaction history Terminal User Guide ...

Page 31: ...r the selected time frame and crypto To display the transactions for which confirmation is pending click on the pending icon Click on to view transaction history only for the selected crypto currency Crypto tab Crypto All Transaction history Terminal User Guide ...

Page 32: ...Click on the tab All time a pop up with calendar will be displayed Select a time period to view the transaction history for the specified period Transaction history T erminal User Guide ...

Page 33: ...row icon to send the transaction history to the specified email ID A pop up with a brief description of report would be displayed Click on Send to email the complete report Transaction history T erminal User Guide ...

Page 34: ...ed languages By default English is selected Adjust the brightness of the LCD display by sliding the brightness cursor horizontally Adjust the volume of the terminal by sliding the cursor horizontally The Auto Lock option is available to lock the device if kept idle beyond the set time limit By default the Auto Lock timer is activated for 5 minutes on all payment terminals It can be customised by t...

Page 35: ...ntered each time the terminal is turned ON for security purposes Enable Admin Pin code toggle switch and click on Set a new PIN code to update or select a new 4 digit PIN A Pop up would be displayed to enter the desired code twice and enter OK to confirm Settings Terminal User Guide ...

Reviews: