


Operation Manual
ST ART
P URGE
E
N
E C
G
Y
M
R
E
T
S
P
O
T each P endant
R S 232
P ROG NO.
T EACH
RUN
P ow er
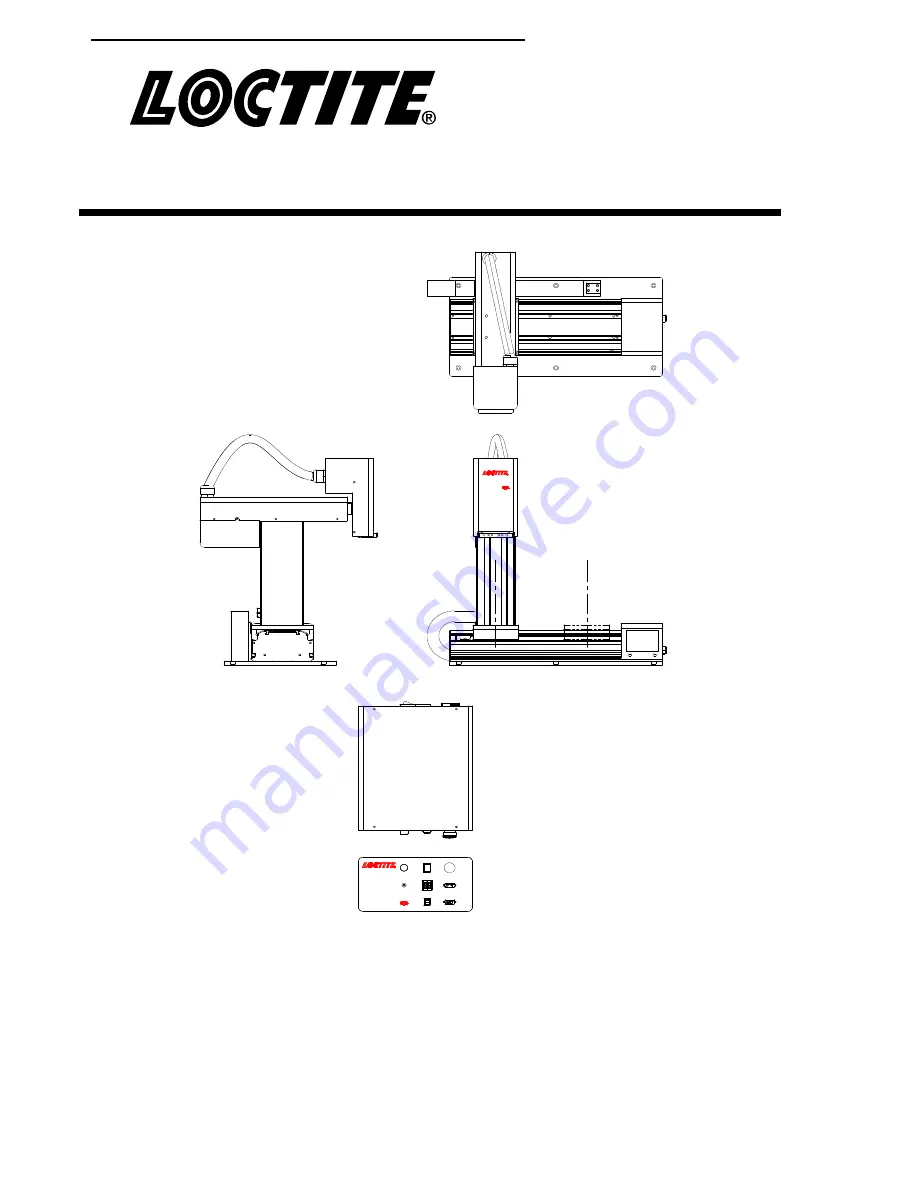
G antry Robot
R B 15 200D
I tem No. 1670898
G antry Robot
R B15 200D
H enkel AG & C o. KGaA
Standort München
Gut enbergstr. 3
D -85748 Garching
Loctite ® RB 15 20 0D Ga ntry Rob ot, 24V
I tem No . 1 67 089 8
Seria l No . 0 9GTAA -XXX
Ye ar of Ma nu fact ure:
Equipment
Operation Manual
Loctite
RB15 200D Gantry Robot
Part Number:1670898
Summary of Contents for 1670898
Page 5: ...Operating Manual Page 5 SECTION 1 Introduction ...
Page 8: ...Operating Manual Page 8 SECTION 2 Setup ...
Page 10: ...Operating Manual Page 10 2 3Mount on Production Line ...
Page 11: ...Operating Manual Page 11 SECTION 3 Tour of Robot ...
Page 13: ...Operating Manual Page 13 SECTION 4 Tour of Teach Pendant ...


