
›
Z-WAVE
Note: Please allow up to 15 minutes for your Thermostat to
show on your online account.
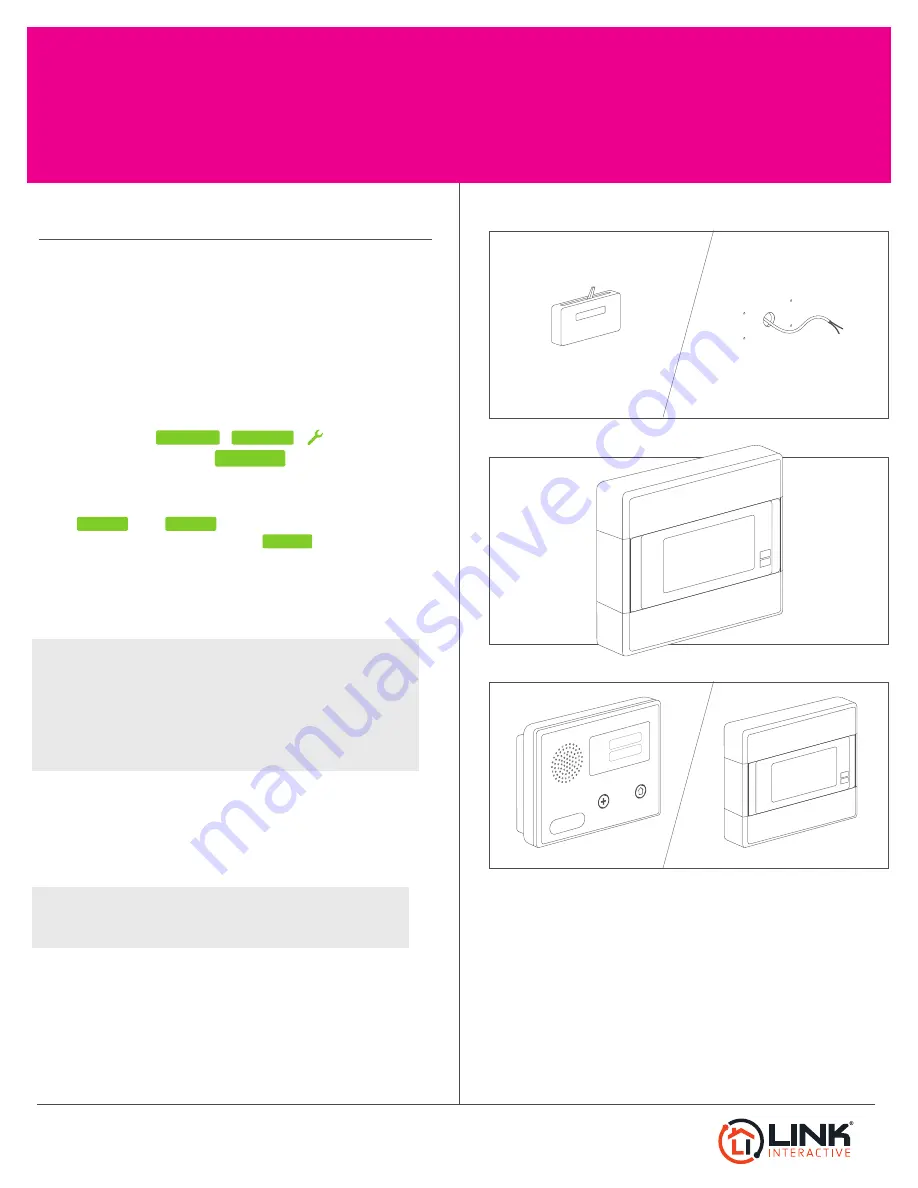
fig 1
fig 2
fig 3
CT-100
Thermostat
Need help? Give us a call.
1-877-826-5443
Enroll
STEP 1
Remove existing thermostat and install CT-100 as per
instructions included in the box. Once installation is
completed, test thermostat to make sure it is working
properly with your heating/cooling system (fig 1-2). Make
sure the Z-Wave device is plugged in within 6 feet of the
panel or the panel is moved close to the device just for the
enrollment process.
STEP 2
STEP 3
At the thermostat follow this sequence:
Press
› Tap
on LCD Screen › wait for the
words LINK and R1 to appear › Tap
again (fig 3).
STEP 4
At the Go!Control panel, check to see that the thermostat
has been added to your system.
STEP 5
Log in to your Alarm.com account from your computer. Go
to the “empower tab” and set up schedules for your newly
automated thermostat.
www.linkinteractive.com
From panel, select
›
› enter
4-digit master code
SERVICES
› select .
ADD DEVICE
MENU
MATE
MATE
Note: If the device is not being picked up, then it needs to be
removed from another network. Click Back › Remove Device ›
follow step 3 › check to see if the device has been removed
then go Back and select Add Device › follow step 3. If the
device still isn’t recognized, click Back and select Add Device
to try again.


