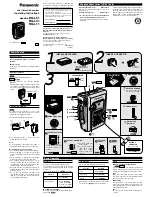
7. Recording
You can start and stop recording manually
or automatically (voice control).
When you have inserted a cassette as
describe in paragraph 6:
a) Manual control
Press the
button (Record) ...
and the
button (Start) at the
same time.
You can now control the recording
with the
switch. Recording ...
– continues
if this switch is set to
"OFF“.
– is stopped
if this switch is set to
"ON“.
While recording is On, the
red LED
on
the front is lit.
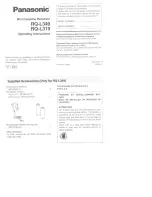
b) Automatic control
(voice activation)
If recording is to start automatically
when a certain sound level is present:
Move the sliding switch
on
the left of the device to "ON“.
Press the
button (Record) ...
and the
button (Start) at the
same time.
You can use the volume control
to adjust the
sensitivity and raise / lower the
– the playback speed becomes
noticeably slower,
– the red LED on the front becomes
faint when recording.
•
Do not dispose of batteries with
the household waste. Return old
batteries to your dealer, or take
them to the nearest recycling centre.
•
Take out the batteries if you are
not using the equipment for a long
period. In this way you will prevent
leaking batteries from damaging the
equipment.
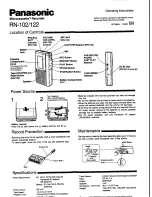
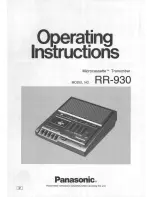
6. Inserting / removing
the cassettes
This dictaphone uses "micro" cassettes
with a maximum recording time of 60
minutes.
Press the
button
to open the cassette compartment.
•
Place the cassette so that the
compartment can be closed easily.
Otherwise, the cassette has been
inserted the wrong way round.
To take out the cassette, open the
cassette compartment and hold the
device in such a way that the cas-
sette slides out.
4. Notes on safety
To avoid damaging this device:
•
Use only in dry environments.
•
Never allow fluids or objects to get
inside the device.
•
Do not expose it to other sources
of heat, such as heaters, direct
sunshine, other appliances, etc.
•
Do not open the casing: there are
no operating controls inside.
•
Do not allow children or the elderly
to play with the device unsupervised.
These are not always able to recog-
nize potential dangers
correctly.
•
Keep these instructions for future ref-
erence, and include them with
the device if you are passing it on
to a third person.
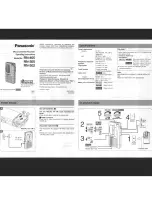
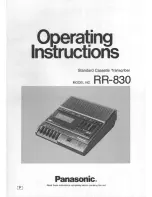
5. Inserting / replacing the bat-
teries
•
Open the battery compartment
on the back, and insert two 1.5 V bat-
teries, type AA, as indicated in
the battery compartment.
•
Replace the batteries if:
– the sound volume in playback
becomes noticeably lower,
Mini-dictaphone Lervia KH4111
1. Intended Use
This device is designed for sound recording,
and is intended for domestic and private use. It
is not intended for industrial or commercial
applications.
2. Technical Data
Power supply:
External mains adapter:
3 V DC, min. 300 mA
(not included) or
batteries:
2 Alkaline batteries, 1.5 V Type "AA“
(please do not use storage batteries)
Tape speeds:
1.2 cm/s or 2.4 cm/s
Frequency range:
250 - 4500 Hz
Dimensions :
126 x 68 x 26 mm (W x H x D)
Weight:
140 g without batteries
Cassette type:
Standard microcassette, up to 60 min.
3. Package contents
1 Lervia KH 4111 mini-dictaphone
1 Microcassette 60 min.
2 Alkaline batteries, 1.5 V Type "AA“
1 User instructions
1 Warranty card