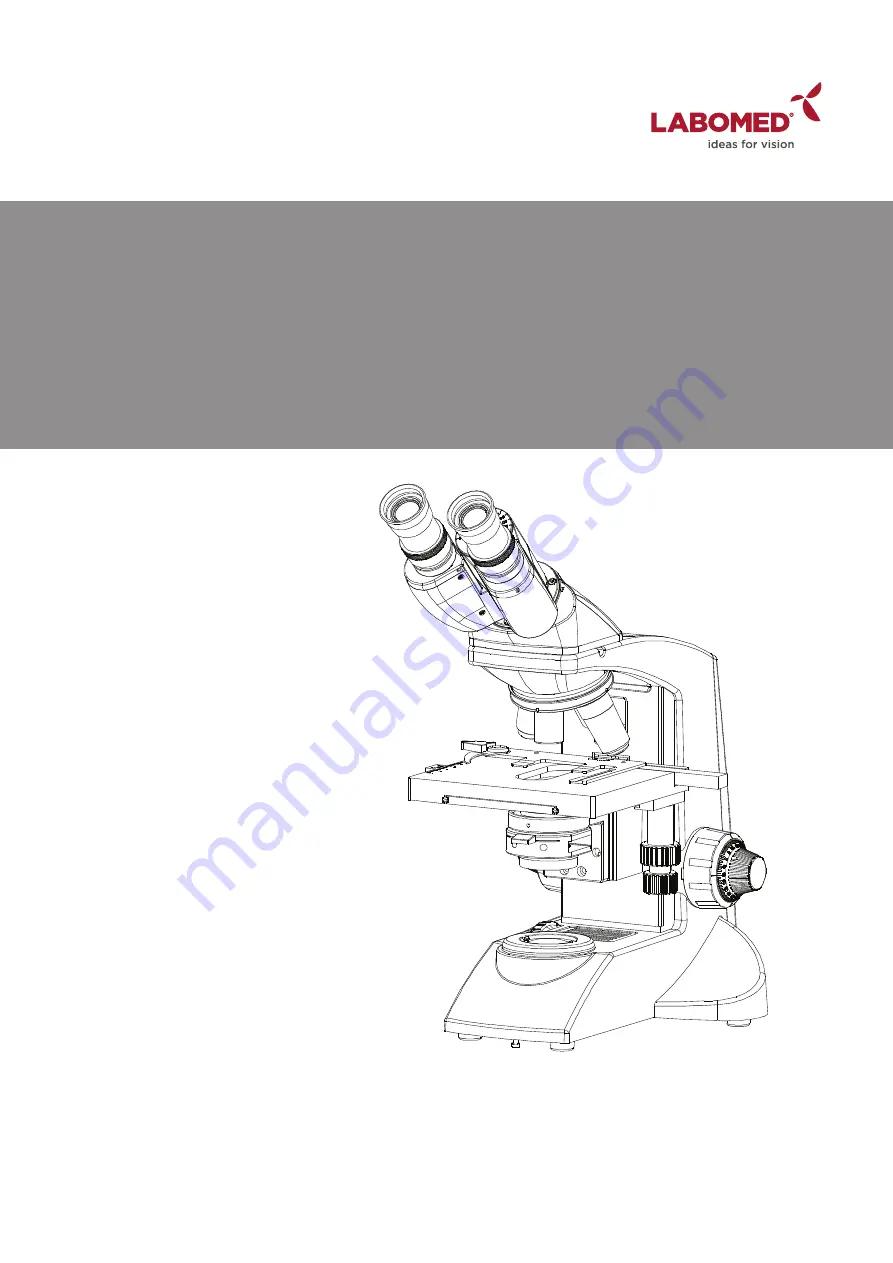
background image

Part No: 9136001-795

Issue 1.2

Printed on Oct,2019

Lx 300
Clinical Microscopy

User Manual

To  ensure  proper  use  of this  instrument  as  well  as to  avoid  injury  while  operating 
Instrument, understanding this manual completely before use is highly recommended.


Summary of Contents for Lx 300

Page 1: ...1 2 Printed on Oct 2019 Lx 300 Clinical Microscopy User Manual To ensure proper use of this instrument as well as to avoid injury while operating Instrument understanding this manual completely before...

Page 2: ......

Page 3: ...300 TRINOCULAR 6 5 UNPACKING YOUR MICROSCOPE 7 6 STANDARD COMPONENTS 8 7 OPTIONAL ACCESSORIES 9 11 8 INITIAL SETUP 12 9 ASSEMBLY 13 14 10 SUMMARY OF BRIGHT FIELD OBSERVATION PROCEDURE 15 11 DETAILED O...

Page 4: ...asy rotation that also safeguards the turret system against any damage All positions are par centered and par ensuring the highest level of accuracy The ball bearing mechanical stage allows smooth tra...

Page 5: ...let in advance Whenever you replace your microscope LED allow lamp socket and LED to cool before touching Fig 1 Applicable LED replacement LED P N 9135000 901 3 Install microscope on a sturdy level ta...

Page 6: ...eum and isopropanol are highly flammable they must be handled carefully Be sure to keep these chemicals away from open flames or potential Sources of electrical sparks For Example electrical equipment...

Page 7: ...le dirt with distilled water If this is unsuccessful repeat using a solution of diluted hand soap liquid Remove any remaining residue with a dry cotton swab 5 To remove oil use a solution of diluted h...

Page 8: ...sue 1 2 Printed on Oct 2019 Eyepieces Binocular viewing tube 45 inclined Mechanical stage Coarse and fine focus knob X Y movement control knob On off intensity regulator Filter holder Abbe condenser S...

Page 9: ...Printed on Oct 2019 Eyepieces Trinocular viewing tube 30 inclined Trinocular Port Mechanical stage Coarse and fine focus knob X Y movement control knob On off intensity regulator Filter holder Abbe co...

Page 10: ...UNPACKING YOUR MICROSCOPE 7 Lx 300 5 9136001 795 Lx 300 Issue 1 2 Printed on Oct 2019 Power Cord Eyepieces Observation head MicroscopeArm...

Page 11: ...following contents are present Please note that the contents of your microscope may vary as the optional configuration contrasting method or viewing body opted for may not be of the standard configura...

Page 12: ...d on Oct 2019 ABBE CONDENSER 0 6 ABBE CONDENSER 1 25 POLARIZING KIT WF 16x WF 10x WF 20x TRINOCULAR HEAD BINOCULAR HEAD RP 4x RP 10x RP 40x SL RP 20x RP 50x SL OIL RP 100x SL OIL RP PH 10x RP PH 20x R...

Page 13: ...The phase turret can be adjusted at any desired phase annulus 10x 20x 40x 100x by turning the thumb wheel 2 to the desired position There is also an 0 setting on the thumb wheel for bright field appli...

Page 14: ...Lx 300 9136001 795 Lx 300 Issue 1 2 Printed on Oct 2019 2 Place the polarizer shown as 1 in figure 9 on the illuminat ion assembly shown as 2 3 Fix the polarizer by tightening the screw provided Refe...

Page 15: ...ovetail Cavity as well as on observation head dovetail 2 Mount the Observation Head by engaging the dovetail provid ed at the bottom of the head into the dovetail cavity provided in the microscopes ar...

Page 16: ...om PCM mounted on back cover plate 6 Detach Heat Shield from critical mount by opening 3 screws shown as 3 with cross head screw driver 7 Detach LED from Heat Shield by loosening 2 screws shown as 6 8...

Page 17: ...other than those specified by LABOMED may lead to a fire hazard CAUTION For Fuse replacement Set the main switch to O OFF disconnect the power cord from the wall outlet Figure 18 1 Lay down the micros...

Page 18: ...objective to be used in the light path and bring the specimen in focus Adjust the observation tube and eyepieces Adjust the interpupillary distance Adjust the dioptric setting Adjust the brightness E...

Page 19: ...ng on lever handle 1 place the specimen by sliding the specimen glass plate s on the stage from the front toward the slide seat at the rear 3 After positioning your specimen slides 2 max return the bo...

Page 20: ...terest after scanning the slide Figure 23 1 The horizontal coordinate can be read at position 1 on the specimen holder 2 The vertical coordinate can be read at the index line 2 Focusing Procedure Figu...

Page 21: ...f binocular head 45 inclined IPD 45 75 mm is designed with a special feature to adjust viewing height up to 40 mm as per user s convenient and comfort Refer fig 26 for better unders tanding Procedure...

Page 22: ...ight enough brightness may be improved by lowering the condenser slightly 1 Rotate the condenser height adjustment knob 2 to move the condenser to the highest or desired position fig 30 2 The aperture...

Page 23: ...es in the oil will affect the image quality make sure that the oil is free of bubbles To remove bubbles rotate the revolving nosepiece slightly to agitate the oil 4 The condenser of this microscope ma...

Page 24: ...sion oil is not used with an immersion objective Use immersion oil as suggested Pg 21 Bubbles are present in immersion oil Remove the bubbles by agitation Pg 20 The specified immersion oil is not used...

Page 25: ...slides with thickness between 0 9 and 1 4mm 9 LED does not turn On LED is not mounted Attach a LED LED is blown Replace the LED The power cord is unplugged Not firmly secured Ensure power cord is sec...

Page 26: ...Double specimen 7 Condenser Type Abbe condenser daylight filter detachable N A 1 25 Aperture iris diaphragm Built in 8 Dimensions Weight 284 0mm L x 227 0mm W x 360 6mm H 7 kg net 9 Electrical LED 3 6...

Page 27: ...Revision History Rev No Date of Release Change App By DCR 1 1 29 6 19 DCR 06 19 Trinocular version Included S Bal 1 2 23 10 19 DCR 14 19 Removal of Bulb Information S Bal...

Page 28: ...U S A Phone 510 445 1257 Fax 510 991 9862 E mail sales laboamerica com www laboamerica com Labomed Europe Essebaan 50 NL 2908 LK Capelle a d IJssel The Netherlands Tel 31 0 10 4584222 Fax 31 0 10 450...

Reviews: