

Before you begin, be sure the Scan Station power is on
and ready and the output tray panel is lowered.
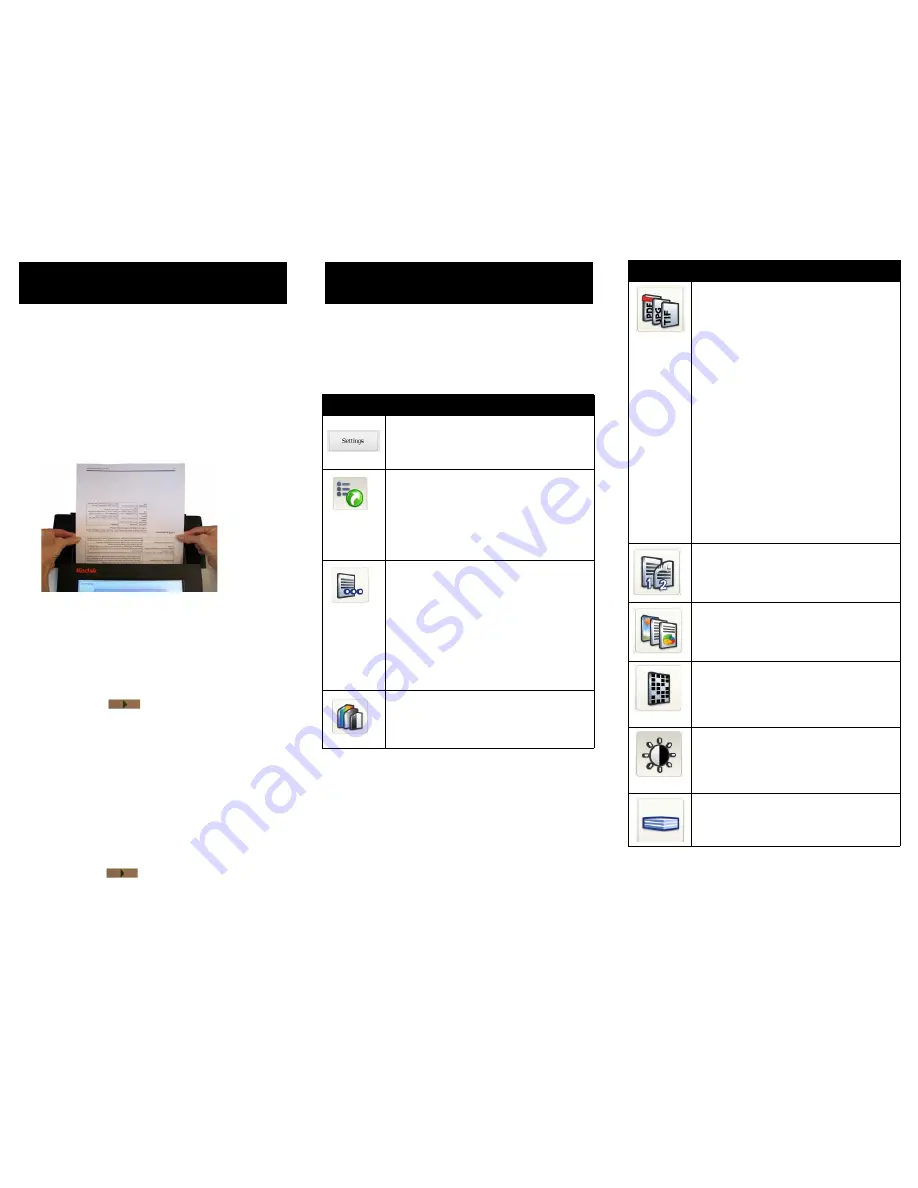
1.
Adjust the input and output trays as needed.
2. Documents are placed face down and top down in the
input tray with the side you want to scan facing the
input tray.
3. From the touch screen, select the destination(s) you
want to send your scanned document(s) to. More than
one email address, printer, network folder, etc. can be
selected at a time.
4. If you want to change the Scan settings (i.e.,
Scan As,
File Type
, etc.), select
Settings
and make the desired
changes.
5. Press the
Go
button.
6. If you want to review or change any of your settings,
you can select
Output
on the Processing Review
screen and the Settings Review screen will be
displayed. Otherwise, select
Scan
on the Processing
Review screen.
7. Depending on your Scan Station configuration some
options may be displayed (e.g., Custom E-mail
Subject, Secure PDF Password, Add Voice
Annotation Attachment, etc.). Select any of these
options as desired.
8. Review your list of destinations, then select
Scan
or
press the
Go
button.
Following is a brief description of the Scan settings. See
the User’s Guide for detailed descriptions and procedures.
Basic Overview
Follow the steps below to perform basic Scan Station
operations.
Basic operation
means the Scan Station
default settings are used. For more information and/or
procedures on using your personal flash drive, see the
User’s Guide for the
Kodak
Scan Station 500
.
Customizing your settings
If you want to change the default Scan settings, select
Settings
on the Destination screen. The settings you
change remain in effect only for the current scan
session.
Icon
Description
Settings
: toggles between the Settings
and Destination screens and Exit.
Setting Shortcuts
: six Setting Shortcuts
are provided to make scanning easier and
faster. They are:
Defaults, Black and
White Document, Black and White
Document (OCR Quality), Color
Document, Color Document (OCR
Quality),
and
Color Photographs
.
File Name Settings
: allows you to name a
folder where scanned documents will be
placed when scanning to a network folder,
FTP location or USB flash drive
destination. You can also define the file
name prefix that will be applied to every
scanned document created. Scanned
documents are typically created with this
prefix and have an optional date and time
stamp appended to the prefix.
Scan As
: available options are
Black and
White, Grayscale
or
Color
.
File Type
: available file types:
•
PDF Searchable (Image + Text)
and
PDF - Image only
— creates a document
or multiple documents that contain both
text and image data or image data only.
•
JPEG
— this option is only available if
your
Scan As
selection is
Color
or
Grayscale
. JPEG creates multiple files,
one for the front and back of a page. If
JPEG is selected, you can select
Draft,
Good, Better, Best
or
Superior
quality.
•
TIFF - Multi Page
— creates one file that
contains all of the scanned pages. You
can select either
Uncompressed
,
JPEG
or
Group 4
compression.
•
TIFF - Single Pages
— creates multiple
files, one for each side of a scanned
page. You can select either
Uncompressed
,
JPEG
or
Group 4
compression.
Input Document Is
: allows you to scan
one side or two sides of a document.
Document Type:
select if the document to
be scanned is mostly Text, Photographs or
a mix of Text with Graphics.
Resolution
: available resolutions are: 75,
100, 150, 200, 240, 300, 400 and 600 dpi.
The higher the resolution the sharper the
image. 300 dpi is optimal for creating
searchable PDF files.
Adjustments
: for black and white output
only. You can choose
Normal
or
Best
.
Normal
allows you to select a threshold
and contrast setting,
Best
allows you to
choose only a contrast setting.
Copies for Printing
: select the number of
copies (1-99) to print.
Icon
Description


