


ORIGINAL INSTRUCTIONS
Model:
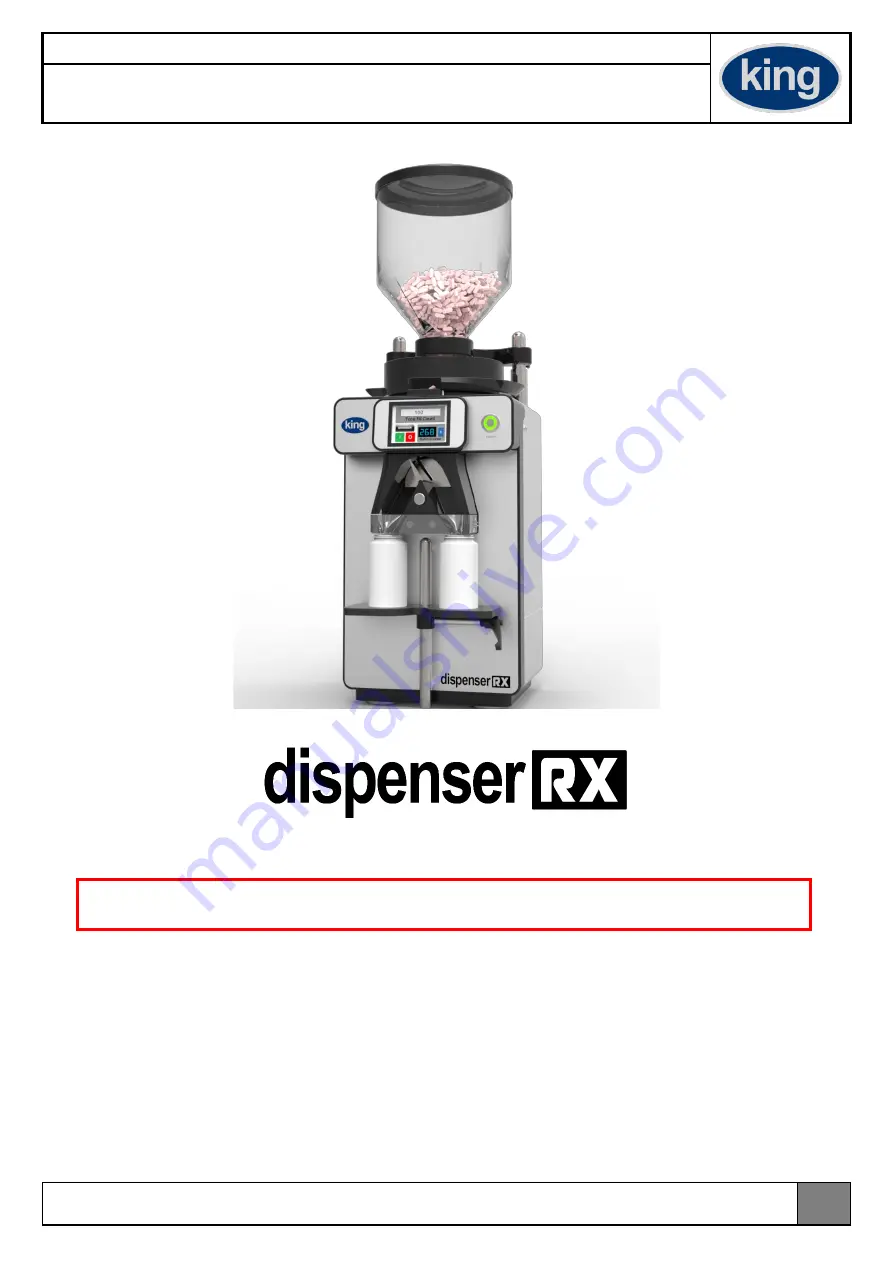
Dispenser Rx
Serial Number:
5780/14
Instructions Manual Dispenser Rx Tablet and Capsule Counting Machine Edition v2.1
1
©Copyright C.E.King Limited 2020 All rights reserved.
This manual is the only official guide to this machine. All verbal advice or instructions should be disregarded
except those from C.E.King Limited or its authorised representatives.
Any modifications to this equipment not carried out by personnel authorised by C.E.King Limited may
invalidate the existing CE Certification. In these circumstances, the user is responsible for arranging re-
certification of the machine. Failure to do so may result in the machine no longer complying with the relevant
EC Directives and consequently be no longer legally usable.
Due to our policy of continuous improvement we reserve the right to modify the specification of the machine
at any time.
IMPORTANT


