


Keri
i
2
Box Appliance User Guide
Reference Document
Page 1 of 9
P/N: 01676-001 Rev. G
The Keri
i
2
Appliance is a small form factor computer specifically configured for use with
Doors.NET. It comes with the Windows 10
TM
operating system and with Doors.NET software
installed. The first time the Appliance is powered on a special licensing program runs allowing you to
select one controller license type to use. When selected, this license is automatically activated. This
means all you need to do is connect your controller network to the Appliance, configure the hardware
and user information, and your system is fully operational.
The Keri Appliance is meant for Doors.NET use only. Installing any software, with the
exception of anti-virus software and data backup software will VOID your warranty.
There are three types of Keri Appliances:
Box Appliance – comes licensed for 64 readers, 384 inputs, 320 outputs, 3,000 cardholders,
1 client, and 1 user-selected hardware gateway. Additional clients and gateways can be purchased.
The Box Appliance does NOT support any items that require a Doors.NET professional license, it
does NOT support Badging, it does NOT support video/cameras and the Reflections client, and it
does not support Doors.WEB.
Plus Appliance – comes licensed for 256 readers, 384 inputs, 320 outputs, 10,000 cardholders,
1 client, and 1 user-selected hardware gateway. Additional clients and gateways can be purchased.
The Plus Appliance is capable of system growth and expansion with the addition of any of Keri’s
optional software modules and hardware packages. It can support Doors.WEB.
Pro Appliance – comes licensed for 512 readers, 2,048 inputs/outputs, 1,000,000 cardholders,
1 client, and 1 user-selected hardware gateway. Additional clients and gateways can be purchased.
The Pro Appliance comes with a full Doors.NET Pro software license. It also is capable of system
growth and expansion with the addition of any of Keri’s optional software modules and hardware
packages. It can support Doors.WEB.
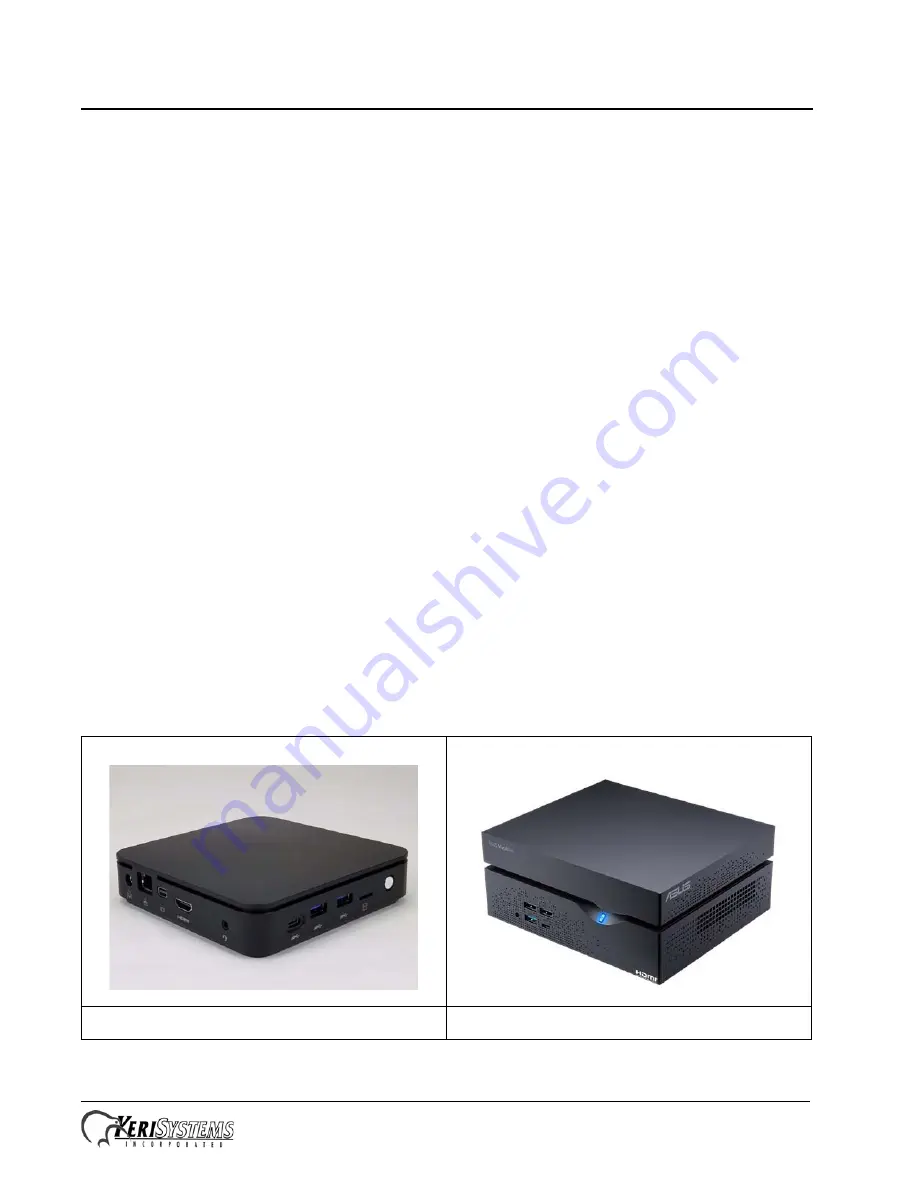
Box Appliance
Plus and Pro Appliance


