kansai MAC100, Instruction
The Kansai MAC100 is a versatile and user-friendly device for your household needs. With our comprehensive instruction manual available for free download at manualshive.com, you can easily set up and operate the MAC100 efficiently. Get the most out of your product with our detailed manual today!
Share
Download


Reviews:
No comments
Related manuals for MAC100

200
Brand: WARRIOR Pages: 45

Terra 3700B
Brand: Advance acoustic Pages: 64

S650
Brand: Janome Pages: 30

240 PB
Brand: Bandit Pages: 10

Sweepmaster P1500 RH
Brand: HAKO Pages: 80

CT601MP
Brand: Norton Pages: 20

RVV 700
Brand: Royal Vendors Pages: 76

Bernette 56
Brand: Bernina Pages: 134

Admiral 28
Brand: PowerBoss Pages: 52

ASP-JBL300
Brand: Siruba Pages: 46

PF-55
Brand: Neopost Pages: 11

MONTANA
Brand: Kettler Pages: 36

SCRUBTEC 866
Brand: Nilfisk-ALTO Pages: 27

DDL-900A
Brand: JUKI Pages: 52
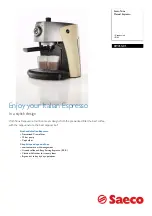
RI9355/01
Brand: Philips Pages: 2
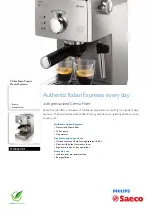
HD8427/01
Brand: Philips Pages: 3
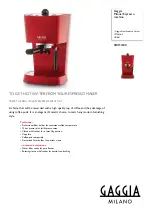
Gaggia RI8154/80
Brand: Philips Pages: 3
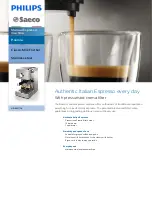
HD8327/09
Brand: Philips Pages: 3


