


BLU-RAY DISC & HDD RECORDER
SR-HD1700US/SR-HD1350US/
SR-HD1700EU/SR-HD1350EU/
SR-HD1700ER/SR-HD1700AG
INSTRUCTIONS
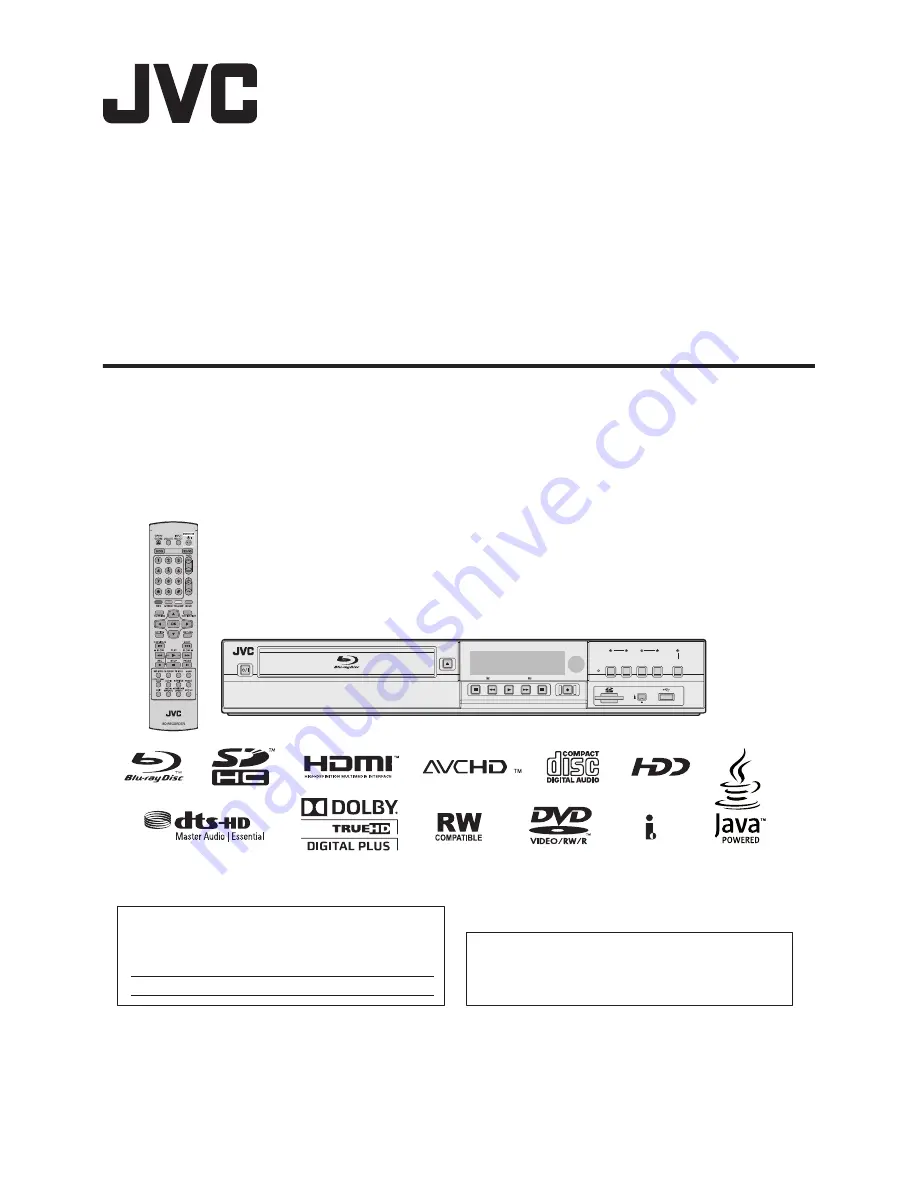
STOP
REV PLAY
PAUSE
FWD
OPEN/
CLOSE
STANDBY/ON
HDV/DV IN
REC
REC
C
E
R
D
D
H
BD
REC
MODE
RESET
INPUT
SELECT
HDD
MEDIA SELECT
BD/SD
ONE TOUCH
DUBBING
.
Thank you for purchasing this product.
Before operating this unit, please read the instructions carefully
to ensure the best possible performance.
Please read the following before getting started:
Serial No.
Model No.
Enter below the Model No. and Serial No. which is located
on the body. Retain this information for future reference.
For Customer Use:
LST1562-001A


