

18
17
14
13
2
3
2
3
Part Lists
Product Overview
Specifications
Installation Guide
Computer System Requirement
eScope Software Installations
Auto Focus eScope Hardware Installations
Auto Focus eScope Operations
eScope Software Guide
Execute Software
Capture Photo
Capture Video
Time-lapsed Picture / Video
Picture / Video Save as
Calibration and Measurement
Calibration
Measurement
Change the Calibration
Draw and Text
eScope Software Interface Instructions
Main Interface
Toolbar Instructions
Options instructions
Picture and Video Saving Folder
Measurement interface instructions
6
4
2
Contents
15
17
9
8
7
5
5
5
8
11
10
9
13
12
14
8
15
16
Auto Focus eScope Operations
To ensure the correct way in using the Auto Focus eScope,
please follow below steps to operate.
Ro
HS
2
Thank you for your purchase of professional digital microscope.
To guarantee the product function into fully play and prolong
service life, please read the user manual carefully before installations.
And the product should be well clean and maintenance when
using it.
In line with the policy of continued development, if there are
any amendments on the appearance, color or assemblies,
please refer to the real object. Our company reserves the right
to amend on the the specifications and the manual without
prior notification.
Specifications
30fps
@
VGA
Auto
15~65x
,
225x
1 sec. to 1/1000 sec.
English, Simplified Chinese
132
(
L
)
x32
(
D
)
mm
105g
5V DC from USB Port
CMOS Sensor
Video Capture
Resolution
Video Capture Format
Still Image Capture
Resolution
Still Image Format
Light Frequency
Frame Rate
Magnification Rate
Shutter Speed
White Balance
Exposure
Auto Focus Function
Focus Fine Button
Light Source
PC Port
Operated System
OSD Language
Power Supply
Size
Weight
1/3
〝
CMOS
1600x1200, 1280x960, 800x600,
640x480
AVI
BMP
,
JPEG
50Hz
/
60Hz
Auto
Yes
Yes <Up/Down>
White LED x 8
USB2
.
0
Windows
XP
/
Vista
/
Win7
2.0 Mega Pixel
Image Sensor
1600x1200, 1280x960, 800x600,
640x480
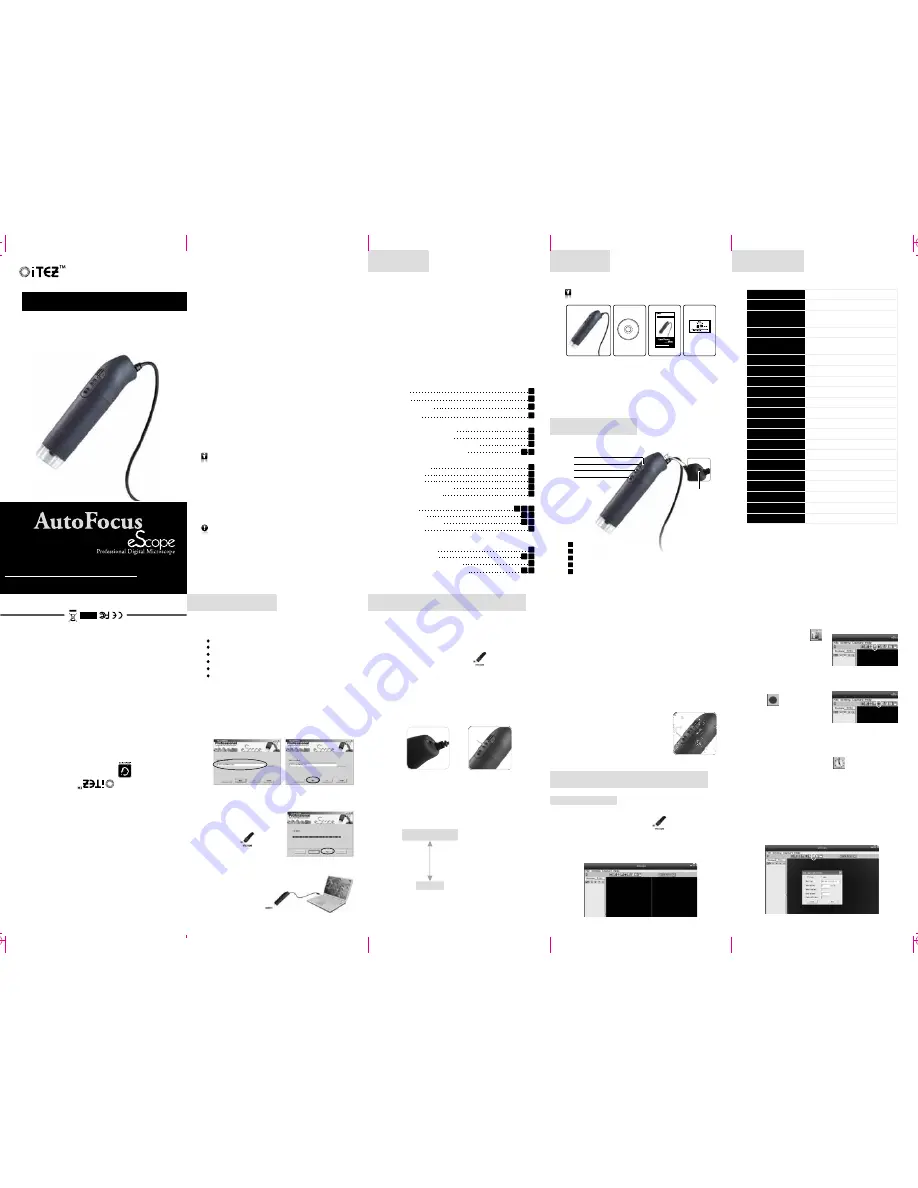
Part Lists
Product Overview
a.
b.
Please check and confirm all the accessories are available
before using.
a.
b.
c.
d.
Auto Focus eScope
x1
Driver CD-Rom
x1
Calibration Sheet
x1
User Manual
x1
c.
d.
1
2
3
4
Snap Shot Button
Auto Focus Button
Slight Adjustment Button <Up>
1
2
3
1
.
Insert enclosed CD into CD-ROM drive, the installation
program will start automatically. If installation program
doesn't start automatically, please browse your CD -ROM
drive and execute the “eScopeSetup.exe “ program
eScope Software Installations
2
.
Select a path for the software.
3
.
Click 'Next' to install.
4
.
Click “finish” to complete
the installation.
5
.
Now the “ ” shortcut
icon will show on the desktop
automatically.
After the software installation finish,
connect Auto Focus eScope
to computer by the
USB port.
Auto Focus eScope Hardware Installations
2
.
Focus
Focus the clear cover of eScope on the object.
3
.
Choose a magnification rate.
Use the adjustable switch on the trail to choose a magnification
rate. There are two magnification rates of 15~65X and 225X.
4
.
Auto Focus
Press the AF button to start auto focus.
*
Make sure the Auto Focus eScope is fixed on the object
after pressing the AF button, or it can't focus well.
*
The auto focus accuracy rate can't reach to 100% for all the
Auto Focus products. Some colors or objects may affect
the focus. In this case, please use the Slight Adjustment
Button to help to adjust.
*
The higher resolution you choose, the longer time it'll take
to auto focus. We suggest use the resolution of 640 x 480
during auto focus and after the focus is ready, choose a
higher resolution to capture photo so that you can get a
photo with high resolution finally.
5
.
Capture Photo
Please press on Snap Shot Button to
capture photo after the focus is ready.
*
You can also use the eScope software
to capture photo or video.
(Detail operations please refer to
eScope software guide)
Installation Guide
Computer System Requirement
Microsoft Windows XP, Vista or Win7
Pentium 4 processor or higher
200MB or higher hard disk space
1GB RAM or more
USB 2.0 Port
CD-ROM or DVD Drive
4
3
Slight Adjustment Button <Down>
Magnification Switch
4
5
eScope Software Guide
Double click the shortcut icon “ ” on desktop,
and then the real-time image will show up on screen.
1
.
Execute the eScope Software
Execute Software
Remark: Before executing the software, please make sure
microscope is connected to the PC.
*
Slide mouse to the short cut icons in the main manual bar to
quickly know the uses.
(Please refer to eScope software
interface instruction for more details)
Double click the shortcut icon “
” on desktop, and
then the real-time image will show up on screen.
8
5
6
7
尺寸:
375x280mm (
折后尺寸:
75x140mm) 80g
书写纸 单色双面印刷
Please stop using the product if any abnormal phenomena.
If the lens gets dirty, clean it with a blower brush or a soft cloth
moistened with a little neutral detergent. Be careful not to scratch
the lens surface.
Do not modify any accessories, our company won't responsible
for any malfunctions and calamities may cause.
Do not put the product into fire, our company won't responsible
for any malfunctions and calamities may cause.
Please follow the manual to operate the product, otherwise you
have to bear all after effect.
Warnings
Attentions
Please use dry cloth to gently clean product. Do not use any
chemicals to clean it.
DP-M13
2.0M Pixel
15~65x, 225x
User
Manual
Contents
Auto
Focus
Digital Mi roscope
c
Oriental Inspiration Limited reserves the right to the
interpretation of the product and correlative contents.
Capture Photo
Capture Video
a. Click 'Capture Picture
,
shortcut icon in the main menu
bar.
b. Click 'Capture > Photo F4'.
c. Press the key F4 on keyboard.
a. C l i c k ' S t a r t / S t o p R e c o d e r
Video
shortcut icon in the
main menu bar.
b. Click 'Capture > Video F8'.
c. Press the key F8 on keyboard.
Time-lapsed Picture / Video
a. Click 'Time-lapsed Photo/Video
,
shortcut icon in the
main menu bar.
b. Click 'Capture > Time-lapsed photo/video F5'.
c. Press the key F5 on keyboard.
*
A new dialogue box appears in which you can enter desired
setting data.
*
Under Time-lapsed photo, you can set the start time, interval
time and total picture number.
*
Under Time-lapsed video, you can set the start time, interval
time and total video number.
DP-M13
2.0M Pixel
15~65x, 225x
User
Manual
Auto
Focus
Digital Mi roscope
c
OR
IE
NT
AL I
NS
PIR
AT
IO
N LIM
IT
ED
佳駿 (環
球) 有限
公司
Please put the device back in place to avoid dust and moisture
when it is not in use.
5
* I f s l i d e t h e m a g n i f i c a t i o n s w i t c h t o 1 5 ~ 6 5 X . T h e
magnification rates between 15-65X are depend on the
distance between the object and microscope. If the distance
is between 0~15cm, the smaller distance, the bigger
m a g n i f i c a t i o n , a n d t h e f u r t h e r distance, the smaller
magnification will be. You can use the calibration and dial
to calculate the exact magnification rate.
* If slide the magnification switch to 225X, please keep the
clear cover of microscope close to the object.
Object
Auto
Focus
eScope
15X
0
15cm
65X
Distance
Magnification
rate
(
keep the clear cover of microscope
close to the object
)
7


