Intel H2000G Series, Service Manual
The Intel H2000G Series Service Manual is an essential resource for users looking to understand and maintain their H2000G Series product. Download this comprehensive manual for free from our website, allowing you to access crucial information and optimize the performance of your Intel H2000G Series device.
Share
Download


Reviews:
No comments
Related manuals for H2000G Series

PAC-170
Brand: ICP Pages: 19

HTPC 8000
Brand: nMedia Pages: 6

XenaBay C4-12
Brand: Xena Networks Pages: 6

MHUB PRO (8X8) 70
Brand: HDanywhere Pages: 2
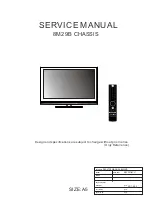
8M29B
Brand: Skyworth Pages: 45
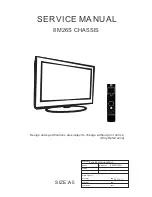
8M26S
Brand: Skyworth Pages: 57

MB21
Brand: Haivision Pages: 29

PXI 1000B
Brand: National Instruments Pages: 6

CRS-1 - Carrier Routing System Router
Brand: Cisco Pages: 104


