


Rev B June 2016
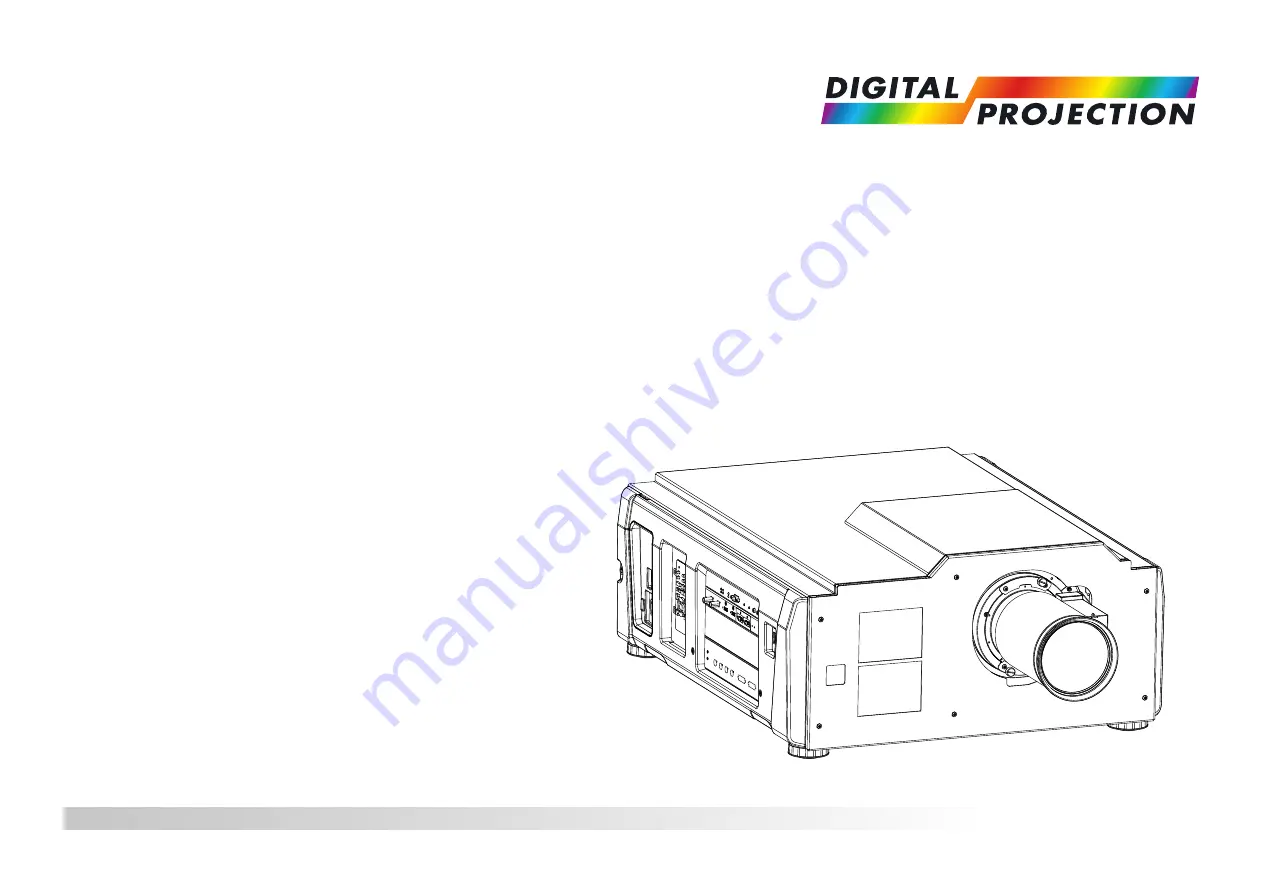
INSIGHT 4K Dual LED Series
INSIGHT 4K Quad Series
High Brightness Digital Video Projector
INSTALLATION AND QUICK-START GUIDE
4
4
117-673B
The INSIGHT 4K Dual LED Series offers exceptional display quality and resolution. To ensure a hassle-free setup, make sure to download and refer to the Installation and Quick Start Manual from our website. This comprehensive manual is available for free download, providing step-by-step instructions to maximize your experience with the product.
Rev B June 2016
INSIGHT 4K Dual LED Series
INSIGHT 4K Quad Series
High Brightness Digital Video Projector
INSTALLATION AND QUICK-START GUIDE
4
4
117-673B


