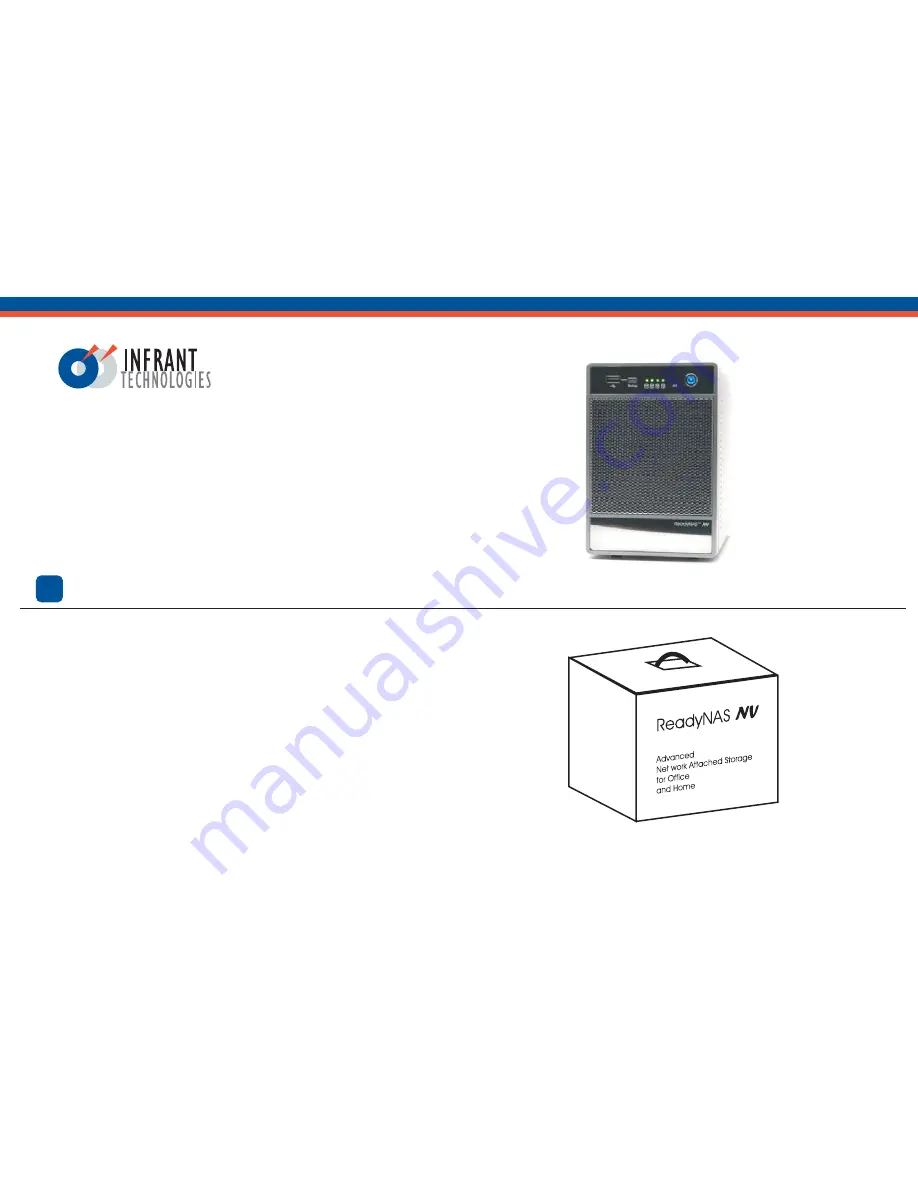
ReadyNAS
TM
NV
Getting Started Guide
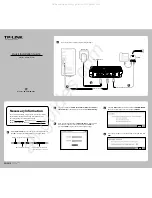
Package Contents:
(1) ReadyNAS NV
(4) Hard Disk Trays
(1) Getting Started Guide
(1) Warranty Card
(1) Power Cable
(1) Ethernet Cable
(1) ReadyNAS Installation CD
(16) Screws for Hard Disk Installation*
*If you purchased a diskless ReadyNAS NV unit,
please read the optional disk installation instruction below
before connecting ReadyNAS to the network. Please only
use SATA disks from the ReadyNAS Device Compatibility List.
Unpack and Check the Contents
1
p1