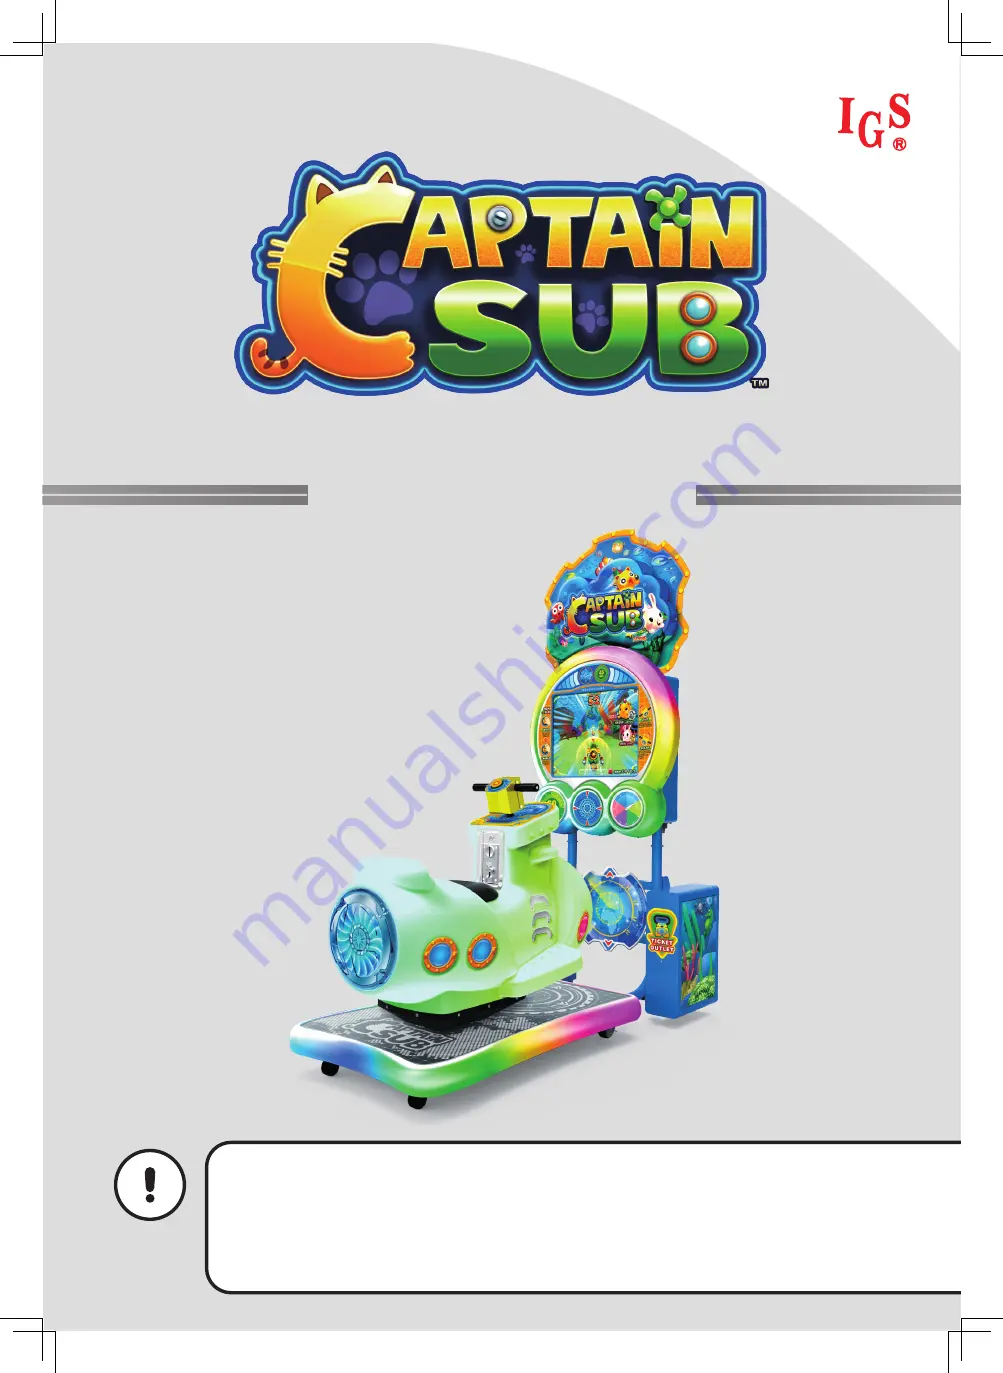
background image

Before installing this cabinet, make sure you read this manual.

Be sure to follow the instructions stated in this manual and pay attention to each guideline  

    in order to correctly install this cabinet.

Carefully keep this manual and place it in a convenient place for future references.

No further notice will be issued when this cabinet and parts are to be modified.

Important

User’s Manual

Summary of Contents for Captain Sub

Page 1: ...ions stated in this manual and pay attention to each guideline in order to correctly install this cabinet Carefully keep this manual and place it in a convenient place for future references No further...

Page 2: ...nce management and repair of game cabinets on a daily basis Keep this manual for your future references Moreover when assigning others to move install maintain and repair the cabinet all store owners...

Page 3: ...flammable items near electrical cords to avoid fires If electrical cords are to be damaged replace new ones with your local distributor To avoid electric shocks or short circuits Before repair or main...

Page 4: ...Time settings 33 4 4 5 Difficulty settings 34 4 4 6 Password settings 35 4 4 7 Ticket machine settings 36 4 4 8 Bouncing ball machine settings 36 4 4 9 Restore default settings 37 4 5 Income data 38...

Page 5: ...s product check if the following parts are all included If any part is missing or damaged contact your local distributor Name of accessories Picture Quantity Note User s manual 1 Controlling panel key...

Page 6: ...5 Introduction of the cabinet Overview of the cabinet 1 2 Overview of the cabinet Viewed from the front and side 640 mm 1782 mm 1364 mm...

Page 7: ...the cabinet Name of the exterior parts Light box rear acrylic Light box LCD screen Steering handlebar Decoration acrylic of screen cover Decoration acrylic of screen cover Speaker Button Coin slot Su...

Page 8: ...7 Introduction of the cabinet Assembled parts of the cabinet Maintenance door Coin box door Seat mat Base...

Page 9: ...8 Introduction of the cabinet Name of the interior parts Amplifier Speaker Fan Main board Control panel Connection socket Power supply Power switch Power socket Assembled parts of the cabinet...

Page 10: ...the cabinet Name of the interior parts PWR CON 13 CON 4 CON 12 CON 11 CON 10 VGA USB 2 USB 1 CON 6 GND 12V AUDIO Coin counter Volume knob TEST SELECT SERVICE OK Ticket counter Optional Assembled part...

Page 11: ...on BLC BL BL F CW With white LED Interior parts Test button Service button Select button Counter Coin Ticket Volume knob Light sets Machine name LED strip Screen cover LED board HR BS 0 Decoration of...

Page 12: ...sistance Power 4 inches 8 20W Environment Operating temperature 0 40 Storing temperature 10 80 Relative moisture 85 None coagulation status Motor Rated voltage AC110 220V 50 60Hz According to local po...

Page 13: ...n moving the machine please make sure if there is obstacles in the way or if the ground is level to avoid accidents or damage to the machine It is required that at least two people work together to mo...

Page 14: ...screen frame holder Use 4 M12 screws to screw up the base and the screen frame holder screen frame round tube holder Position the screen frame Use 2 M8 screws to screw up the screen frame and the scr...

Page 15: ...box on the top of screen frame Use 3 M4 screws to screw up the light box and the screen frame Use 5 M4 screws to screw up the light box LED holder and the light box light box rear acrylic Use 4 M4 scr...

Page 16: ...lation and connection 2 3 Locating the cabinet Fasten the cabinet with the tail Counterclockwise turn the tail till a distance of at least 5mm is kept between the caster and the floor 5mm Locating the...

Page 17: ...ul magic bullet to break the obstacle but also can power up and enjoy the feeling of speeding up In the second stage the user opens fire to attack the cute boss The game encompasses rich content two s...

Page 18: ...17 Introduction of the game 3 3 Game control Turn the steering wheel to control the mini sub Press the button to shoot Hold the button to charge 1 2 3 Game control...

Page 19: ...ge one Bullets categories and charge bar Time counter Player icon scores and rank Item categories Credits Stage two Teaching of pressing the button Bullets categories and charge bar Player icon scores...

Page 20: ...Flow settings Coin voice prompts Player and area select First stage time Boss battle time Continue time Coin settings Free play Start game Continue Operator settings Hardware test Game settings Income...

Page 21: ...On the hour 19 00 19 00 Master volume 00 10 20 100 60 Idle volume On Off On Time settings Set local time year month day hour minute Ex factory date Difficulty settings Difficulty Easy Very easy Very e...

Page 22: ...r Use Service button confirm number and select the next number Default password 000000 After the password is correct you will be able to enter the Operator settings main page and the screen will displ...

Page 23: ...nted to will appear in red After the testing is conducted move the cursor to Exit then press the Service button to leave this page and return to the Operator settings Regarding detailed descriptions o...

Page 24: ...ication Testing method Result Coin Insert coin s Off became On Coin has been inserted Test Press the button Off became On Select Press the button Off became On Service Press the button Off became On L...

Page 25: ...the chart below Application Testing method Result Coin Insert coin s Off became On Coin has been inserted Test Press the button Off became On Select Press the button Off became On Service Press the bu...

Page 26: ...ow SELECT SERVICE OK When the test is operating you can press the Service button again to stop the test 4 3 5 Motor test This test allows you to test the swing motor work in function Enter Operator se...

Page 27: ...ng you can press the Service button again to stop the test 4 3 7 Screen test In the page of Screen test you can test whether the white balance color level and lattice are normally functioning or not E...

Page 28: ...test If you want to reset the record of tickets owed please move the cursor to Reset record of tickets owed and press Service button to reset the record of tickets owed When the test is completed mov...

Page 29: ...to Reset record of balls owed and press Service button to reset the record of tickets owed When the test is completed move the cursor to the Reset record of balls owed and press Service button to retu...

Page 30: ...right will goes up as more coins are inserted Also the counter inside the coin counter will indicate the number too After testing is completed press Service button to return to Hardware test 4 3 11 S...

Page 31: ...e screen will display as below In the page of Center sensor settings you can see Center sensor and its sensed value and set Sensor setting P S If the sensor setting is NC the value of sensor is 1 If t...

Page 32: ...appear in red Use the Service button to confirm or enter the sub menu After setup is completed move the cursor to Exit Then press the Service button to return to the Operator settings Regarding detai...

Page 33: ...e of Coin settings you can determine if free games are offered and set up the required number of coins to start or continue a game Enter Operator settings Game settings Coin settings and the screen wi...

Page 34: ...the items and press Service button to start set up When done move the cursor to Exit Then press the Service button to return to the Game settings 4 4 4 Time settings In the page of Time settings you c...

Page 35: ...gs Difficulty settings and the screen will display as below SELECT SERVICE OK Press Service to choose the items When done move the cursor to Exit Then press the Service button to return to the Game se...

Page 36: ...nd the screen will display as below SELECT SERVICE OK Press Service button to confirm When changing the password you must enter old password first when the old password is confirmed enter the new pass...

Page 37: ...en done move the cursor to Exit Then press the Service button to return to the Game settings 4 4 8 Bouncing ball machine settings In the page of Bouncing machine settings you can set up how many bounc...

Page 38: ...ICE OK Use the Select button function to choose the Yes or No When Yes is chosen press the Service button to start the resetting process After the resetting process an icon of Completed will pop up th...

Page 39: ...OK Use the Select button to move the cursor and item where the cursor is pointed to will appear in red Use the Service button to confirm or enter the sub menu After setup is completed return to Game s...

Page 40: ...he total number of new games that day Cont game The total number of games continued that day Link The total number of games linked that day Service The total time of service use that day Cur coins The...

Page 41: ...otal number of new games that month Cont game The total number of games continued that month Link The total number of games linked that month Service The total time of service use that month Cur coins...

Page 42: ...ated Continue The total number of games continued Link The total number of games linked Service The total time of the service button Current coins The actual number of coins counted Current tickets Th...

Page 43: ...screen will display as below SELECT SERVICE OK Use the Select button function to choose between Yes and No When Yes is selected press the Service button to reset the data Note This function cannot del...

Page 44: ...are normally producing sound Check if fluorescent lights and button lights are normal Check if the display of the screen is clear enough 5 2 Cleanness and maintenance Screen To clean the screen make s...

Page 45: ...rts 5 3 1 Main board replacement Unscrew 4 M4 nuts on the main board holder Remove main board Replace main board Main board 5 3 2 Amplifier board replacement Unscrew 4 M3 screws on the amplifier board...

Page 46: ...Replacing parts 5 3 3 Power supply replacement Unscrew 4 M4 nuts on the power supply holder Remove power supply holder power supply holder Unscrew 2 M3 screws on the power supply holder Remove power s...

Page 47: ...acing parts 5 3 4 Submarine body remove Unscrew 3 M6 screws on the seat mat Remove seat mat seat mat Unscrew 11 M4 screws on the dust cover Unscrew 4 M10 screws on the submarine body Remove submarine...

Page 48: ...board replacement Unscrew 4 M4 screws on the I O board hodler Remove I O board holder I O board holder Unscrew 4 M4 screws on the I O board PVC cover Remove I O board PVC cover Unscrew 4 M4 screw pill...

Page 49: ...lacement Unscrew 8 M4 nuts on the LCD screen cover Remove LCD screen cover LCD screen cover Unscrew 4 M4 screws on the LCD screen holder Remove LCD screen and replace screen LCD screen Unscrew 4 M4 sc...

Page 50: ...ts 5 3 7 Steering handlebar replacement Unscrew 6 M4 screws on the control panel acrylic Remove the control panel acrylic control panel acrylic Unscrew 4 M6 screws on the steering handlebar Remove the...

Page 51: ...Remove the light interdiction cover of VR sensor light interdiction cover Unscrew 2 M4 screws on the steering handlebar VR sensor holder Remove the steering handlebar VR sensor holder steering handleb...

Page 52: ...on the steering handlebar button acrylic Remove the steering handlebar button acrylic Unscrew the micro switch holder Replace button LED or micro switch 5 3 10 Submarine body LED strip front replaceme...

Page 53: ...rine body LED strip front holder Remove submarine body LED strip front holder Replace LED strip 5 3 11 Submarine propeller LED replacement Unscrew 4 M6 screws on the submarine propeller LED cover Remo...

Page 54: ...ard submarine propeller acrylic submarine propeller LED board 5 3 12 Submarine body LED strip rear replacement Remove submarine propeller LED cover and submarine propeller acrylic See page 51 5 3 11 S...

Page 55: ...body LED strip rear holder Remove submarine body LED strip rear holder Replace LED strip 5 3 13 Submarine body LED side replacment Remove submarine body See page 45 5 3 4 Submarine body remove Unscrew...

Page 56: ...ylic Remove light box acrylic light box acrylic Unscrew 5 M4 screws on the light box strip holder Replace LED strip light box strip holder 5 3 15 LCD screen cover LED board replacement Remove LCD scre...

Page 57: ...arts 5 3 16 Decoration acrylic of screen cover LED strip replacement Unscrew 3 M4 nuts on the decoration acrylic of screen cover Remove decoration acrylic of screen cover and replace LED strip decorat...

Page 58: ...gs Game settings Volume settings to check the volume settings are correct See page 33 section 4 4 3 Volume settings Check if the plugs between the power amplifier and cabinet are coming off If no test...

Page 59: ...58 Troubleshooting Troubleshooting MEMO...

Page 60: ...s System Co Ltd Software Developers INTERNATIONAL GAMES SYSTEM CO LTD TEL 886 2 2299 5048 FAX 886 2 2290 1394 http www igs com tw Distributor I CING INTERNATIONAL ENTERPRISE CO LTD TEL 886 37 747318 F...

Reviews: