


Setting Up a Wireless Connection
Connect Windows 7 to a Vodafone HG556a wireless network
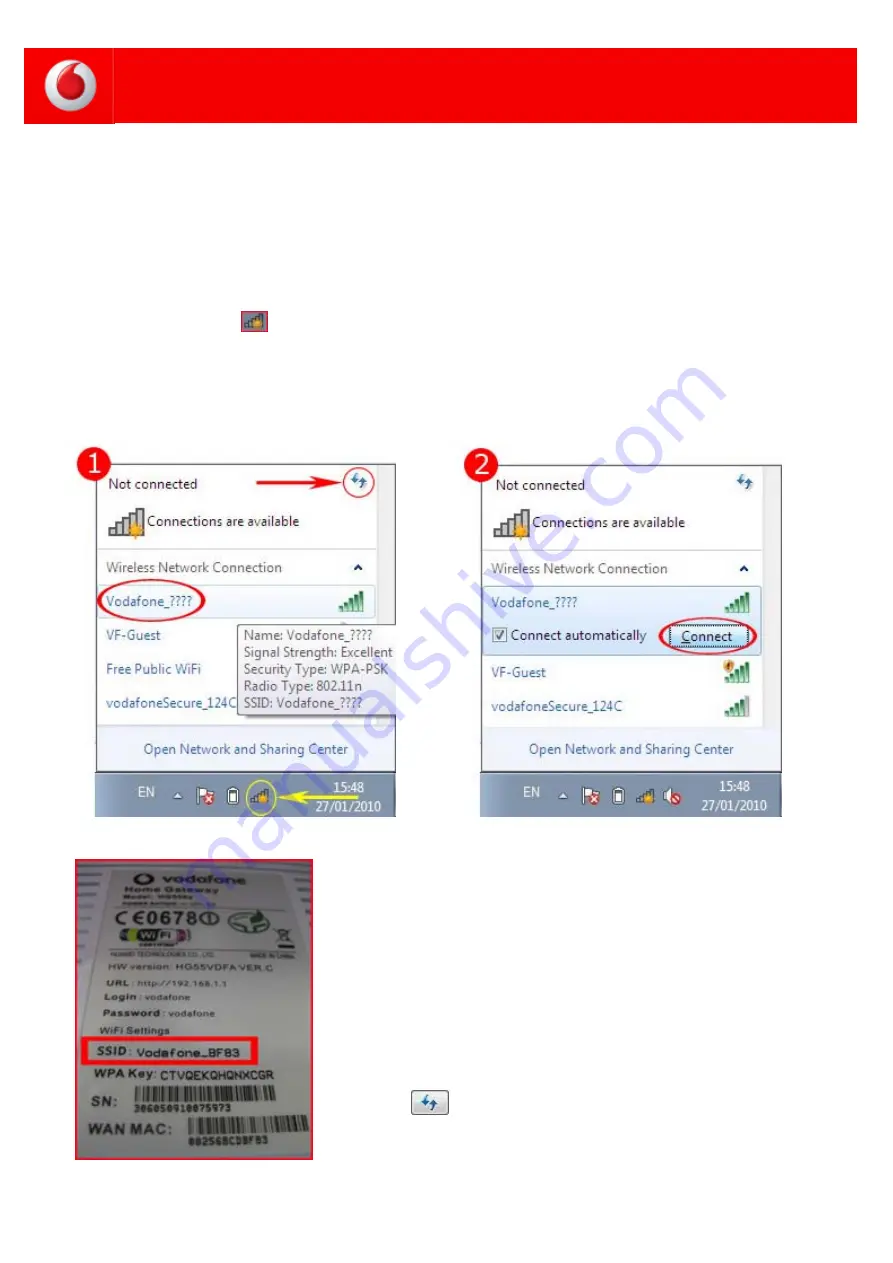
1. Ensure your Vodafone HG556a modem is powered on. The Power, DSL and Wireless lights should all be
in the notification area of your taskbar.
3. Select your Vodafone wireless network then click Connect.
Your own network can be identified as the SSID printed on the
label on the back of your modem.
In the example shown to the left, the SSID is Vodafone_BF83 so
this is also the Network Name.
If no Vodafone wireless network appears in the list, check that
your modem is correctly installed and switched on. Both the Power
and Wireless lights should be lit red.
Your computer might also be out of range. Move closer or re-
position your Vodafone modem to reduce the distance. Then click
the refresh
button in the top right corner of the pop up
window.


