background image

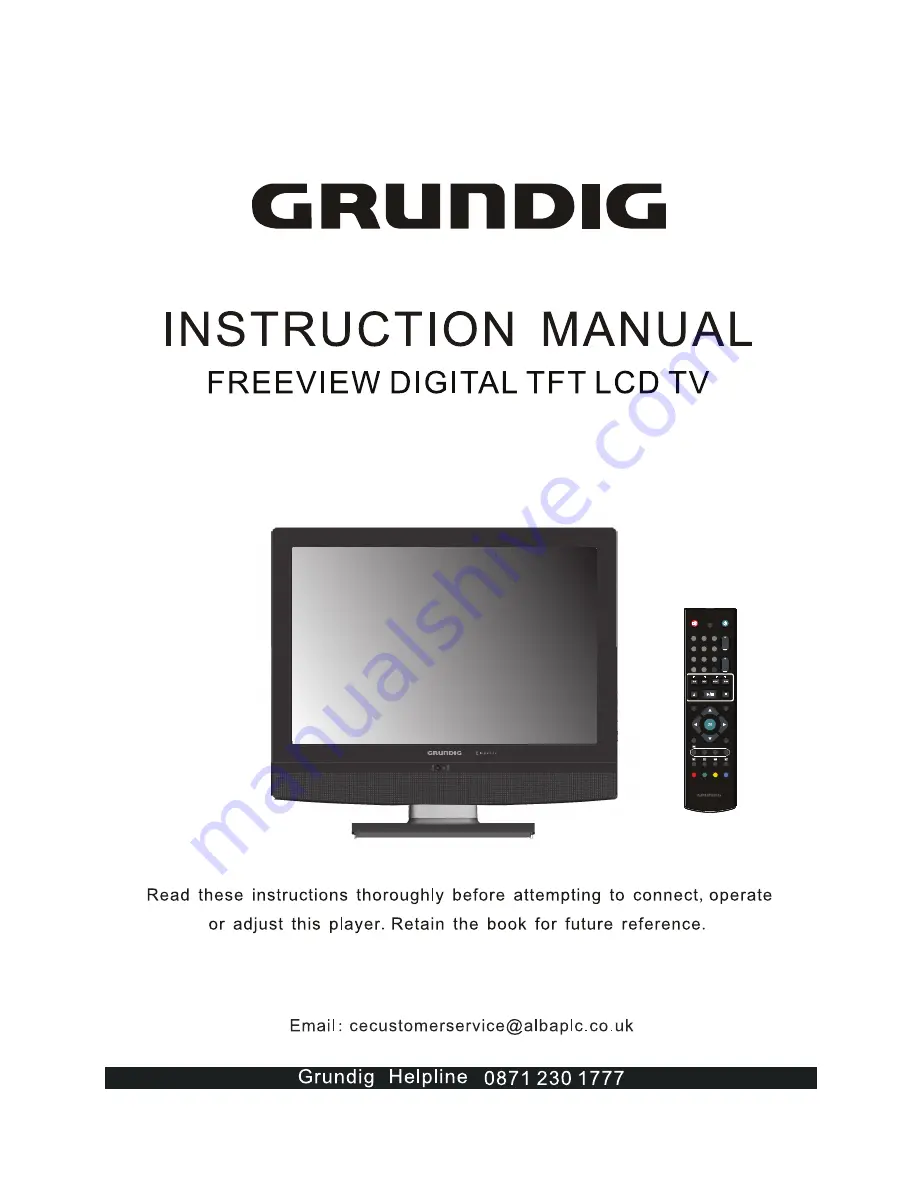
GU19WDVDT/GU19WDVDPCX

WITH INBUILT DVD PLAYER / USB & SD CARD SLOT

Grundig Web Site: www.grundig.co.uk

ATV/DTV/DVD

CH.

VOL.

GUIDE

+10

EXIT

INFO

INPUT

CH. LIST

MENU

1

4

7

8

9

0

5

6

2

3

OPEN/CLOSE

STOP

PLAY/PAUSE

SEARCH

SKIP

I-II

DVD

SLEEP

DVD

SUBTITLE

SUBTITLE

USB/CARD

TITLE

FAST TEXT

AUDIO

SETUP

ZOOM

DVD MENU

GO TO

Summary of Contents for GU19WDVDPCX

Page 1: ...ARD SLOT Grundig Web Site www grundig co uk ATV DTV DVD CH VOL GUIDE 10 EXIT INFO INPUT CH LIST MENU 1 4 7 8 9 0 5 6 2 3 OPEN CLOSE STOP PLAY PAUSE SEARCH SKIP I II DVD SLEEP DVD SUBTITLE SUBTITLE USB...

Page 2: ...his symbol is intended to alert the user to the presence of important operating and maintenance instructions in the literature accompanying the appliance CAUTION TO AVOID THE RISK OF ELECTRIC SHOCK DO...

Page 3: ...r 2 core or 3 core Follow the appropriate wiring instructions given below In both cases ensure that the outer sheath of the cable is firmly held by the cable clamp WARNING Do not connect either wire t...

Page 4: ...Unplug the unit immediately it gets wet and consult your servicing technician Always unplug the unit before cleaning it Wipe dust off the cabinet of the unit with clean dry soft cloth Apply non ammon...

Page 5: ...ial 14 Connecting a VCR Video Camera 17 Connecting a TV box and satellite Receiver 18 Connecting an Audio Receiver 19 HDMI 20 USING THE FEATURES OSD Menu Operation 21 The Video Settings 21 The Audio S...

Page 6: ...nection 1 set of composite A V input terminals 1 SCART input terminals 1 set of component Video input terminals 1 VGA Audio input terminal 1 HDMI Audio input terminals 1 Headphone terminal High Defini...

Page 7: ...ms are all you need to set up and operate the LCD TV in its basic configuration Package Contents VIDEO Cable Remote Control AAA Batteries x 2 Power Cord AUDIO Cable Power Adapter ATV DTV DVD CH VOL GU...

Page 8: ...stand installation a Open the box and make sure all necessary parts are in the box The package contains b Cover an even stable surface with a soft cloth Place the LCD TV unit face down on the cloth Fi...

Page 9: ...upplied in remote control 1 2 3 Do not use caustic cleaners porcelain stainless steel toilet or oven cleaner etc on the remote as it may suffer damage Pull the tab of the back cover and pull up on the...

Page 10: ...he LCD TV on and into standby mode MENU Presses once to display the OSD on screen display presses again to turn the OSD off VOLUME Adjusts the volume up and down Selects the main menu item and change...

Page 11: ...d You can view digital images or movie playout for MPEG1 MPEG2 on your TV DVD mode 4 PLAY PAUSE Press to start play back or pause DVD mode 5 OPEN CLOSE Press to open and close the disc tray DVD mode T...

Page 12: ...layer HDTV or video equipment 6 AV5 VGA IN PC AUDIO IN Connects to a PC or other devices with a VGA interface 7 AV6 HDMI IN Connects to devices with a HDMI interface 8 DIGITAL OUT Connects to digital...

Page 13: ...nels up and down VOL Increase and decrease volume SLEEP Set the LCD TV sleep time Press the SLEEP Button to select the number of minutes followed by 15 30 60 minutes and off The timer begins to count...

Page 14: ...ings up Info Bar to show programme Information OK INPUT Cycle among the different input signal sources TV DVD AV1 SCART AV2 S VIDEO AV3 CVBS AV4 YPbPr AV5 VGA AV6 HDMI DTV Allow you to move select and...

Page 15: ...4 PREPARATION PREPARTION S VIDEO AUDIO IN Y Pb Pr L R PC VGA IN HDMI PC AUDIO IN VIDEO AUDIO IN L R SCART VHF UHF IN DC 12V IN DIGITAL OUT Installing the LCD TV When connecting any external equipment...

Page 16: ...on Connecting an aerial Connect your existing TV aerial to the Aerial input socket on the TV Connect the power adaptor to the TV as shown above A red standby indicator will show on the front panel TV...

Page 17: ...button to display the function required TV AV Using the arrow buttons on the remote highlight the function required and press the OK button to select the function Select TV Channel Press the CH butto...

Page 18: ...LCD TV s SCART socket Connect all power SOURCEs before turning on the LCD TV or other connected equipments Press the POWER button to turn on your LCD TV METHOD A AV2 METHOD B AV3 METHOD C AV1 To watch...

Page 19: ...e Box s RGB output sockets to your LCD TV Use a 3 5mm socket to RCA adapter cable for connecting audio Method E AV1 Use a SCART cable to connect the TV Cable Box s SCART socket to the LCD TV s SCART s...

Page 20: ...LINE IN sockets to LCD TV s DIGITAL OUT sockets Only for DVB T DVD input sources Press the POWER button to turn on your LCD TV Connect all power SOURCEs before turning on the LCD TV or other connecte...

Page 21: ...ent Protection Protocol for TV SET 480p 720p 1080i modes When you connect to the output of an HD ready player DVD Player Set Top Box or PC switch to the AV6 HDMI function and the TV will automatically...

Page 22: ...main menu option then press OK to enter your selected option Use to highlight an option of the sub menu Use to change the value of the item Press the EXIT button to exit menu VIDEO Use this Video sett...

Page 23: ...high Blue Stretch Allows you to adjust the blue stretch Green Stretch Allows you to adjust the green stretch Color Temp Allows you to adjust the color temp to be cool warm standard OPTION DESCRIPTION...

Page 24: ...ovakia Turkey Others Manual Search Allows you to adjust the manual search by hand if signal is too weak or picture is blurry Channel Setup Press the button to select Sort Delete Skip Finetune Save Sor...

Page 25: ...p timer to be off 15min 30min 60min OSD Timer Allows selection of the display time of the on screen menu 5 s 10 s 15 s 20 s 25 s OSD Reset Allows you to restore the factory settings OPTION DESCRIPTION...

Page 26: ...EATE A FAVOURITE LIST Highlight the Create a favourite list item pressing OK button then The menu is displayed on the screen now Once you enter the Create a favourite list menu a new channel list will...

Page 27: ...enter the PIN Code that is set in the parental control menu at first before the channel is displayed By pressing the YELLOW button you can sort the channels in the list Then you can sort the channels...

Page 28: ...O K to confirm MODIFY A FAVOURITE LIST You can modify the favourite list which you have create The list named TV RADIO is the default list the rest are created Select a favourite list then press OK bu...

Page 29: ...he channel installation menu If you want the TV to auto search the channels press OK button to continue Then you should choose the installation type by using the buttons and press the OK button to sta...

Page 30: ...Using to cycle the channel option then the bar graphs of signal level and signal quality will indicate whether any channels are likely to be found You should choose the channel of which the signal qua...

Page 31: ...BTITLE LANGUAGE This function selects the desired subtitle language whenever subtitle information is broadcast Highlight the subtitle language line in the user settings menu and use buttons to cycle t...

Page 32: ...ration menu pressing OK button to display the Signal information menu Cycle through the channel option by using the buttons on the remote control The signal level and signal quality of the channel tha...

Page 33: ...locked in the edit channel list menu can t be displayed before you enter the PIN CODE MATURITY LEVEL There are 18 levels total If you toggle this option to a number 1 18 for example you toggle it to...

Page 34: ...ssing this button again you can close this window Press RED button to set a Reminder to automatically view a chosen channel by pressing this button again you can cancel this reminder REMINDER 14 58 27...

Page 35: ...LCD TV on 2 Select INPUT to DVD 3 Insert a disc with label side facing front of TV CD R CD RW DVD R DVDRW VCD SVCD DVD R or DVD RW 4 After the disc is inserted Smart NAVl will show the contents of the...

Page 36: ...trol to enter Card Reader Mode 5 Press Button on the remote control to select the file you want to play and then press OK Button to play the file NOTE 1 The card socket and the DVD player cannot be us...

Page 37: ...3 Now Insert a Card Label side facing you or USB cable Note If DVD has been previously played its important that the disc is removed and that the USB CARD Button on the remote is pressed before inser...

Page 38: ...Repeat On Off 4 Subtitle Angle 8 Time Display Mode Both VCD and DVD discs share the same instructions For CD discs Press the GO TO key on the remote control the screen will display as following order...

Page 39: ...EG files The DVD player is compatible to Kodak Picture CD and discs containing JPEG MPEG1 MPEG2 MPEG4 image files with JPG file extension This function is similar to playback function Upon loading a K...

Page 40: ...show mode when playing pictures MPEG 4 Playback Upon loading the disc the screen shows a window as follows The following picture just for reference only 1 Choose your preferred directory use the Butt...

Page 41: ...OSD Language The default language is English You can select other OSD languages English Norwegian Sweden Finish Dainish Greek Italian Polish Hungarian Czech French DIGITAL OUTPUT Output There are 3 ki...

Page 42: ...t Memory ON Each time when you turn off the player it will memorize the last played file So if you turn on the player or play the same disc next time it will resume from the same point OFF Disable the...

Page 43: ...channel audio Note This setting is used to play Dolby AC 3 encoded 2 channel discs Some DVDs may not being change in this menu setting DYNAMIC Dynamic When set the dynamic range to FULL the soft musi...

Page 44: ...sh PARENTAL PARENTAL Allows the user to set a maximum rating of movie that can be played e g PG rating Movies rated higher than the level set will not be played The parental lock can only be changed a...

Page 45: ...and batteries No picture no sound Check the interface cable between TV and antenna cable TV Press the POWER button on the remote Press the TV button on the remote then press INPUT button repeatedly to...

Page 46: ...450 Contrast Ratio 800 1 Max Resolution 1440 x 900 Input Connector VIDEO 1 S VIDEO 1 YPbPr AUDIO IN L R 1 AUDIO IN L R 1 PC VGA IN 1 HDMI IN 1 PC AUDIO IN 1 DIGITAL OUT 1 HEADPHONE 1 VHF UHF IN 1 Pow...

Reviews: