


3A9121A
EN
Instructions
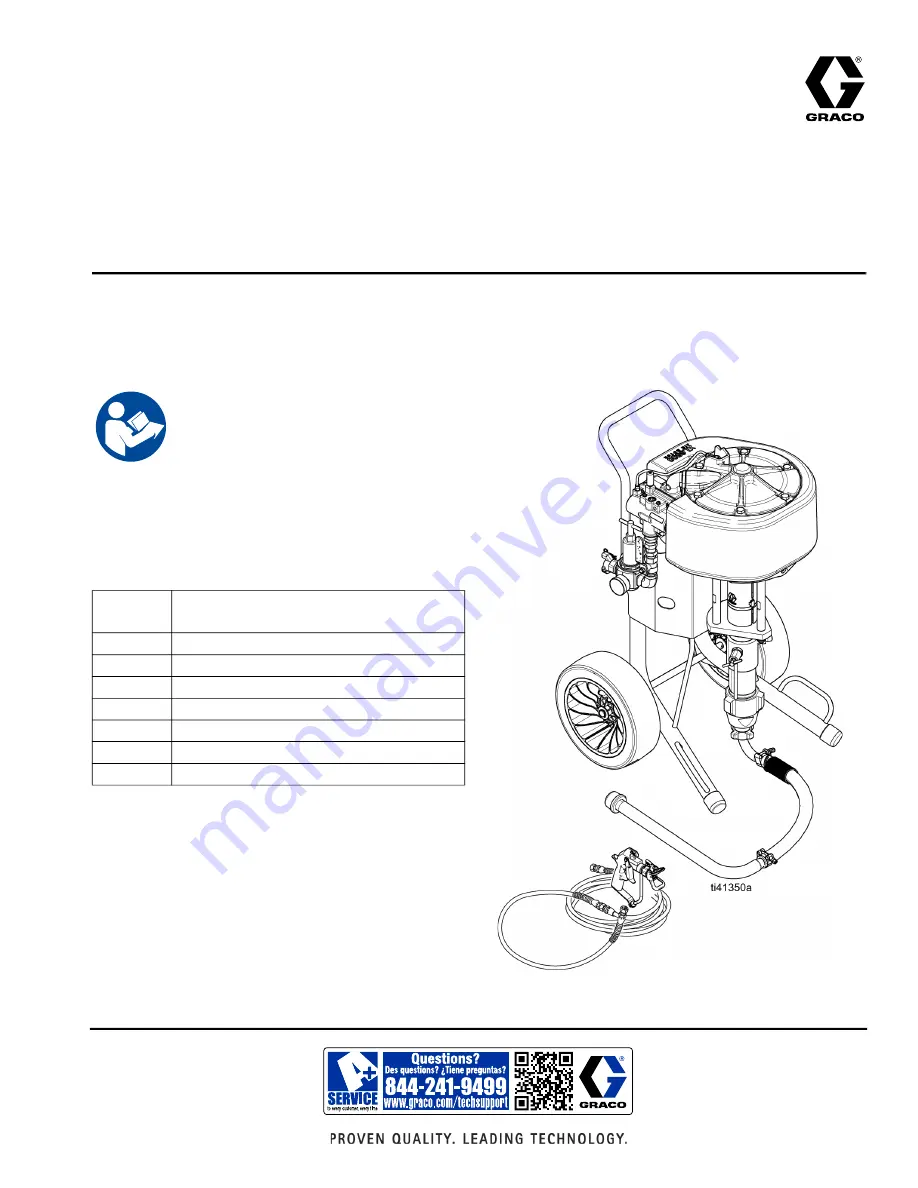
Contractor King
™
Spray
Packages and Pumps
High pressure spray packages for applying high performance coatings. For professional
use only.
See page 3 for model information, including maximum
working pressure and approvals.
Related Manuals
Important Safety Instructions
Read all warnings and instructions in this
manual and related manuals before
using the equipment. Save these
instructions.
Manual in
English
Description
311254
Silver Gun and Silver HP Gun
3A9122
Lower Manual (pump)
333507
Hopper Kit
3A9126
Zinc Circulation Kit
3A9127
Air Filter Lubrication, Air Regulation Kits
3A9129
Lift Ring Kit
3A9128
Paint Filter Kit


