


DESIGN, INSTALLATION
AND SErvIcING INSTrucTIONS
THE GAS SAFETY (INSTALLATION AND uSE)
rEGuLATIONS
I
n your own interest and that of safety, it is
law that all gas appliances are installed by
competent persons and in accordance with the
above regulations.
ISSUE 5:
06-08
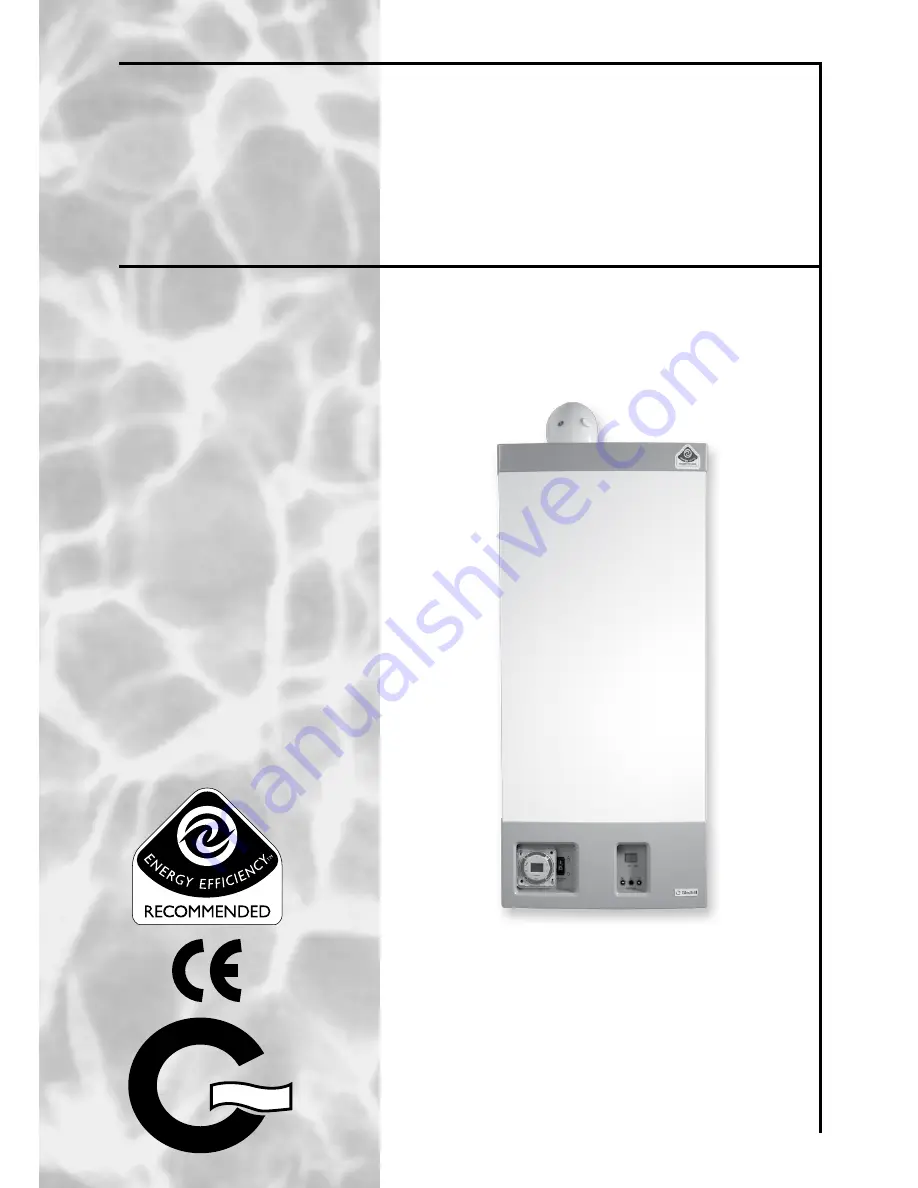
Gledhill High Efficiency
Combination Boiler
Model: GB35C
Summary of Contents for GB35C
Page 49: ...Page 49 CONDENSING COMBI BOILER ...
Page 50: ...Page 50 ...
Page 53: ...Page 53 CONDENSING COMBI BOILER ...
Page 56: ......


