


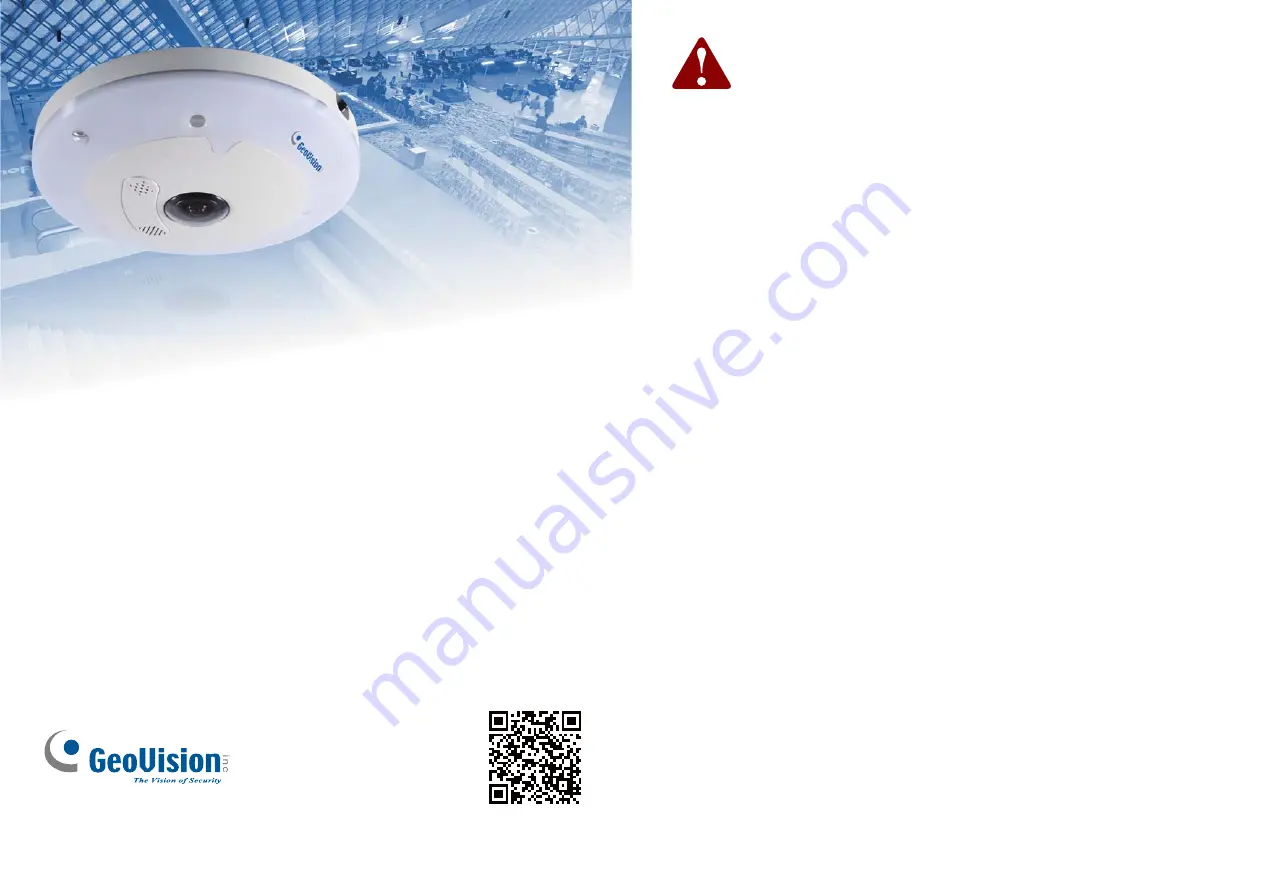
Hardware Installation Guide
GV-Fisheye IP Dome
GV-FE2302 / 3402 / 5302 / 3403 / 5303
GV-FER3402 / 5302 / 3403 / 5303
© 201
5
GeoVision Inc. All rights reserved.
Thank you for purchasing GV-Fisheye IP Camera. For advanced information on
how to use the GV-Fisheye IP Camera, please refer to GV-Fisheye IP Camera
User's Manual and Quick Start Guide online.
201
5
/
0
4
English
FEV3-QG-
C
61-MEFERV3-Q001
Important
Note for Connecting to GV-System / GV-VMS
The GV-Fisheye IP Camera is designed to work with GV-System / GV-VMS,
a video management system. Note the following when the camera is
connected to GV-System / GV-VMS:
1. By default, the images are recorded to the memory card inserted in the
GV-Fisheye IP Camera.
2. Once the camera is connected to GV-System / GV-VMS, the resolution
set on GV-System / GV-VMS will override the resolution set on the
camera’s Web interface. You can only change the resolution settings
through the Web interface when the connection to GV-System / GV-VMS
is interrupted.
Note for Recording
1. By default, the images are recorded to the memory card inserted in the
GV-Fisheye IP Camera. Make sure the
Write recording data into local
storage
option is enabled. If this option is disabled, the camera will stop
recording to the memory card while the live view is accessed through
Web browsers or other applications. For details, see
Video Settings,
Administrator Chapter, GV-Fisheye IP Camera User’s Manual
online.
2. Mind the following when using a memory card for recording:
●
Recorded data on the memory card can be damaged or lost if the
data are accessed while the camera is under physical shock, power
interruption, memory card detachment or when the memory card
reaches the end of its lifespan. No guarantee is provided for such
causes.
●
To avoid power outage, it is highly suggested to apply a battery
backup (UPS).
●
For better performance, it is highly suggested to use Micro SD card of
MLC NAND flash, Class 10.
●
Replace the memory card when its read/write speed is lower than 6
MB/s or when the memory card is frequently undetected by the
camera.


