


PRECAUTIONS
Please follow these precautions:
To prevent
fire or shock hazard, do not expose the unit to rain or
moisture.
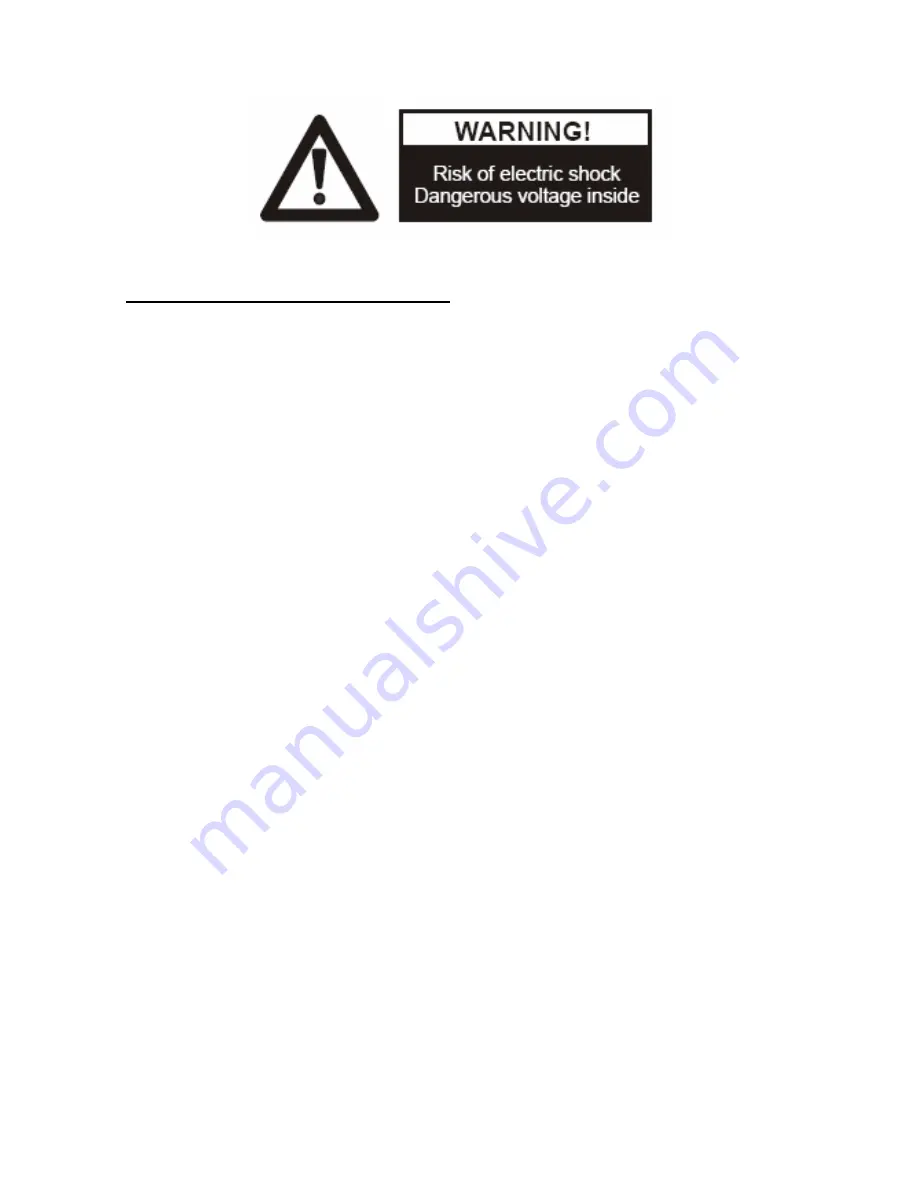
To prevent
electrical shock, do not open the cabinet. Refer to qualified
personnel for service only.
Do not use
the unit continuously for more than 24 hours with camera
auto focus on. It may cause damage to the camera lens.
Be careful not to
spill water or other liquids onto the unit, or allow
combustible or metallic objects to get inside the cabinet.
Unplug
the visualiser from the wall outlet when it is not being used for a
long period of time.
Clean
the cabinet
with a soft cloth lightly moistened with a mild
detergent solution.
Clean the lens
carefully with an air spray or soft dry cloth to avoid
scratching it.
When the lamps
flash or become dark, they should be replaced with
new ones.
Avoid
switching arm lights and back light frequently.
Remove
the camera lens cap before power the unit on.
1


